Your cart (0)
Your cart is empty
Tax included and shipping calculated at checkout
Recommended products


Drawer menu
Tax included and shipping calculated at checkout


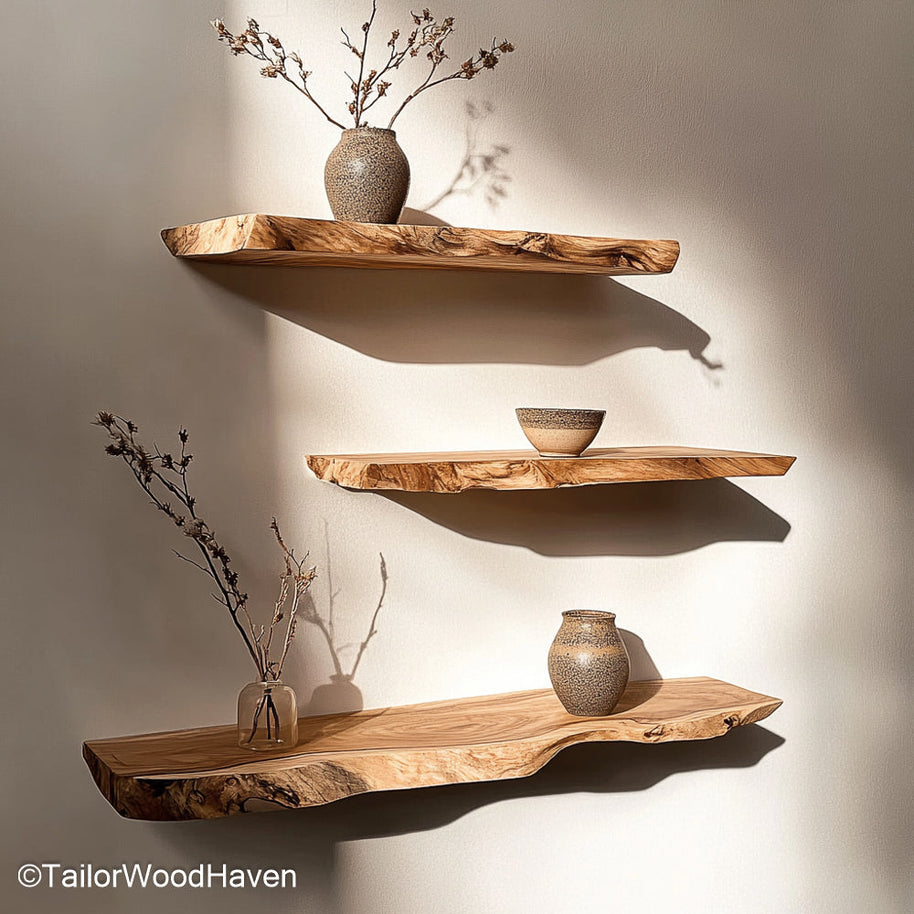
Have you ever wondered how to make a floating shelves that looks great and saves space at the same time? You’re not alone. Many homeowners want clean, modern storage but don’t know where to start. The good news is that making your own floating shelves isn’t complicated - you just need the right tools, materials, and a little patience.
In this guide, we’ll show you exactly how to create sturdy, beautiful shelves that transform your wall space without spending a fortune.
Before you dive into building, preparation is key. Having the right tools will make the process faster, safer, and more enjoyable. Whether you’re just learning how to make a floating shelves or upgrading your DIY skills, getting the essentials ready will save you time later.
If you’re inspired by bold designs, check out these Thick Floating Shelves - a perfect example of strong, durable craftsmanship you can aim for.

Here’s what you’ll need to start if you want to master how to make a floating shelves like a pro:
Solid wood boards (oak, walnut, pine, or reclaimed wood work great)
Hidden shelf brackets or mounting rods
A reliable drill and screw set
Stud finder, measuring tape, and level
Sandpaper and wood finish (paint, stain, or sealer)
Wood glue or construction adhesive
Once everything is ready, you can move on to crafting your own stylish shelves.
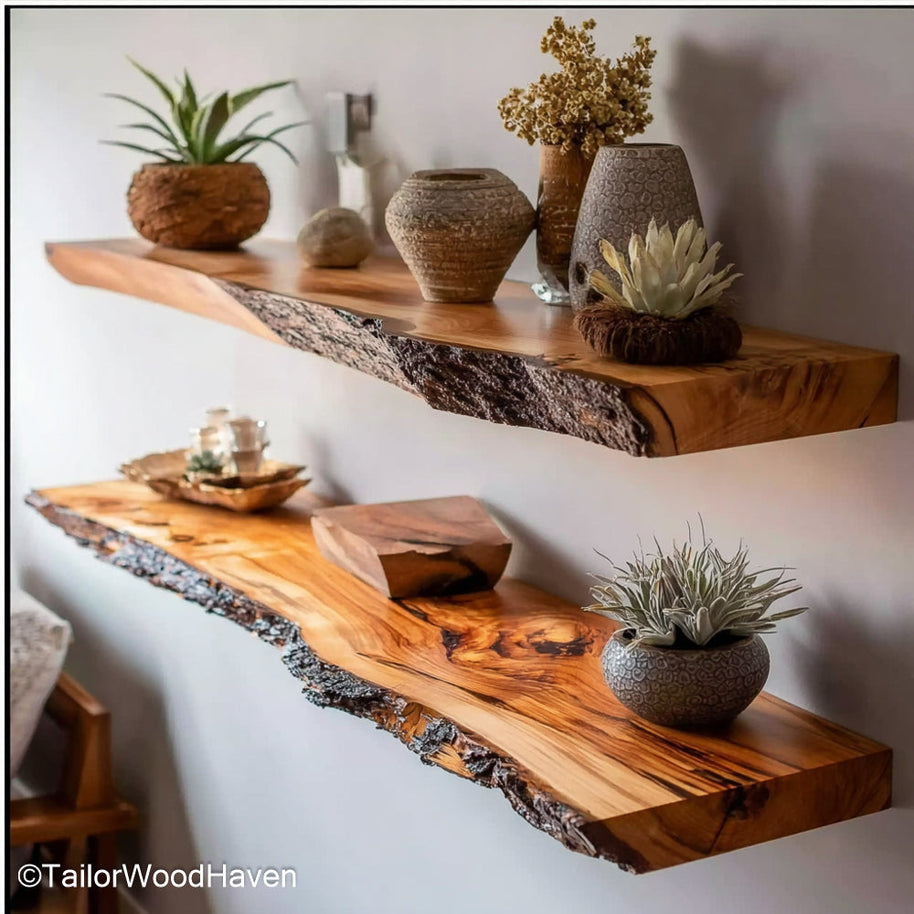
If you love natural materials, nothing beats the charm of solid wood. It’s sturdy, timeless, and can match almost any interior style. Learning how to make a floating shelves from solid wood allows you to create a custom look that fits your exact space. For a deeper dive into building techniques, you can explore guide from Instructables.
Let’s break the process down into simple steps so you can understand how to make a floating shelves with professional results.
Start by deciding where your shelf will go. Measure the wall space carefully and mark the desired length. Then, cut the wood board accordingly. A smooth, accurate cut ensures your shelf looks polished and fits perfectly.
Pro tip: Double-check your measurements before cutting. A half-inch mistake can make your shelf uneven or unstable later on.
Once your board is cut, sand all sides thoroughly to remove any rough edges or splinters. Use fine-grit sandpaper for the final layer to achieve a silky-smooth surface. After that, apply your preferred finish - a rich walnut stain for warmth, a matte paint for modern minimalism, or a natural oil for a rustic touch.
If your shelf design includes a hollow frame (to hide the brackets inside), now is the time to assemble it. Use wood glue along the joints and secure them with screws. Let it dry completely before mounting. By following these steps, you’ll master how to make a floating shelves that’s both beautiful and strong - ideal for any modern home.
After crafting your wooden shelf, it’s time to mount it securely. Don’t rush this step - proper installation ensures your shelf stays level and safe. Understanding how to make a floating shelves is only half the job; installing it correctly is what brings your hard work to life.
If you’re a renter or prefer lightweight, easy-to-remove designs, take a look at these Renter-Friendly Floating Shelves that don’t damage walls - a great alternative for anyone learning how to make a floating shelves without drilling permanent holes.
Use a stud finder to locate the wall studs - these are vertical wooden beams behind the drywall that provide support. Mark the stud positions with a pencil. Attaching brackets directly into studs is essential for heavy-duty stability. This is one of the most important lessons when mastering how to make a floating shelves that can actually hold weight safely.
Drill pilot holes at your marked spots, then attach the hidden brackets using screws. Make sure they’re level before tightening. For best results, check alignment with a spirit level - uneven brackets will make your shelf tilt.
Once the brackets are secure, slide the shelf onto the rods or supports. It should fit snugly, with no visible gap. If needed, use a small amount of wood glue to lock it in place. Gently press and hold for a few seconds, then let it set.
Planning to hold heavy books, kitchen jars, or décor items? You’ll need a stronger setup that not only looks great but also lasts. When learning how to make a floating shelves, this step is especially important.
The Mid-Century Modern Floating Shelves are a great inspiration - they combine elegant design with superior weight capacity, showing what’s possible when you know how to make a floating shelves that’s both beautiful and functional.
Thicker wood (at least 1.5 to 2 inches) helps your shelf support more weight. Pair it with heavy-duty brackets rated for at least 30–50 lbs. Avoid flimsy hardware - investing in quality ensures both safety and style.
If your shelf is longer than 3 feet, consider adding a center bracket or reinforcement bar. This prevents sagging over time, keeping your floating shelves level and sturdy.
If you’re renting or just don’t want to drill holes, there are still creative ways to hang shelves safely. One popular approach for beginners exploring how to make a floating shelves setup without permanent marks is to use adhesive mounting strips or hooks that can hold lighter shelves or décor pieces.
For heavier units, consider tension rods or no-drill brackets that anchor between the floor and ceiling. Before you try how to make a floating shelves at home, always check the product’s weight rating and wall material.
To learn how professionals do it, check Kreg Tool’s floating shelf tutorials - an excellent resource for beginner-friendly methods.
Heavy-duty adhesive strips or command hooks can hold small to medium shelves, especially if they’re lightweight and decorative. Always check the weight limit before mounting.
Even with adhesive methods, balance matters. Spread items evenly along the shelf, and avoid placing heavy objects on one side. A balanced setup reduces the risk of sagging or falling.
Learning how to make floating bookshelves is easier than it looks - and it’s a fun weekend project even for beginners.
For anyone already experimenting with how to make a floating shelves, this process follows similar steps, just with extra support for holding books.
You can take cues from Mid-Century Floating Shelves for a cozy, natural look that pairs perfectly with reading corners.

Keep your shelves around 8–10 inches deep and 2 feet long. This allows enough space for most books while maintaining balance and proportion on your wall.
Add a small potted plant, a framed photo, or a candle beside your books for warmth and texture. Good lighting - like a soft wall sconce or warm LED strip - enhances the reading vibe.
Now that you’ve learned how to make a floating shelves, here are a few quick takeaways to help you build smarter and faster.
Always double-check wall studs before drilling.
Use lightweight wood if your walls can’t support much weight.
Seal or paint the shelf for better durability and moisture resistance.
Test stability before placing heavy items.
If your shelf wobbles, tighten screws or add an extra bracket for safety.
Each of these small steps ensures your DIY project turns out professional-looking, durable, and perfectly aligned with your home’s decor.
Even experienced DIYers can run into problems. Watch out for these:
Mounting shelves without finding studs first
Overloading shelves beyond bracket capacity
Skipping sanding or sealing steps
Using cheap screws that strip easily
Avoiding these small mistakes ensures your shelf lasts longer and stays safe.
To make a floating shelves, you’ll need solid wood boards (like oak or pine), hidden brackets, a drill, screws, wall anchors, and a level.
When learning how to make a floating shelves, the most important step is finding the wall studs. Mount your brackets directly into the studs, not just drywall.
Yes, it’s possible! If you rent your space or want a damage-free option, try adhesive mounting strips or removable brackets. Just remember - these are best for lightweight shelves or decorative displays.
Now that you know how to make a floating shelves, it’s time to bring your DIY idea to life. With just a few tools and a little effort, you can create a stunning wall display that’s both functional and beautiful. Whether you’re building solid wood shelves for heavy décor or lightweight ones for easy installation, this project adds warmth and personality to your home.
Start with the right materials, follow these steps carefully, and don’t forget to explore Tailor Wood Haven’s handcrafted collection for inspiration - your walls deserve it!


