Your cart (0)
Your cart is empty
Tax included and shipping calculated at checkout
Recommended products


Drawer menu
Tax included and shipping calculated at checkout


Floating kitchen shelves are the perfect blend of form and function, opening up your space while offering practical, accessible storage.
To ensure they handle the daily weight of kitchen essentials, building them requires careful selection of robust materials and secure installation.
This guide will walk you through exactly how to make floating kitchen shelves that stand up to the rigors of a working kitchen.
The appeal of floating kitchen shelves goes beyond mere trend. Understanding their benefits is the first step in planning how to make floating kitchen shelves effectively.
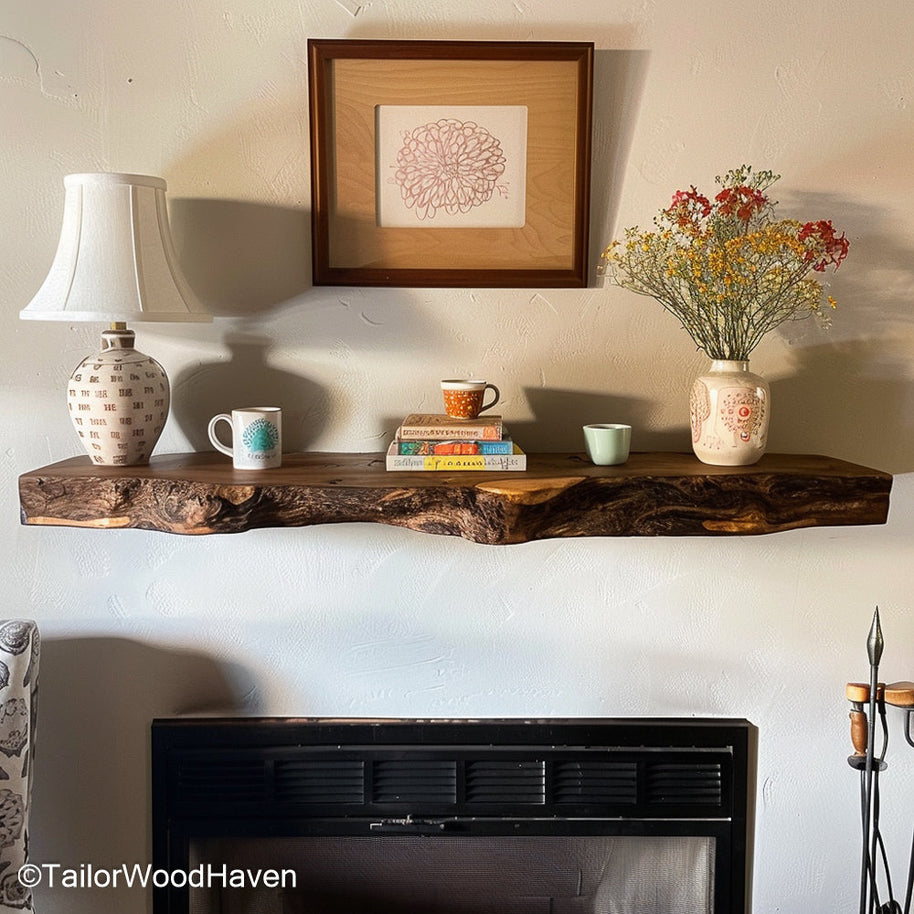
These rich, brown floating kitchen shelves perfectly capture a rustic aesthetic, offering robust storage with the warm, natural look of smooth, oiled wood.
By replacing closed cabinets with sleek, open shelves, you eliminate the visual heaviness that can make a kitchen feel cramped.
This open-concept approach creates an immediate sense of spaciousness and light, which is especially transformative in smaller kitchens.
This consideration is vital when learning how to make floating kitchen shelves that truly enhance your space.
Floating kitchen shelves are a fantastic way to introduce personality. They allow you to turn everyday items, like colorful mixing bowls, neatly aligned spice jars, or a collection of ceramic mugs, into a deliberate part of your kitchen's decor.
A small plant or a framed piece of art can easily find a home here, maximizing the aesthetic return on learning how to make floating kitchen shelves.
While open shelving requires regular dusting to prevent buildup on displayed items, the shelves themselves are often simpler to maintain than the fronts and interiors of old, ornate cabinets. A quick wipe is usually all it takes to keep your floating kitchen shelves looking pristine.
Everything is right there. No doors to open, no deep cabinets to root through. This improves the flow of your cooking process by keeping the most frequently used items within immediate reach.
This ease of access is a key functional benefit when considering how to make floating kitchen shelves.
These minimalist, matte black floating kitchen shelves provide a sleek, striking contrast, perfect for a contemporary kitchen or modern office design.
The durability and longevity of your floating kitchen shelves begin with the material choice, which is crucial in a high-moisture, high-grease environment like a kitchen. This decision is central to successfully planning how to make floating kitchen shelves that last.
When determining the best approach for how to make floating kitchen shelves, both solid wood and high-quality plywood offer structural integrity, but they have different pros and cons:
|
Material Type |
Pros |
Cons |
Best For |
|
Solid Wood |
Extremely strong, beautiful grain, can be refined; resists denting. |
Higher cost, prone to warp/split if not properly sealed (critical in a kitchen). |
Premium, rustic designs needing maximum weight capacity. |
|
Plywood Box |
High stability (less warping), cost-effective for thick shelves, great for hidden brackets. |
Edges require veneer/trim, less aesthetic than a solid slab without a proper finish. |
Modern, clean-line designs, and budget-conscious DIY projects. |
Hardwoods like Oak and Maple are highly recommended for their density and resistance to warping, making them ideal for the demands of a kitchen environment.
Pine, while budget-friendly, is a softer wood that can dent more easily, so it's best suited for displaying lighter items. This comparison helps you decide the best strategy for how to make floating kitchen shelves.
Regardless of the wood you choose for your floating kitchen shelves, a proper seal is non-negotiable.
Kitchens deal with steam, grease splatter, and accidental spills. Use a durable, water-resistant finish like polyurethane, a food-safe oil (such as tung oil or mineral oil), or a lacquer.
A sealed surface protects the wood and makes routine cleaning much easier. In Jenna Sue's DIY floating kitchen shelves project, she smartly used thick pine boards and sealed them for both durability and easy maintenance, a practical approach for a busy kitchen.
Knowing how to make floating kitchen shelves that resist moisture is key to success.
Creating truly floating kitchen shelves relies on a robust internal mounting system, typically a metal bracket or a wood cleat (also called a brace or ledger) anchored directly into the wall studs.
This method ensures the shelf can handle a heavy load without visible support, which is the core of successfully learning how to make floating kitchen shelves.
Plan and Measure:
Determine the placement, length, and depth of your floating kitchen shelves. Use a stud finder to locate and mark the wall studs, as this is where your brackets must be attached for maximum strength.
This initial planning step is crucial when deciding how to make floating kitchen shelves fit perfectly.
Cut the Wood
Cut your shelf boards to the desired length. For a solid slab shelf, simply cut the slab. Ensure all cuts are straight and precise.
Sand
Sand the wood, starting with a coarser grit (like 80 or 100) and progressing to a fine grit (220 or higher) for a smooth finish. This is key for both aesthetics and durability.
Stain (Optional)
Apply a wood stain if desired, following the product instructions.
Seal
Apply at least two to three coats of a waterproof sealant (like polyurethane). This layer of protection is vital for floating kitchen shelves exposed to moisture.
Preparing the wood properly is essential to how to make floating kitchen shelves look professional.
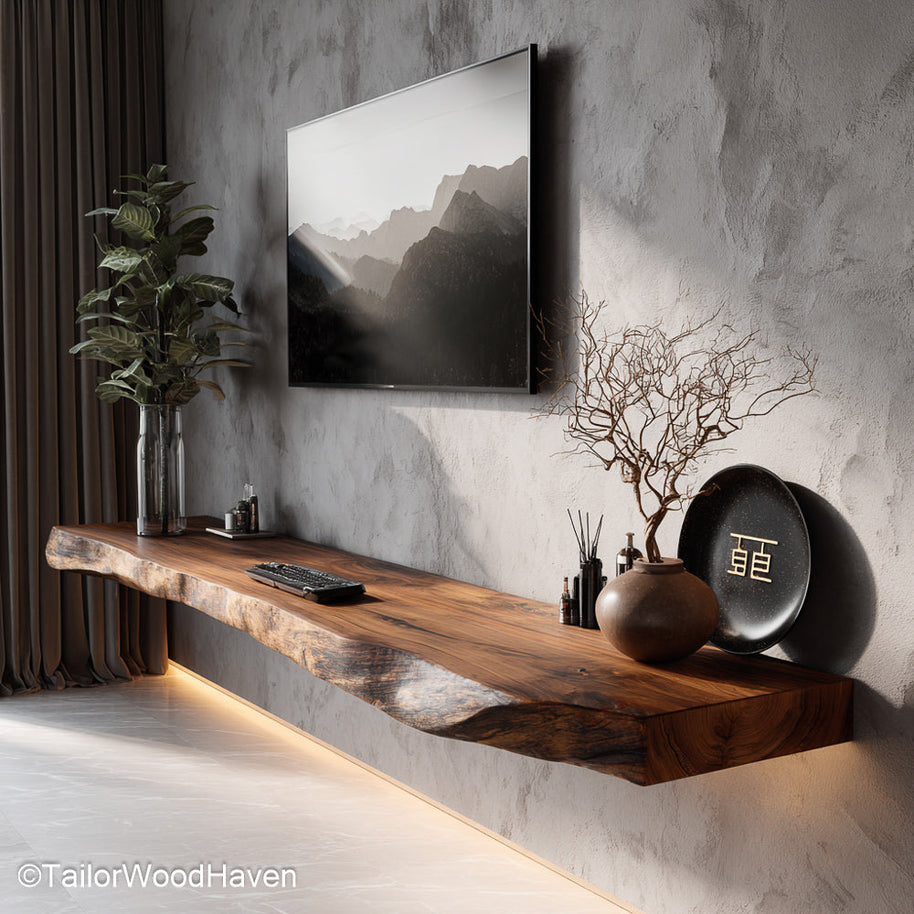
These solid wood floating shelves with invisible brackets and a smooth finish offer the perfect blend of premium durability and elegant, minimalist style.
Install the Wall Bracket/Cleat
Align your floating shelf hardware along a marked, straight line. Crucially, use heavy-duty structural screws to anchor the brackets directly into the wall studs.
Never rely solely on drywall anchors for a floating kitchen shelf intended for heavy use. Mastering this step is essential to how to make floating kitchen shelves that are safe.
Test the Strength
Before adding the shelf itself, give the mounted brackets a firm pull downwards to ensure they are rock-solid. A strong bracket is the foundation of a durable floating kitchen shelf.
Attach the Shelves
Slide the shelf onto the rods, or secure the plywood box over the cleat. Knowing how to make floating kitchen shelves requires mastering this seamless integration for a truly floating look.
To keep your floating kitchen shelves functional and beautiful, follow these styling and organization principles, ensuring the effort you put into learning how to make floating kitchen shelves truly pays off visually.
Decant dry goods like flour, sugar, or pasta into clear, airtight canisters. This looks clean and uniform, which is instantly more appealing than mismatched packaging.
Use small, opaque boxes or woven baskets to hide less attractive or bulkier items (such as small kitchen tools or extra sponges).
Place your heaviest items, like stacks of dinner plates or large serving bowls, near the wall and on the lower floating kitchen shelf. Use a few small, deliberate stacks of cups or bowls.
Leave plenty of negative space, don't fill every inch. The "floating" quality of the shelves works best when the display feels light and curated.
Grouping items by color or function also provides an organized feel. Knowing these tricks is just as important as knowing how to make floating kitchen shelves structurally sound.
When styling decorative items (like plants or small statues), arrange them in groupings of three or another odd number.
This compositional trick is highly effective for making a collection look curated rather than random on your floating kitchen shelves.
Applying smart styling ensures your final project - no matter the approach you took to how to make floating kitchen shelves - looks polished and inviting.
The finish and mounting style of your floating shelves can dramatically alter the look of your kitchen. Here are quick tips for matching your aesthetic:
Rustic/Industrial
Go for thick, distressed, or reclaimed wood with visible, dark L-brackets or pipe supports. Focus on raw texture.
Modern/Minimalist:
Choose clean, light hardwood (like oak or maple) and ensure you use hidden brackets for a truly floating effect. The shelves should look like they are simply emerging from the wall. For a great example, check out Plank & Pillow's kitchen floating shelves tutorial.
Transitional/Traditional
Select rich, finished hardwoods (like walnut or cherry). Use decorative, secure metal brackets that complement your existing kitchen hardware.
The secret to mastering how to make floating kitchen shelves lies in focusing on durability by choosing robust wood, applying a protective sealed finish, and securely anchoring the mounting hardware into wall studs.
With this attention to detail, your floating kitchen shelves will provide a beautiful, long-lasting, and fully functional storage solution for your kitchen.

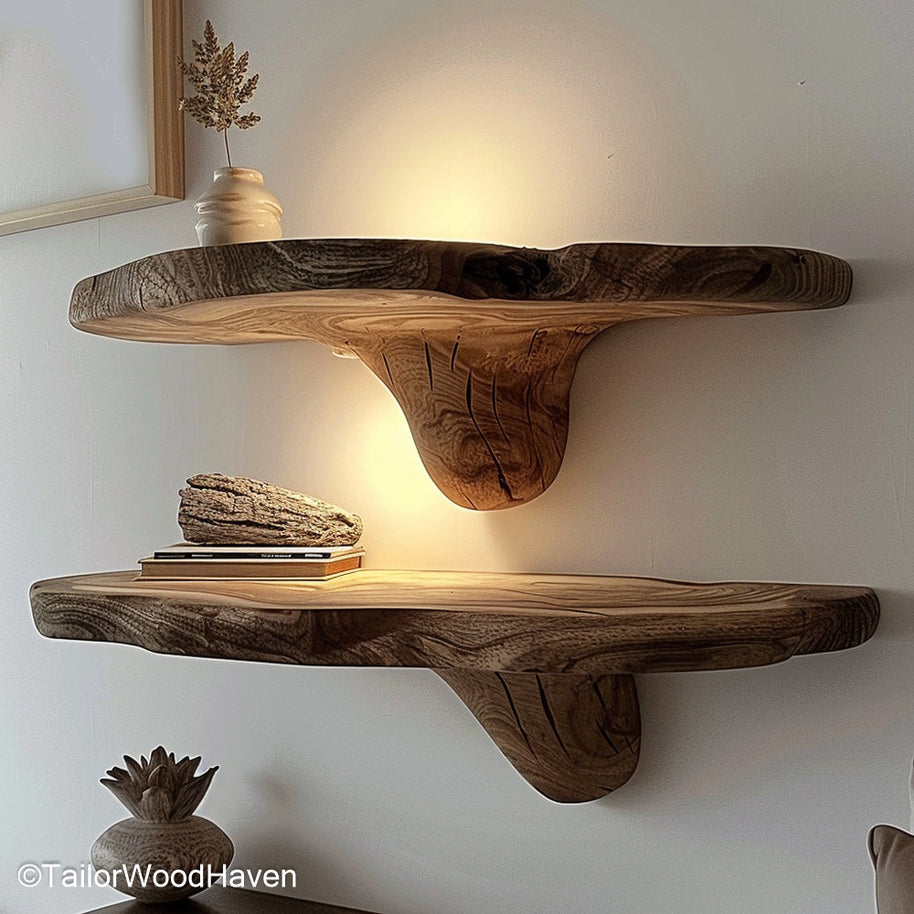
These LED floating shelves feature hidden lighting for a soft, ambient glow, making them perfect for modern interiors, bedrooms, or media wall displays.


