Your cart (0)
Your cart is empty
Tax included and shipping calculated at checkout
Recommended products


Drawer menu
Tax included and shipping calculated at checkout


The box-frame method is the best way to create strong, beautiful rustic floating shelves DIY. Unlike simple, solid planks, this hollow-shell technique gives you huge structural strength and stability, letting the shelf hold heavy items while looking like it floats seamlessly from the wall. The key to this high-end, custom look is the box construction, combined with a rock-solid hidden wall cleat. This guide will walk you through every critical step. You'll learn how to pick the right lumber, use simple pocket holes for assembly, and master the art of distressing and finishing. Get ready to transform your walls with beautiful, strong, and affordable rustic floating shelves DIY.
Good planning decides how strong and how good-looking your shelf will be. Choosing the right wood for the right job is the first big step for successful rustic floating shelves DIY.
For the outer box of the shelf (the top, bottom, and sides), use thin wood like pine. Pine is a great choice because it's light, strong, and easy to stain. Its natural knots and grain instantly give you that great rustic look. Avoid buying expensive, smooth, kiln-dried wood, it's often too clean for an authentic rustic feel. Instead, look for wood with natural imperfections.
The hidden support piece inside the shelf, however, must be made from much stronger, thicker wood, such as a 2x2 or 2x3. This strong wood forms the crucial hidden anchor that handles the entire weight. Using this strong material for the interior support is essential for safe rustic floating shelves DIY.
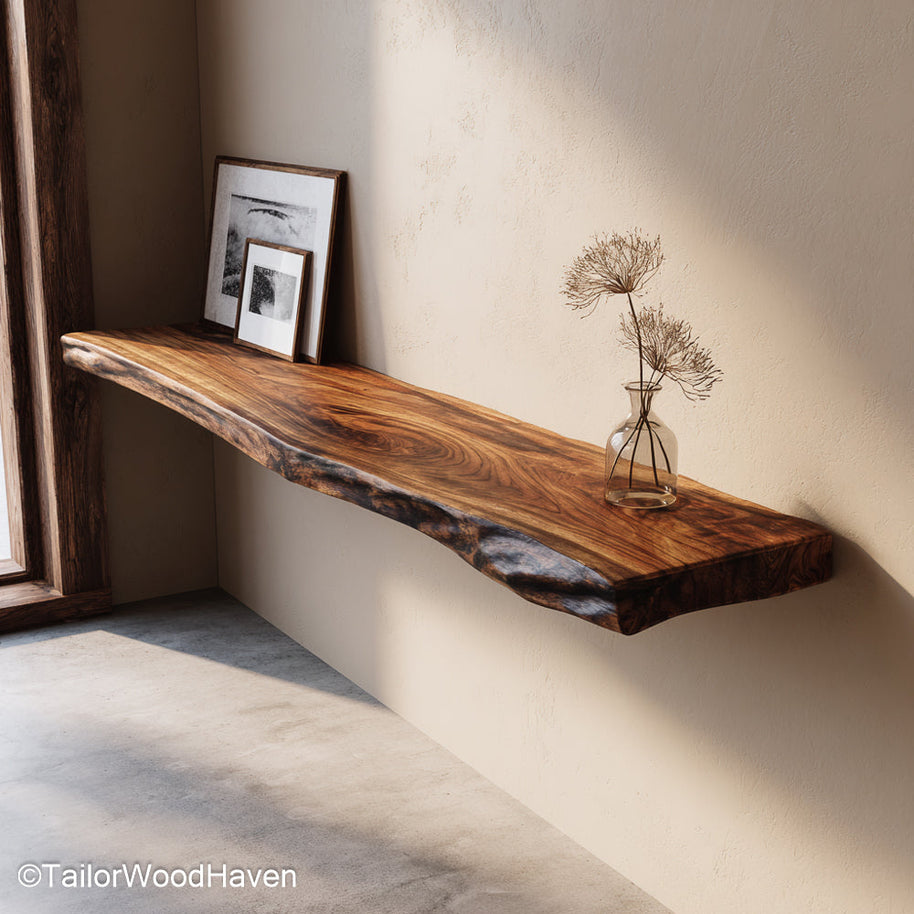
Choose the wood carefully, so your finished shelf will be as strong and safe as this wooden floating shelf.
The Rules for Strength: The total inside height of your finished box shell must be slightly taller (about 1/8 inch clearance) than the total height of your 2x cleat lumber. This small gap is necessary for the finished box to slide smoothly over the cleat once it's mounted.
Thickness: Using 1-inch thick lumber for the shell means your final shelf will look substantial – usually around 1.5 to 2 inches thick – giving it great visual weight.
Depth: For good stability, shelves should be 8 to 12 inches deep. Going deeper than 12 inches can sometimes make the shelf look saggy or unstable.
Miter saw
Kreg Jig
Wood glue
Clamps
Finish nails
Drill/driver
Stud finder
Level
Lag screws
Large drill bits.
This cleat is the non-negotiable anchor that holds your shelf and gives the essential structural strength to your rustic floating shelves DIY project.
The cleat is built from three pieces of 2x2 or 2x3 lumber put together into a sturdy 'U' or 'E' shape. The main piece goes against the wall, and two smaller horizontal pieces (top and bottom supports) stick out straight.
Key Measurement: The entire cleat structure must be 1/2 inch to 1 inch shorter than the total intended shelf length. This small gap ensures the finished shelf box can be slid over seamlessly without the cleat showing from the sides.
First, assemble the cleat frame. Use strong wood glue and screws to join the three pieces into one very rigid unit. It is crucial to ensure the distance between the top and bottom support pieces stays exactly the same along the entire length. If this distance changes, the finished outer shelf box will not slide onto the frame easily. This precise assembly is key to your successful rustic floating shelves DIY.
For the final step, slightly round the edges of the three support pieces on the cleat. This simple rounding makes it much easier to slide the completed shelf box onto the wall-mounted frame during installation. This preparation ensures a smooth fit for your rustic floating shelves DIY.
This step creates the hollow box that gives the shelf its "floating" look. This shell must be built perfectly square and very strong for successful rustic floating shelves DIY.
Cut the Top, Bottom, and two Side pieces from your thin wood boards. It is a mandatory rule that the back edge of the top and bottom pieces must be perfectly straight and square. This is the only way to ensure the shelf fits perfectly flush and without any gaps against the wall when you install it.
To assemble the shell, use the recommended pocket holes system. Drill the holes along the edges that connect the top, bottom, and side pieces. Clamp the pieces tightly to keep them square (90-degrees), and secure them with wood glue and screws. Finish the front by securing a thin trim piece. This hides the construction, adds a nice thickness, and completes the look. Remember to use wood filler to hide nail holes before you stain your rustic floating shelves DIY.
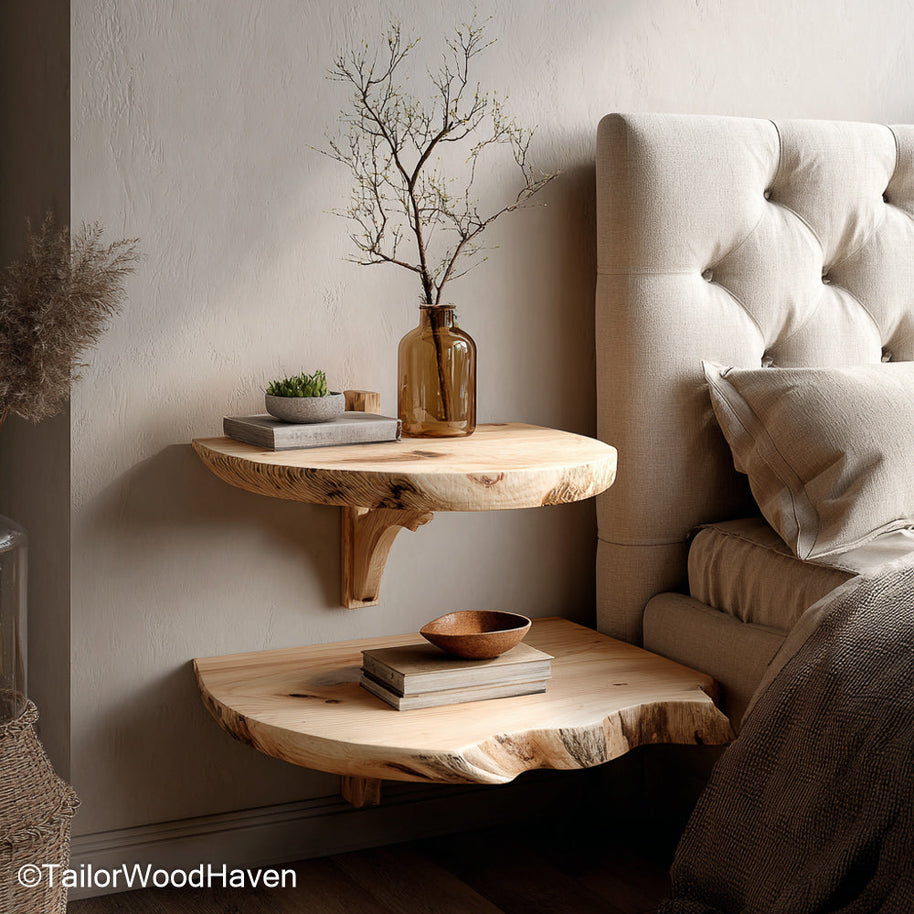
Avoid the tough, precise assembly work. These floating shelves include a rigid support cleat that's already smoothed and ready to mount, making your installation fast.
Adding texture and color is what turns a simple wood box into beautiful rustic floating shelves DIY. First, apply a pre-stain conditioner to soft woods like pine. This is a crucial step to stop the wood from absorbing stain unevenly and eliminates blotchiness, ensuring you get a smooth, professional color. For the best look, choose dark stains like dark walnut or weathered gray. These tones deepen the contrast and make the wood look naturally aged.
Finally, applying a strong sealer (polyurethane) is essential to protect the wood, especially for kitchen use. Always choose a matte or satin finish to protect your rustic floating shelves DIY project without ruining the authentic low-sheen rustic style with a high-gloss shine.
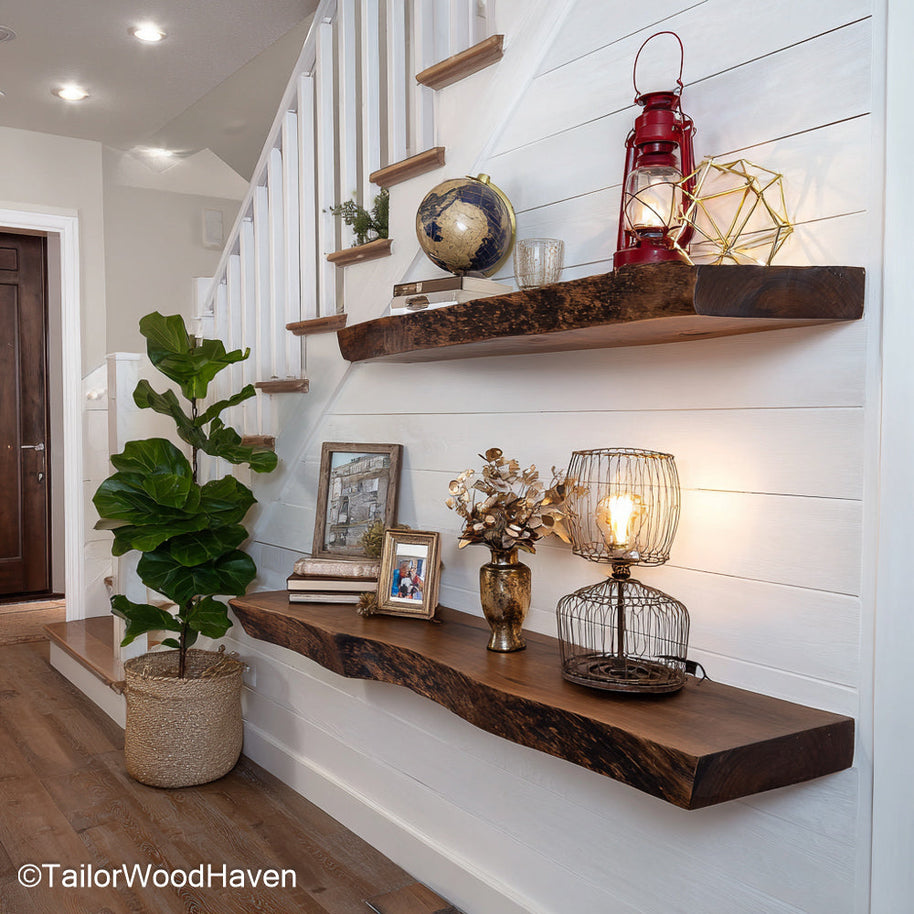
When you apply your chosen stain and matte sealer, your final result will be just as beautiful and protective as the finish on our rustic floating shelves.
This is the most critical step: attaching the cleat and sliding the finished shelf box over it.
First, find the center of the wall studs using your stud finder. Every spot you secure must go right into a stud with lag screws. Next, use a long level to draw a perfectly straight horizontal line on the wall at the height you want your shelf. Finally, fasten the cleat directly into those wall studs using heavy-duty lag screws. Make sure the cleat is completely rock-solid and level before moving on.
Carefully slide the finished shelf box over the wall-mounted cleat, it should fit tightly but slide on without force. To stop the shelf from shifting, drive long finish nails or small screws through the top or bottom of the shelf into the internal cleat, then hide the holes with wood filler. For a seamless look, apply a thin line of paintable caulk where the shelf meets the wall. This hides any gaps and perfects the illusion that your rustic floating shelves DIY are built right into the wall.
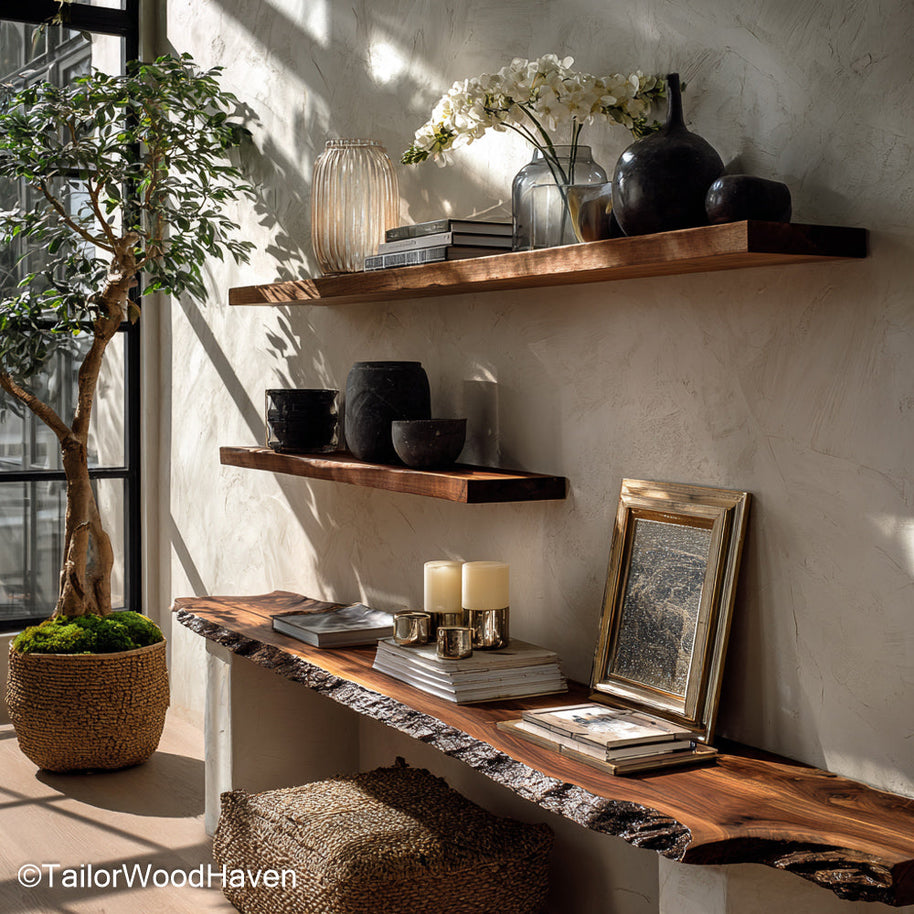
Now that your shelves are securely installed and seamless, you're ready to decorate your rustic floating shelf and bring your vision to life!
Inexpensive pine or fir are the best choices because they are easy to find and their soft grain takes stain and distressing marks very well. Their knots and natural imperfections contribute perfectly to the rustic look.
You should only sand lightly using 120- to 150-grit sandpaper. Only sand enough to remove sharp splinters or rough spots, but be careful not to sand away the deeper texture and distressing marks you created.
Use the box-frame construction method and secure the internal wood cleat directly into at least two wall studs using heavy-duty lag screws. This provides the strongest possible anchor and prevents the shelf from sagging.
Use the box-frame method for maximum strength, as it’s easier to build a rigid frame than to drill perfectly straight holes into a solid plank. Always use a level and a reliable stud finder to ensure the internal cleat is rock-solid and straight before adding the outer box.
If the shelf is for viewing art or decor, the center should be near eye level (about 57 to 60 inches from the floor). For functional use, like in a kitchen, hang them at a comfortable shoulder level for easy reach.
The box-frame method is the best way to create custom rustic floating shelves DIY. You’ve learned the key steps: building the strong hidden wall cleat, assembling the seamless shelf box, and applying the essential rustic finishing techniques. This smart approach guarantees your shelves are not only beautiful and customized but also strong and secure enough to handle any load. Enjoy the lasting, high-end, and custom farmhouse charm that your finished rustic floating shelves DIY brings to your home. For a step-by-step guide with photos, take a look at this tutorial.


