Your cart (0)
Your cart is empty
Tax included and shipping calculated at checkout
Recommended products


Drawer menu
Tax included and shipping calculated at checkout


Floating shelves are one of the simplest yet most stylish ways to upgrade your kitchen. If you’ve ever wanted to know how to build floating shelves in kitchen spaces that look clean, sturdy, and professional - you’re in the right place. This guide breaks down every step, from choosing materials to installation, so you can confidently create a beautiful and functional wall display.
Before getting hands-on, it’s worth understanding why so many homeowners are switching from bulky cabinets to sleek floating shelves.
Learning how to build floating shelves in kitchen spaces doesn’t just save money - it also gives you full creative control over your kitchen’s look and layout. Floating shelves make kitchens feel larger, lighter, and more open, allowing you to display your favorite dishes, glassware, or décor in a way that adds personality.
Whether your kitchen leans modern, rustic, or minimalist, floating shelves can instantly elevate its look. Plus, once you know how to build floating shelves in kitchen walls with the right materials and tools, you’ll realize how simple it is to combine beauty with functionality - even in small spaces.
Before starting your DIY project, make sure you have everything ready. Preparation is key when learning how to build floating shelves in kitchen spaces that are both strong and stylish. Having the right tools on hand ensures a smoother process and a professional finish.
Here’s what you’ll need:
Wooden boards (choose hardwood or pine)
Wall brackets or concealed mounting rods
Screws and anchors
Level and measuring tape
Stud finder
Drill and driver bits
Sandpaper or sander
Paint or wood stain
Brush or cloth
When figuring out how to build floating shelves in kitchen corners or small spaces, choose lightweight materials and compact tools to make installation easier. It’s also smart to pre-measure your wall area before cutting wood.
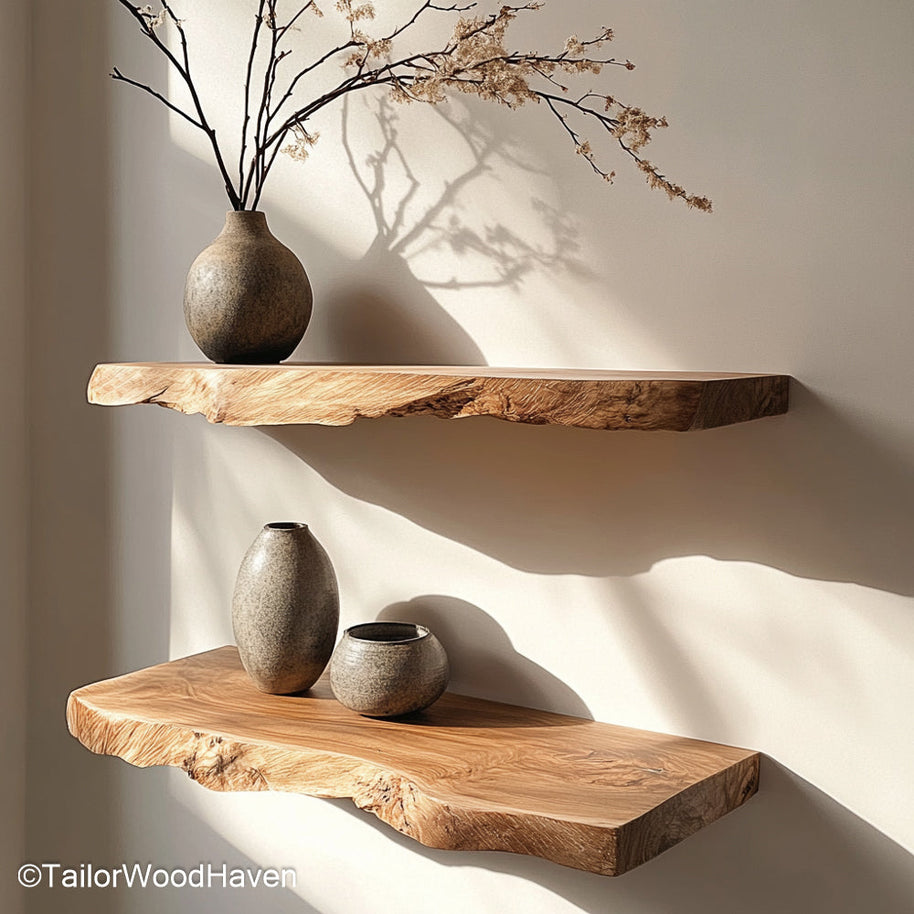
Tip: If you want a ready-made, high-quality option while exploring how to build floating shelves in kitchen layouts with a natural wood finish, check out the Butcher Block Floating Shelves with Thick Wood Slabs from Tailor Wood Haven - they combine strength, warmth, and natural beauty in every piece.
Accurate measurements are the foundation of any well-built shelf. When learning how to build floating shelves in kitchen spaces, start by using a tape measure to mark how long and deep your shelves should be.
Most kitchen floating shelves range from 24 to 60 inches long and 8 to 12 inches deep, depending on what you plan to display. Mark the wall where each shelf will sit, ensuring they’re level and evenly spaced.
Remember, floating shelves without visible brackets rely heavily on balance and support, so placement is key.
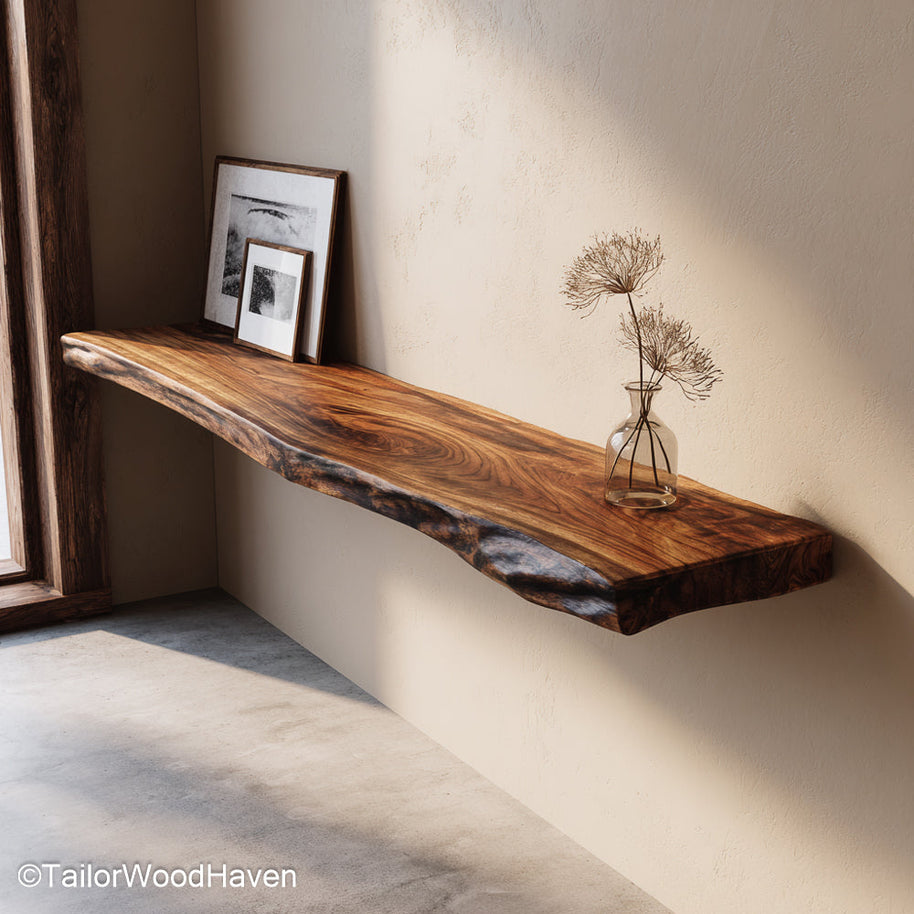
The type of wood determines not only the appearance but also the durability of your floating shelves. When planning how to build floating shelves in kitchen spaces, your wood choice plays a major role in both strength and style.
Hardwood (like oak, maple, or walnut) offers superior strength and long-term stability.
Softwood (like pine or cedar) is easier to cut and budget-friendly but may warp if overloaded.
If your kitchen has earthy or traditional tones, the Brown Floating Shelves will blend perfectly with your décor while offering dependable support.
Once your measurements are finalized, cut the boards to your desired length using a circular saw or table saw. Always wear safety goggles and gloves.
If you’re learning how to build floating shelves in kitchen spaces for the first time, take extra care during this step - precise cutting ensures perfect alignment later.
After cutting, sand each board until smooth to remove rough edges and splinters. This step ensures your shelves have a clean finish and are safe to handle.
If you’re new to woodworking, take your time - even small imperfections can affect how well the shelves fit together later.
Here comes the crucial part of how to build floating shelves in kitchen spaces - mounting.
Use a stud finder to locate studs in your wall. Mark them clearly, as these provide the strongest anchor points for your shelf brackets. If your desired shelf location doesn’t align with a stud, use heavy-duty wall anchors designed for drywall or masonry.
Drill pilot holes into the marked points, making sure they’re level. A laser level helps maintain straight lines, especially when installing multiple shelves.
Attach the brackets or concealed rods into your drilled pilot holes using screws and a power drill. Make sure they’re firmly fixed - wobbling brackets will lead to uneven shelves.
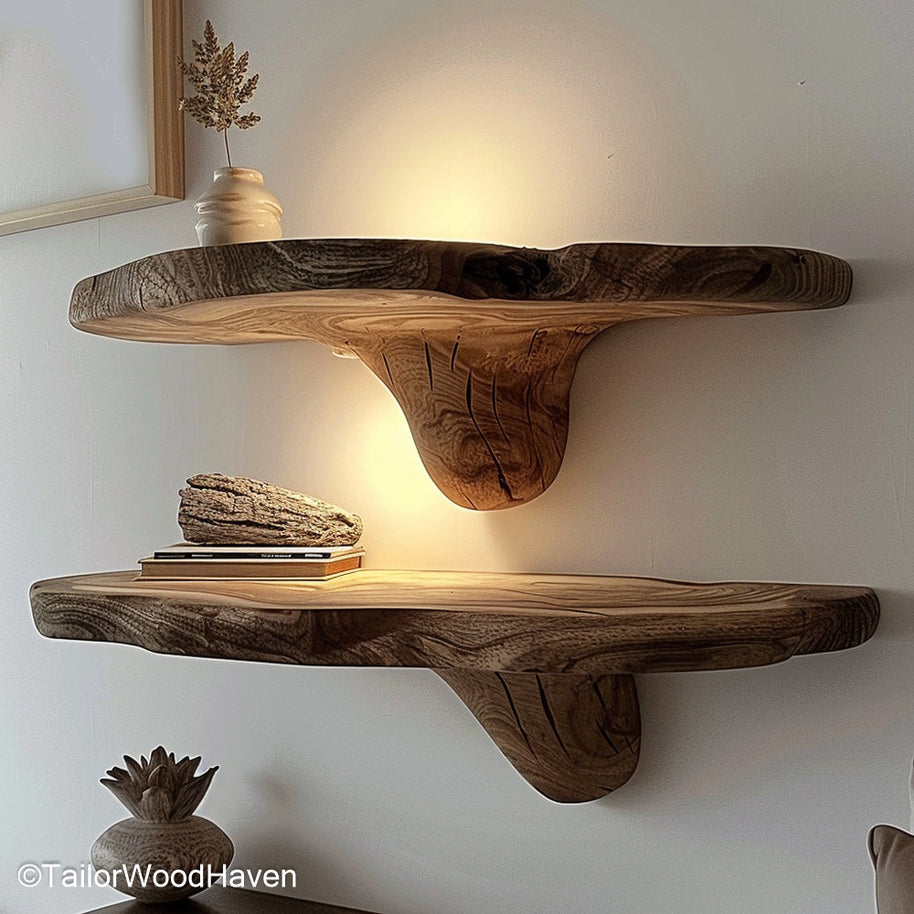
If you’re learning how to build floating shelves in kitchen spaces with a clean, modern design, hidden brackets are the best choice. They give your kitchen shelves a seamless, “floating” appearance that looks both modern and elegant.
For inspiration, you can see the installation process in this detailed DIY floating kitchen shelf tutorial.
Once the brackets are secure, slide your wooden boards onto the rods or align them over the brackets.
If you’re following a guide on how to build floating shelves in kitchen walls properly, make sure the boards fit snugly and stay level.
Check that the shelves sit evenly against the wall. Use a level to confirm alignment, and tighten screws if necessary.
After mounting, give your shelves a light shake to test stability. If they wobble, double-check the wall anchors or stud placements before continuing.
Now comes the fun part - finishing your floating shelves to match your kitchen aesthetic.
If you’ve learned how to build floating shelves in kitchen spaces, this step lets you personalize them with color and texture.
You can choose to stain the wood for a natural, rustic vibe or paint it for a clean, modern finish. Either way, make sure to sand lightly between coats for a smooth texture.
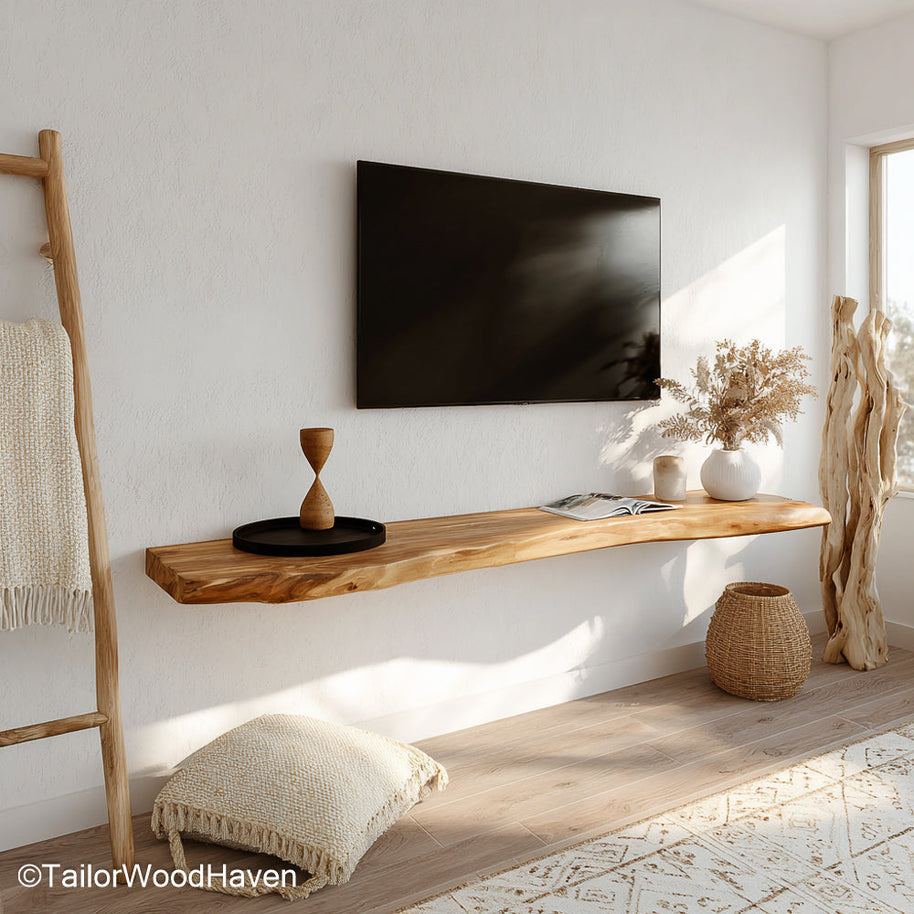
For a timeless wooden look, explore 60-Inch Floating Shelves - they showcase rich wood tones perfect for kitchens and dining rooms.
After installation, it’s time to style your new floating shelves. If you’ve followed a guide on how to build floating shelves in kitchen areas, this is where creativity comes in - combining functionality with aesthetics.
Place daily-use items like mugs or bowls on lower shelves.
Display cookbooks or plants on upper shelves for visual interest.
Mix textures - ceramic, glass, and wood - for a balanced design.
If you need additional space, the 30-Inch Floating Shelves are perfect for organizing spices or small kitchen essentials.
You can also find more creative styling ideas from this floating shelf design guide.
Even simple DIY projects can go wrong without proper planning - especially when learning how to build floating shelves in kitchen spaces. Here are a few pitfalls to steer clear of:
Using weak wall anchors that can’t handle weight
Skipping the stud finder
Neglecting to seal or finish wood
Overloading the shelves with heavy objects
Taking time to measure, level, and double-check hardware can make all the difference in ensuring your shelves last for years.
Your floating kitchen shelves will naturally collect dust, grease, and humidity - especially near cooking areas.
Here’s how to maintain them:
Wipe with a damp cloth weekly
Avoid harsh chemicals that can strip finish
Reseal wooden shelves every 6–12 months
Regularly inspect brackets for looseness
With minimal upkeep, your shelves will continue to look stunning and stay sturdy over time.
The best wood for floating shelves in the kitchen is hardwood, such as oak, walnut, or maple. These types provide strength and durability, especially for holding dishes or cookware. If you prefer a lighter look, pine can also work - just make sure to seal it properly to prevent warping in humid kitchen environments.
It depends on the mounting method and the type of wall anchors you use. Properly installed floating shelves attached to wall studs can hold between 30 to 70 pounds per shelf. Using strong brackets or concealed rods designed for heavy loads ensures maximum safety and longevity.
Yes, but only if you use high-quality wall anchors or toggle bolts rated for heavy weight. However, attaching shelves directly to studs is still the safest and most reliable method, especially for kitchens where shelves often carry heavier items like plates or jars.
Now you know exactly how to build floating shelves in kitchen spaces that are both practical and stylish. With the right tools, solid wood, and careful planning, you can transform empty walls into useful storage and decorative displays.
Whether you prefer natural finishes or sleek modern tones, floating shelves add warmth and personality to your kitchen - and the satisfaction of saying, “I built that myself.”


