Your cart (0)
Your cart is empty
Tax included and shipping calculated at checkout
Recommended products


Drawer menu
Tax included and shipping calculated at checkout


Ever wondered how to build floating pantry shelves that look sleek yet hold all your kitchen essentials? You’re not alone - many homeowners crave both beauty and practicality. In this guide, we’ll show you an easy, budget-friendly way to design, assemble, and style your own sturdy pantry shelves for a functional and elegant storage upgrade.
Have you ever looked at your cluttered pantry and thought, “There has to be a better way to organize this?” You’re not alone. Many homeowners struggle with limited space, bulky cabinets, and chaotic kitchen storage. That’s why learning how to build floating pantry shelves has become such a popular DIY solution for modern homes.
Floating shelves create a clean, open look that helps you maximize wall space while making everyday items easier to reach. They also make your kitchen feel larger and brighter - no heavy cabinets blocking the light. Whether your home style is modern, rustic, or farmhouse-inspired, floating pantry shelves blend functionality with aesthetics perfectly.
If you’ve ever wondered how to build floating pantry shelves that look professionally installed but cost a fraction of custom cabinetry, you’re in the right place. This project gives you both a beautiful design feature and a practical storage upgrade that fits any kitchen style.
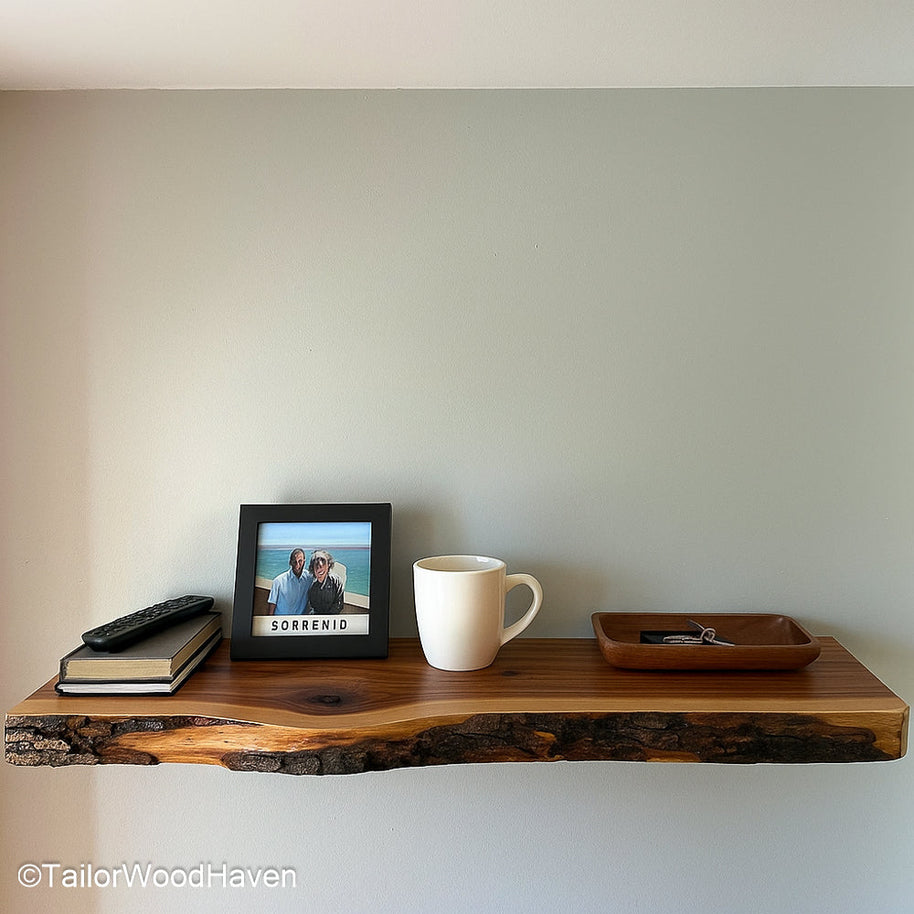
If you love the cozy charm of rustic kitchens, you can take inspiration from the Reclaimed Wood Floating Shelves. They’re perfect for bringing warmth and character into your space while keeping it practical.
Now that you know why floating shelves are a smart upgrade, let’s dive into what you’ll need to start building them.
Before you start drilling holes or cutting boards, it’s important to prepare everything you’ll need. Knowing how to build floating pantry shelves begins with gathering the right tools and materials - this step sets the foundation for a smooth, safe, and successful project.
Here’s a complete checklist to help you get started:
Wooden boards (choose oak, pine, or reclaimed wood depending on your style)
Hidden wall brackets or floating shelf supports
Drill and screws
Stud finder and level
Wood glue and sandpaper
Paint, stain, or finish (optional but highly recommended for durability)
As you learn how to build floating pantry shelves, remember that strong materials make all the difference. High-quality wood and hidden brackets not only provide stability but also give your kitchen a clean, professional look.
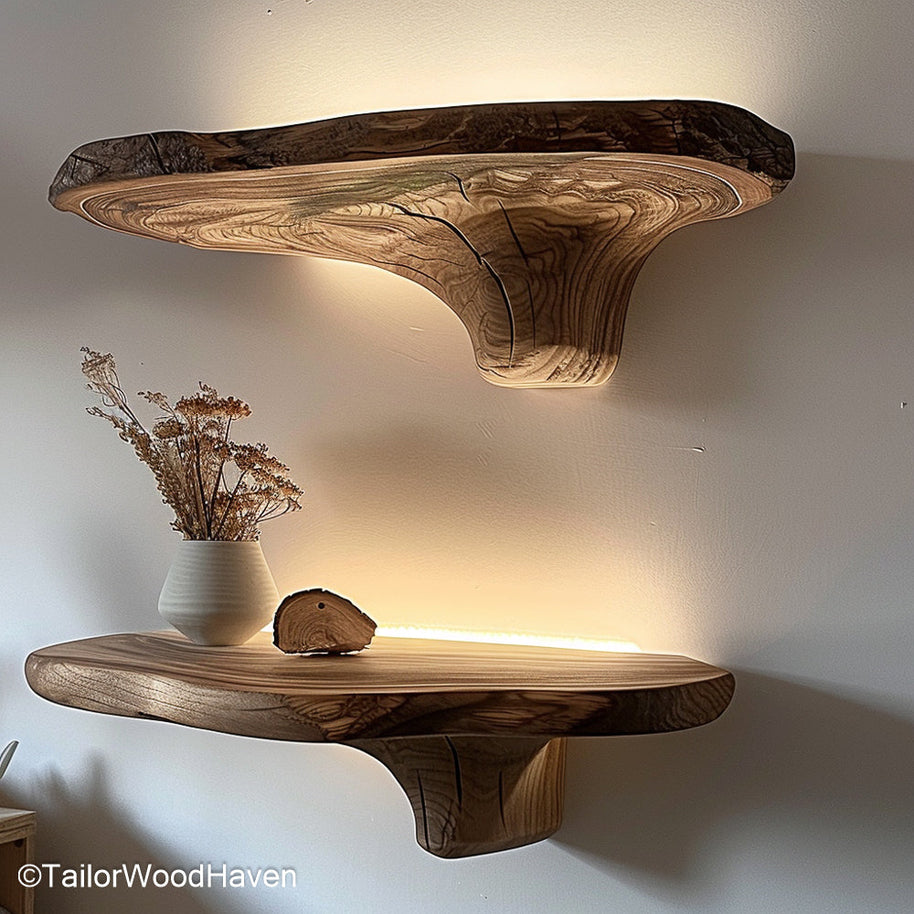
If you prefer a sleek, modern style, check out these Floating Shelves Brackets. They create that signature “floating” effect with reinforced steel - ideal for a sturdy and elegant finish.

If you’ve been wondering how to build floating pantry shelves from scratch, this step-by-step guide will walk you through every detail. Don’t worry if you’re not a professional carpenter - this project is beginner-friendly, affordable, and incredibly rewarding.
Learning how to build floating pantry shelves requires a bit of patience and precision, but once you master these steps, you’ll have sturdy, stylish storage that looks custom-made. Just follow this guide carefully, and soon your pantry will be both organized and beautiful.
Start by deciding where your shelves will go. Use a stud finder to locate the wall studs - these are essential for supporting the shelf weight. Mark the height and spacing between each shelf with a pencil and level.
Pro tip: Leave enough vertical space for tall pantry items like jars or bottles, so your shelves stay practical and stylish.
Cut your boards to the desired length using a saw. If you love a natural, handcrafted look, consider keeping a live edge. Sand all surfaces until smooth and pre-drill small holes where the brackets will attach - this prevents the wood from cracking later.
Now comes the structural step. Drill your hidden brackets or steel supports directly into the wall studs you marked earlier. Always check alignment with a level - even a small tilt can make the entire shelf uneven.
For design inspiration, explore these Floating Shelves for Living Room to see how hidden brackets combine beauty with strength.
Slide the hollow part of your wooden board over the installed brackets until it sits flush against the wall. Use screws or wood glue for additional stability. Then step back and check your alignment one last time - straight shelves instantly make your pantry look more professional.
You’re almost done! Smooth any rough edges, then apply your chosen finish - stain for rustic charm, paint for modern flair, or clear sealant for natural protection. The finishing touch is what makes how to build floating pantry shelves truly rewarding - you get to see your hard work transform into functional beauty.
The fun part of learning how to build floating pantry shelves is personalizing them to match your home’s character.
Here are some inspiring design ideas:
Minimalist Modern: White or black matte shelves against a neutral wall.
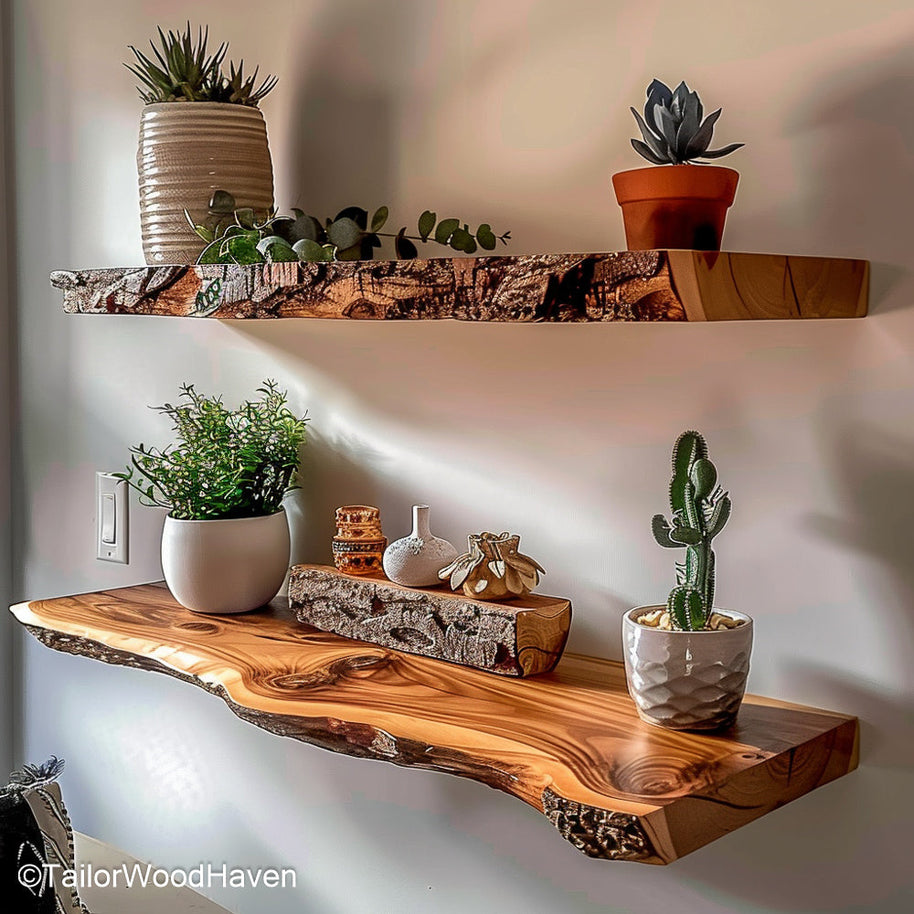
Farmhouse Rustic: Use reclaimed wood and soft lighting for warmth.
Industrial Chic: Combine wood with metal brackets for an edgy feel.
When planning how to build floating pantry shelves that match your home, think about harmony - your shelf design should complement your cabinetry, wall color, and overall kitchen flow.
If you have a small pantry or limited wall space, check out Floating Shelves Over Toilet in Compact Form - these compact designs can easily be adapted for small kitchen walls or narrow storage nooks.
Once your shelves are up, it’s time to fill them with style and purpose.
Now that you’ve learned how to build floating pantry shelves, it’s time to bring them to life with smart organization and a touch of personality. Styling isn’t just about looks - it’s about creating a system that keeps your kitchen neat, efficient, and inspiring.
The beauty of how to build floating pantry shelves lies in their open, accessible design - everything you need is right in front of you, yet perfectly organized.
Here are a few pro tips to elevate your shelf styling:
Group everyday items like spices, snacks, or baking ingredients on the lower shelves. Store rarely used items up high to maximize efficiency.
Uniform jars, baskets, and labels create a clean, cohesive look. They also make it easy to find ingredients quickly.
Mix practicality with personality - small plants, decorative jars, or soft LED strip lights can turn your pantry into a mini design statement.
Need inspiration? Check out this stunning DIY Pantry Makeover for ideas on how organization and aesthetics can beautifully merge.
A well-organized pantry not only saves you time during cooking but also reduces food waste - you’ll actually see what you own!
Even simple projects have pitfalls. Avoid these mistakes to ensure your shelves last for years:
Not anchoring into studs: Weak drywall can’t handle heavy loads. Always drill into studs.
Using thin or weak materials: Choose thick, durable wood for long-term use.
Skipping finishing steps: Unfinished wood can warp or absorb moisture.
Overloading shelves: Even the sturdiest designs have limits.
Finally, think about lighting - a warm LED strip under your shelves can make the space feel inviting and modern. When you master how to build floating pantry shelves, you’ll see that styling is the fun part: turning practical storage into a stunning visual feature that reflects your lifestyle and taste.
For more insights on structural planning and layout, see this detailed Custom Walk-In Pantry Reveal - it shows how smart planning prevents common shelf failures.
Now that you know what to avoid, let’s go over how to maintain your new shelves so they stay stunning year after year.
Once you’ve mastered how to build floating pantry shelves, a little maintenance goes a long way in keeping them sturdy and stylish.
Clean regularly: Wipe down shelves with a soft cloth and mild cleaner.
Inspect brackets and screws: Tighten loose fittings every few months.
Re-seal when needed: Apply a wood finish yearly to prevent stains or swelling.
Refresh with style: Try repainting, adding new hardware, or changing décor seasonally.
If you ever want to refresh your kitchen’s look, browse the Reclaimed Wood Floating Shelves for natural texture and long-lasting beauty - a simple update can completely transform your space.
The best materials for floating pantry shelves are solid hardwoods like oak, maple, or reclaimed wood - they’re durable, stylish, and can handle heavy pantry items. Avoid particle board or thin plywood since they may sag over time.
When built properly and anchored into wall studs, floating pantry shelves can typically support 30–50 pounds per foot. The exact load depends on the type of brackets and wood thickness you use.
Yes, but it’s not ideal. If wall studs aren’t available, use heavy-duty anchors rated for your shelf’s weight, or consider using wall-mounted bracket supports instead.
Learning how to build floating pantry shelves isn’t just about saving money - it’s about reclaiming control of your kitchen space. With the right materials, a weekend of work, and a touch of creativity, you can build shelves that make your pantry both practical and beautiful.


