 Skip to content

Your cart (1)
Have something special in mind? Whether it's a unique size, design, or custom wood type, we’re happy to craft it just for you. Share your idea with us, we’ll bring it to life.

Your wishlist is empty.
Continue shopping

Step 1: Lay all pieces face down on a soft blanket, in the right order. Skip to Step 3 if your art is one piece.
Step 2: Join the pieces.
Step 3: Hold the art on the wall and mark the top centre with a pencil.
Step 4: Mark the screw positions on the wall, using a spirit level.
Step 5: Drill the holes and insert wall plugs.
Step 6: Fix the hardware to the wall.
Step 7: Hang the art on the screws, or lower it onto the cleat until it locks. Check it is level.
Modular design for large items:
For large or non-solid pieces, the final product will be crafted in modular sections to ensure both easy assembly and visual continuity
Differences from listing photos will occur:
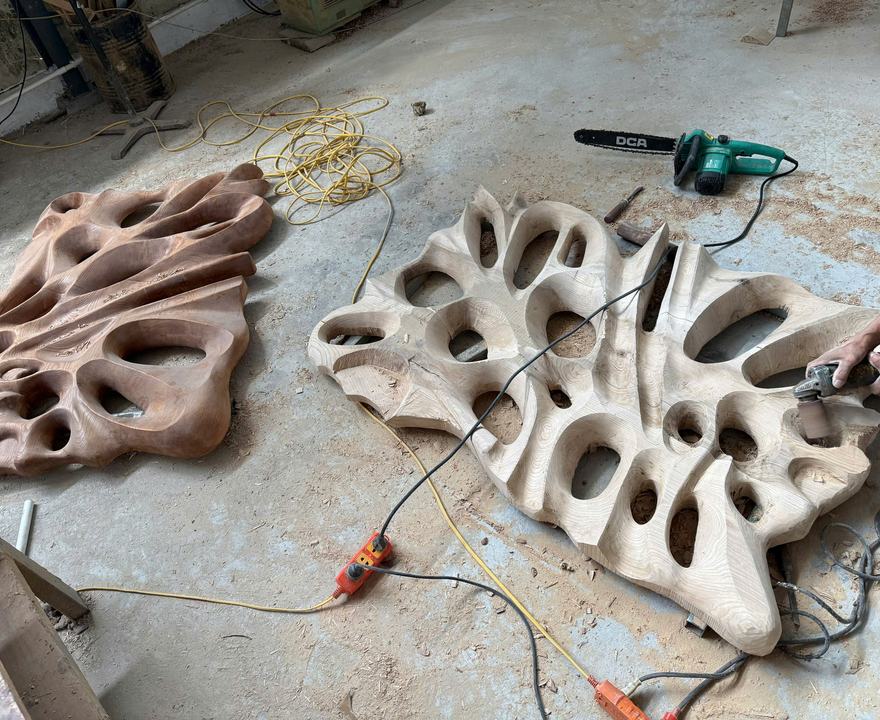
Each item is made individually by hand, and natural wood variations ensure that no two pieces are exactly alike. We will send you progress updates with images during the crafting process and only ship with your approval
We offer free worldwide shipping to most regions, including the U.S., Canada, and the EU.
Because our furniture is handmade to order, orders are non-refundable unless they arrive damaged or defective.



234 reviews


