Your cart (0)
Your cart is empty
Tax included and shipping calculated at checkout
Recommended products


Drawer menu
Tax included and shipping calculated at checkout


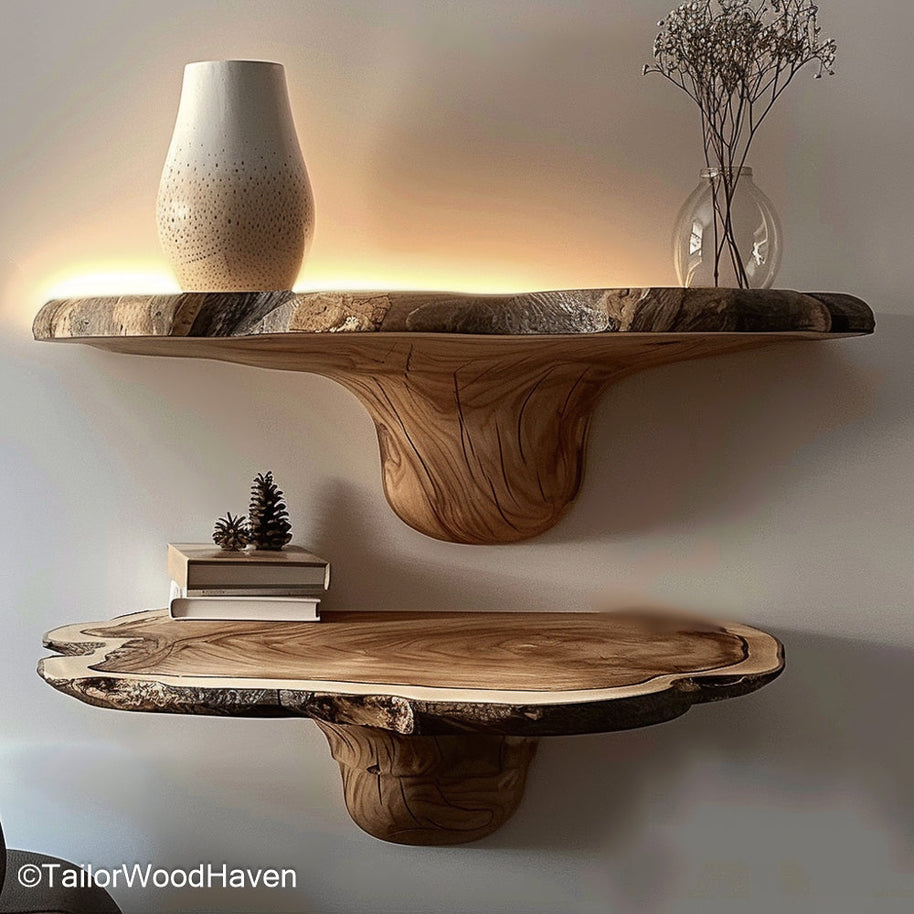
Want to add a rustic touch without cluttering your space? Learning how to install live edge floating shelves is the perfect way to blend functionality with natural charm.
In this guide, we’ll walk you through every step-from preparing your wall to making sure your shelves are perfectly level-so you can bring that handcrafted, organic look into your home effortlessly.
Before you start, understanding how to install live edge floating shelves begins with having the right tools and setup. Proper preparation not only saves time but also ensures a stable, professional-looking result.
You’ll need:
A power drill and bits that match your wall type
A level tool to keep everything perfectly straight
Screws and heavy-duty anchors for secure mounting
Floating shelf brackets or hidden support rods
A tape measure and pencil for accurate markings
Your chosen live edge wood shelf
If you’re learning how to install live edge floating shelves for the first time, pick sturdy wood-oak, walnut, or maple are great options. These materials are durable and highlight the shelf’s natural beauty.
Finally, don’t skip wall prep. A strong wall base is crucial in how to install live edge floating shelves correctly, especially since live edge slabs tend to be heavier than regular wood. Once your materials are ready, it’s time to move on to mounting and leveling.
If you’re wondering how to install live edge floating shelves properly, leveling is the key to a clean and professional look. A slightly uneven shelf can throw off the entire wall design, so precision matters from the start.
When learning how to install live edge floating shelves, always check for wall studs first. Mounting brackets into studs gives your shelves the strongest support. If studs aren’t available, choose heavy-duty anchors suitable for your wall type.
Accurate marking ensures your shelf sits level. Use a measuring tape and pencil to mark each bracket position, double-checking that all points are aligned.
Drilling straight holes is one of the most crucial steps in how to install live edge floating shelves successfully. Keep your drill steady and level-small mistakes here can cause a visible tilt later.
Insert the brackets loosely, then use a level to verify the alignment before tightening everything. Once confirmed, secure your shelf firmly to complete the installation.
If you prefer an easier setup, check out Floating Shelves with Brackets Included. They simplify the process and ensure stability for even the heaviest live edge designs.
Drywall can be tricky, especially when you’re learning how to install live edge floating shelves in rooms where wall studs aren’t available. Since drywall isn’t as strong as concrete or wood, the key is to use the right hardware and careful technique.
These anchors expand behind the wall, distributing weight evenly and preventing cracks. They’re ideal for heavy wood pieces like live edge shelves.
Tightening screws too much can strip the drywall or weaken the anchor’s hold. Stop once they feel snug and secure.
For larger or thicker slabs, add a center bracket for balance. This simple step ensures your shelf stays level and strong over time-especially important in how to install live edge floating shelves safely and securely.
For smaller areas like bathrooms, explore our Floating Shelves Over Toilet. They’re designed for drywall mounting and offer stability without extra drilling.
Many homeowners hesitate to start because they think how to install live edge floating shelves is complicated or requires professional help. The truth is, it’s much simpler than it looks once you understand the basics.
Not checking wall studs before drilling
Using weak anchors that can’t support the weight of live edge wood
Forgetting to level brackets before tightening screws
Measure twice, drill once, and use a level tool at every step. These small actions make a big difference when figuring out how to install live edge floating shelves correctly and evenly.
Most DIYers can perform the installation in less than an hour.
With the correct equipment and perseverance, even beginners can produce professional results.
If you’d like visual guidance, check out this step-by-step DIY guide on hanging solid wood shelves. It’s perfect for anyone who learns better by seeing each stage in action.
Drilling straight is one of the most overlooked yet essential parts of how to install live edge floating shelves. Perfect holes ensure your brackets sit securely and your shelf stays level for years to come.
A drilling jig or cardboard template helps you align holes evenly. This simple tool makes how to install live edge floating shelves much easier, especially for beginners aiming for precise results.
Use a pencil to mark pilot holes and double-check spacing before you start drilling.
Hold the drill firm and perpendicular to the wall. Using a small bubble level attachment can help prevent tilting during drilling.
Once your holes are straight, the brackets will fit perfectly, setting you up for a flawless installation in the next step.
For a cozier farmhouse look, check out our Reclaimed Wood Floating Shelves.
If you love hands-on projects, understanding how to install live edge floating shelves can also help you build your own from scratch. It’s a rewarding way to personalize your space and create shelves that perfectly fit your home’s style.
Choose reclaimed or solid wood like oak or walnut for strength and longevity. Knowing how to install live edge floating shelves properly ensures these heavy, beautiful slabs stay secure and level on your wall.
Sand rough areas carefully while preserving the wood’s natural shape. Finish with oil or sealant to protect from moisture and maintain its rustic appeal.
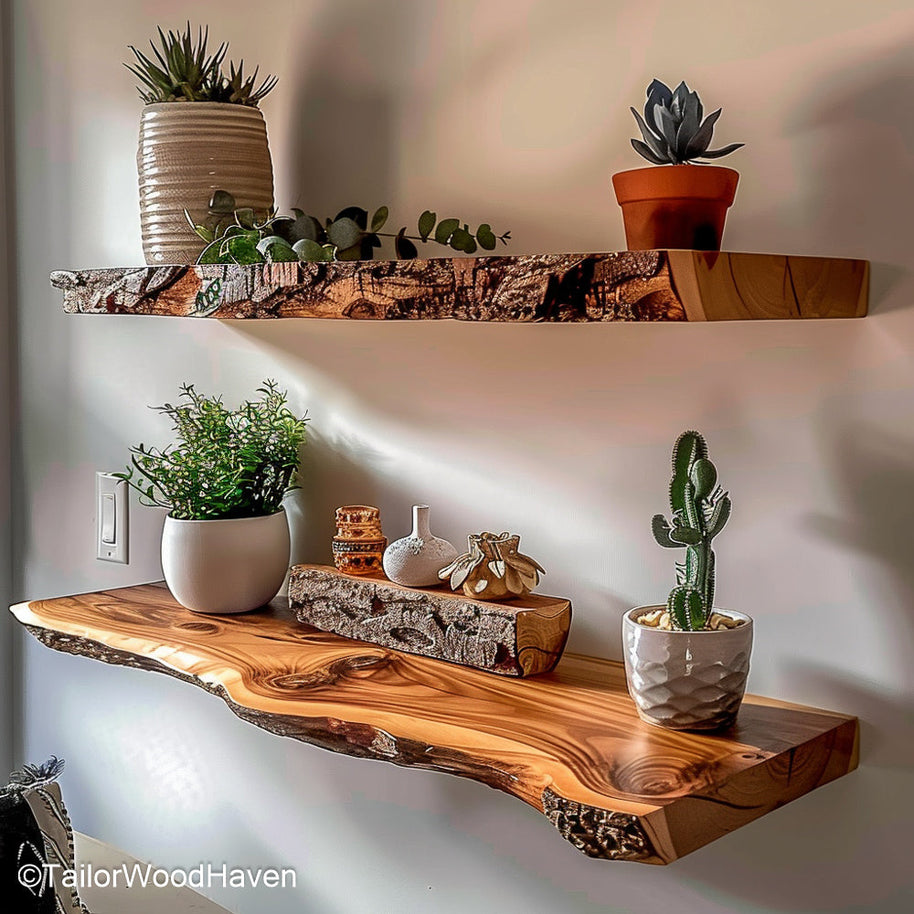
For rustic spaces, pair with natural stone or exposed brick.
For modern rooms, match with sleek metal brackets.
For eclectic interiors, combine plants, ceramics, and layered textures.
If you’re looking for handcrafted charm, explore our Etsy-Inspired Floating Shelves.
Final Tips on How to Install Live Edge Floating Shelves Safely
When you’re wrapping up your project, safety and precision matter just as much as design. Whether you’re a beginner or a seasoned DIYer, these final tips will help you master how to install live edge floating shelves securely and beautifully.
Before drilling any holes, use a stud finder to locate the studs or solid backing within the wall. Mounting directly into drywall without proper anchors can cause your shelves to sag or fall - especially with the heavier weight of live edge wood.
Precision is key when learning how to install live edge floating shelves properly. Use a high-quality level and mark all anchor points before drilling. Even a slight tilt can cause books, plants, or decorative pieces to slide off over time.
Live edge shelves often have irregular shapes and variable thickness, so always choose hardware that matches their weight and texture.
After drilling, insert your anchors or brackets and tighten them firmly before sliding on the shelf. Give it a gentle upward pull test - if there’s even a slight wobble, remove it and reinforce with additional hardware.
Once installed, occasionally check for signs of loosening or warping due to humidity or temperature changes. A quick inspection every few months keeps your installation safe and your wall looking pristine.
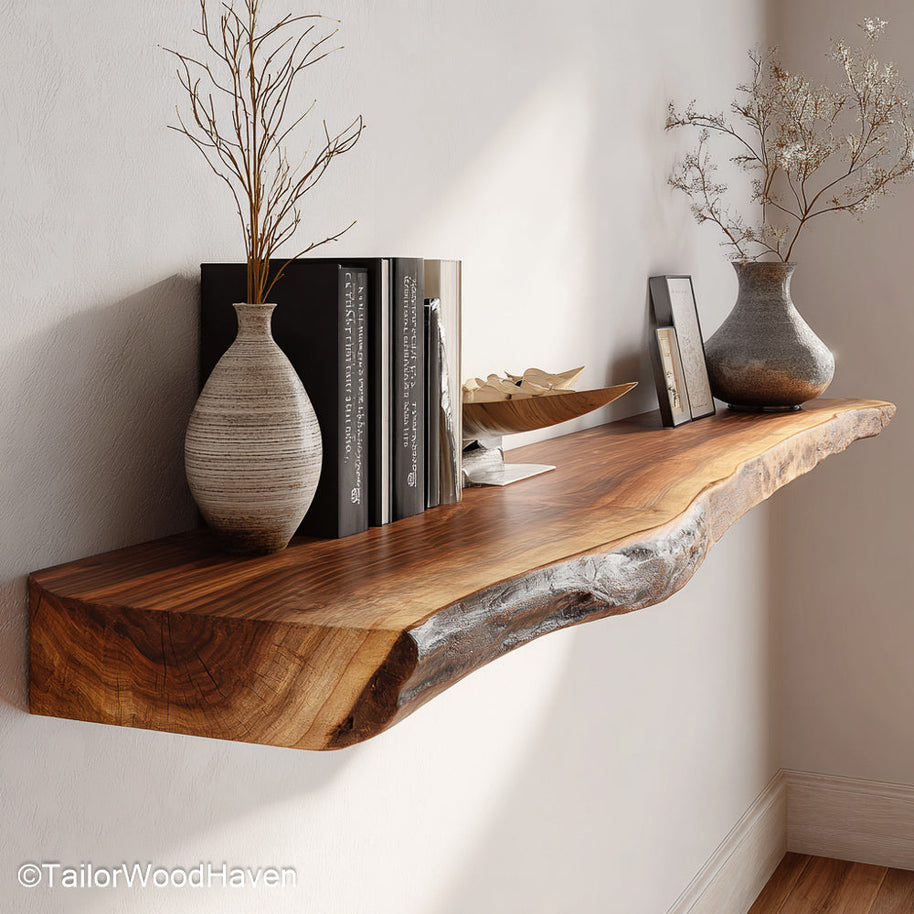
While aesthetics matter, never overload your shelf beyond its capacity. Mix lightweight décor with a few statement pieces, and always place heavier items close to the wall for even distribution.
By following these final steps, you’ll not only know how to install live edge floating shelves safely but also enjoy a stunning and functional display that enhances your room for years.
Use hidden brackets or rods anchored securely into wall studs. Mark and drill straight holes, insert the brackets, then slide the shelf onto them. Always check with a level to ensure perfect alignment.
People often skip finding wall studs, use weak anchors, or fail to level the brackets properly. Overloading shelves or drilling uneven holes can also cause sagging or instability.
Ideally, yes-mounting into studs provides the best support for heavy live edge wood. If studs aren’t available, use high-quality wall anchors or toggle bolts designed for your wall type.
Learning how to install live edge floating shelves gives you more than storage-it gives your home personality. From drilling straight holes to perfect leveling, each step brings you closer to a finished look that blends natural artistry with functionality.
So grab your tools, pick your favorite wood slab, and start building your dream wall today.


