Your cart (0)
Your cart is empty
Tax included and shipping calculated at checkout
Recommended products


Drawer menu
Tax included and shipping calculated at checkout


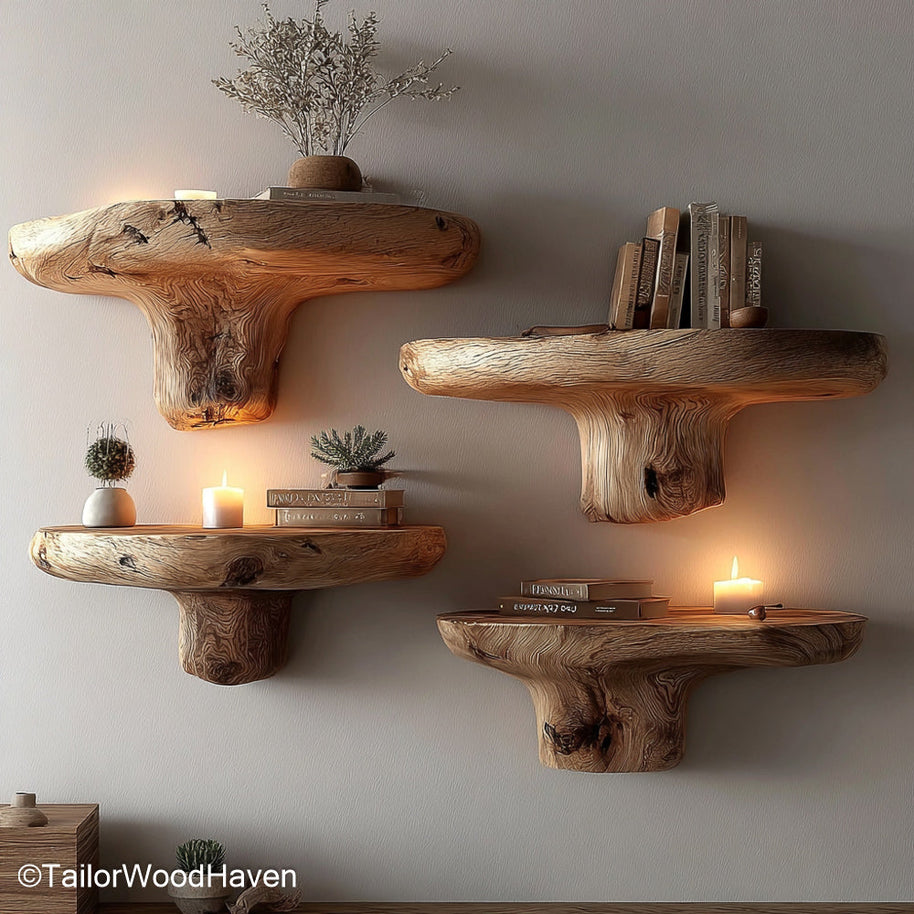
Live edge shelves are prized for their organic beauty, offering a stunning centerpiece crafted from natural wood. However, this aesthetic appeal comes with a significant structural challenge: live edge slabs are dense, heavy, and require specialized mounting techniques to ensure stability. This comprehensive guide focuses on the technical hanging technique required for these substantial pieces. We will detail the precision drilling and structural anchoring necessary to master how to hang live edge floating shelves using the heavy-duty hidden rod system, guaranteeing a beautiful, secure, and long-lasting installation.
Careful planning before you start ensures your beautiful live edge floating shelves are strong and look great. This is the foundation for how to hang live edge floating shelves securely:
Check the Wall and Find Studs: Use a stud finder to locate and mark the center of wall studs where you want to place the shelf. For a strong hold, aim to attach the shelf to at least two studs. Draw a straight vertical line to guide your drilling.
Choose the Right Hardware: A key step in how to hang live edge floating shelves is choosing strong materials. Use steel rods and heavy-duty mounting plates designed for weight-bearing. Choose systems that let you adjust the shelf slightly after mounting for perfect leveling.
Select the Correct Drill Bit: Use a sharp, high-quality Forstner or auger bit that matches the rod’s size. A good bit prevents issues like burning or sticking when drilling deep into hard wood.
The precision required for this heavy-duty installation demands a specific set of tools, emphasizing accuracy over speed.
Drilling Tools: A drill press or a 90-degree drill guide jig is necessary to drill straight holes into hardwood. Without these, holes may angle incorrectly, causing a tilted shelf when learning how to hang live edge floating shelves.
Wall-Mounting Tools:
Impact driver
A 4-foot level
Stud finder
Lag screws
Measurement Tools:
Calipers (to measure rod diameter)
Metal tape measure
Square
Your floating shelves
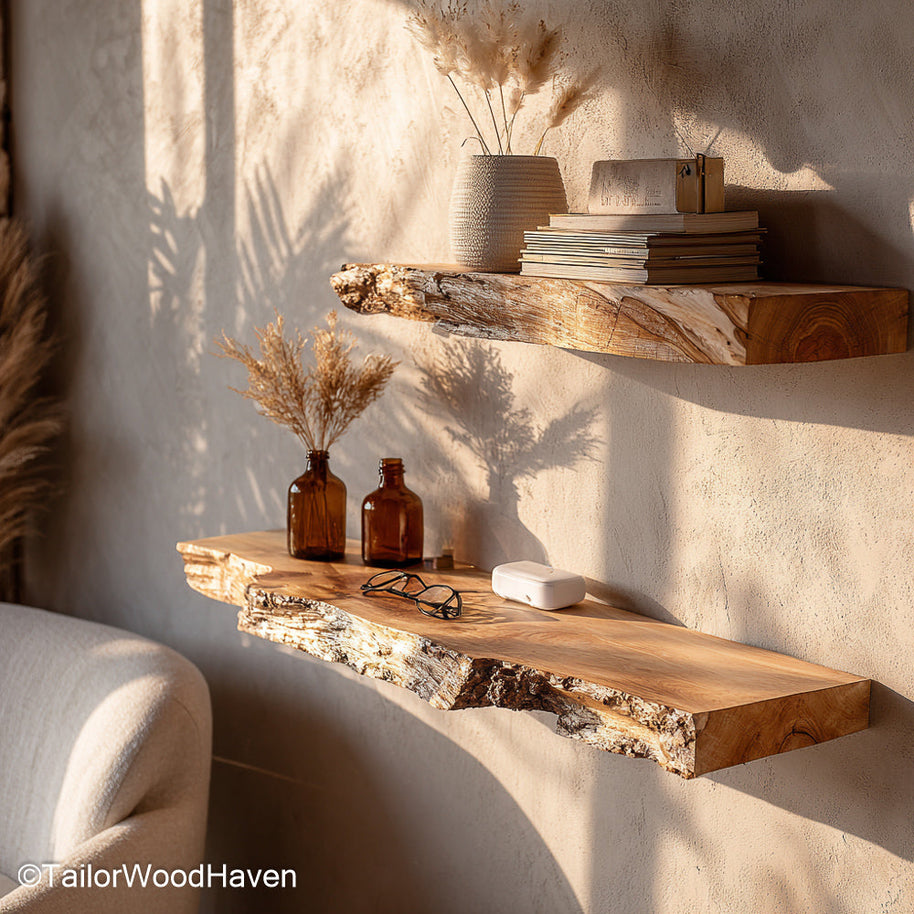
Need a stunning upgrade for your wall? Stop waiting – this walnut floating shelf is the sturdy, stylish solution you need to finally transform that empty space!
This guide covers the essential, non-negotiable steps for properly anchoring the heavy live edge slab, showing you exactly how to hang live edge floating shelves.
This step establishes the crucial structural foundation for how to hang live edge floating shelves. Begin by using a long level to draw a perfectly straight, horizontal line on the wall. Next, pre-drill pilot holes directly into the center of the studs to prevent the wood from splitting and maximize strength. Finally, firmly drive the structural lag screws to secure the rod brackets, ensuring they are perfectly level and straight out from the wall.
Drilling the slab accurately is the toughest part when learning how to hang live edge floating shelves, as any mistake can spoil the smooth fit. Measure the exact space between the wall rods and mark those spots on the back edge of the slab, using a square to line them up on its thickness. Clamp the slab tight, then use a drill press or 90-degree jig to keep the bit straight into the hard wood for a level slide-on. Drill slow and deep to the needed length (following the 3/4 rule), pulling out the bit often to remove wood chips and avoid heat or jams – this careful work ensures success in how to hang live edge floating shelves securely.
The final assembly phase ensures the shelf is flush, level, and permanently secured. First, gently slide the heavy slab onto the rods (the dry fit). If it won't sit flush against the wall, remove it and slightly widen the tight hole before the final mounting push. After mounting, check the shelf with a level and use the rod system's fine-tuning screws for any minor corrections. For maximum, long-term stability, apply strong construction adhesive inside the holes right before you complete how to hang live edge floating shelves.
Tired of difficult assembly? Our top-quality walnut floating shelves are perfectly cut for a guaranteed flush fit, making the final setup easy and smooth.
Focusing on these common issues ensures you master how to hang live edge floating shelves successfully:
Fixing Sagging: Sagging (the shelf dipping at the front) is caused by insufficient rod depth (violating the ¾ rule) or poor anchoring. The only reliable fix is often removing the shelf and replacing the hardware with longer, heavier-duty rods secured deeper into the studs.
Dealing with Gaps (Irregular Back Edge): If the live edge shape prevents the shelf from sitting flush against the wall, you must flatten a small strip along the mounting edge using shims or a router. Gaps severely compromise stability.
Preventing Wall Gaps: After final fitting, use a thin, smooth bead of paintable caulk along the top seam where the shelf meets the wall. This fills any tiny irregularities and provides a seamless, professional finish.
After successfully navigating how to hang live edge floating shelves and completing your structural installation, routine care is essential to preserve the wood’s natural beauty and stability.
Cleaning: Use a soft, dry cloth or a slightly damp cloth with mild soap for dusting and cleaning the surface. Never use harsh chemical cleaners, as they can damage the wood finish and sealant, accelerating deterioration.
Edge Care: The live edge (the natural, textured section) may benefit from an occasional light application of natural mineral oil or wood wax to prevent it from drying out and cracking, especially if the original sealant was not comprehensive.
Structural Check: Periodically inspect the shelf by pushing gently on the front edge. If you notice any noticeable shift or sag, check the tightness of the lag screws immediately to ensure the long-term security of the heavy installation.
Once you’ve mastered the precise technical challenges of how to hang live edge floating shelves, the fun begins: decorating! The live edge slab is an organic centerpiece, so your styling should complement its natural, rustic texture.
In the Living Room: Create a layered, welcoming arrangement. Mix horizontal stacks of books (using the spine color to coordinate with your décor) with modern metal accents like framed art or sleek candlesticks. Use small geodes or stone coasters to echo the natural material of the shelf itself.

To truly anchor this layered, welcoming look, choose this floating shelf – its rich, natural wood is the perfect counterpart to your books, metals, and stone accents.
In the Kitchen: Focus on natural, functional items. Display handmade ceramic mugs, smooth wooden bowls, and small pots of vibrant, fresh herbs. The combination of dense wood and clean pottery creates a balanced, utilitarian aesthetic.
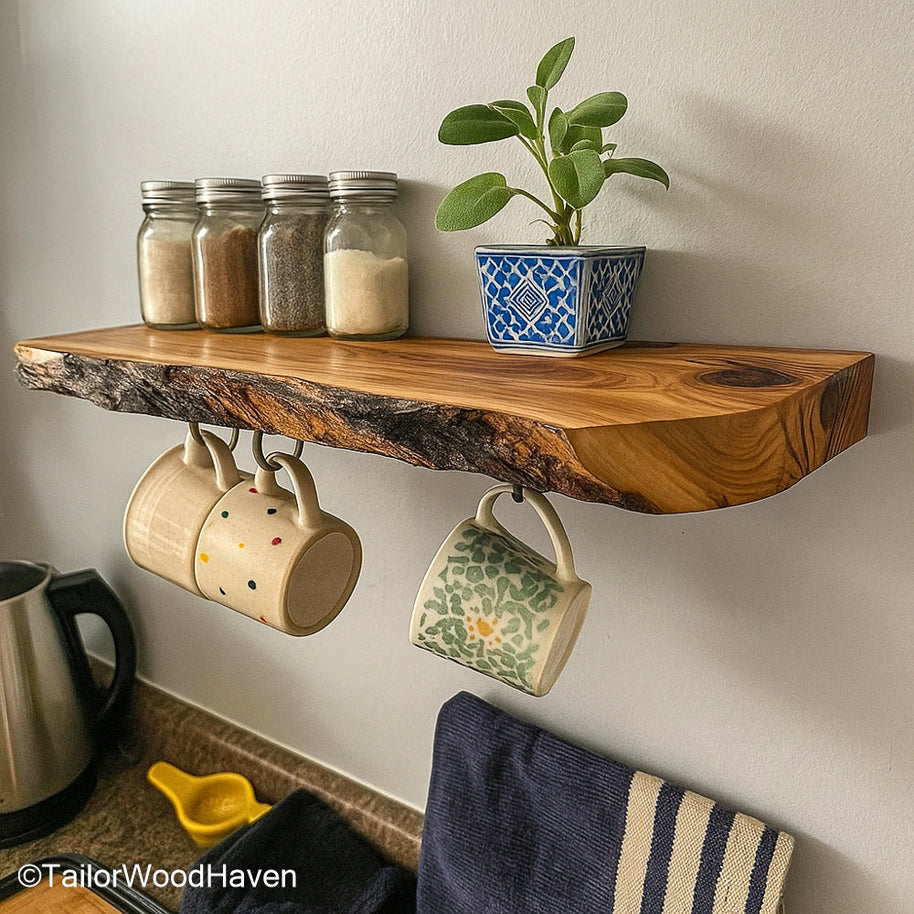
For a seamless, high-end look in your kitchen, this walnut floating shelf provides the perfect warm, solid foundation for showcasing your functional items like ceramic mugs and fresh herbs.
In the Bathroom: Prioritize water-resistant finishes on the wood and display items that add warmth. Roll fluffy hand towels for texture, use clear glass apothecary jars for cotton swabs, and incorporate moisture-loving greenery (like ferns) to enhance the organic feel.
When arranging items on multiple shelves, avoid strict, boring symmetry. Instead, mix symmetry (using matching items at both ends of a single shelf) with staggered layouts across different shelves to maintain an organic, effortless flow that suits the live edge aesthetic. For more shelf styling ideas, you should check out Wayfair’s tutorial.
Besides the question of how to hang live edge floating shelves, this section addresses common questions about placing and structuring heavy live edge slabs.
Only if your wall is concrete, brick, or cinder block, using specialized heavy-duty toggle or sleeve anchors. Never use drywall alone, as the weight of the shelf and its contents will exceed the capacity of non-structural anchors.
Sagging is primarily prevented by adhering to the 3/4 rule, meaning the hidden rod must penetrate at least 75% of the shelf's depth. Sagging also indicates poor stud alignment or insufficient rod length.
The most secure method for a heavy live edge is the heavy-duty hidden rod bracket system. This system uses lag screws driven directly into wall studs, providing the necessary tensile and shear strength.
The key is proper anchoring. Ensure you secure the brackets using lag screws directly into the center of two or more studs, and confirm the deep holes drilled into the slab are perfectly square.
You have clarified how to hang live edge floating shelves, transforming a challenging structural task into a display of organic elegance. The reward for your precision – from stud mapping to the final level check – is a stunning, unique shelf that appears to defy gravity. Embrace the finished fusion of rustic beauty and modern engineering. Knowing how to hang live edge floating shelves means you've built a showpiece that will draw compliments for years to come.


