Your cart (0)
Your cart is empty
Tax included and shipping calculated at checkout
Recommended products


Drawer menu
Tax included and shipping calculated at checkout


Tired of ordinary shelving? A live edge slab offers a unique organic statement, but transforming it into a secure floating shelf is a demanding DIY challenge. Due to the wood's immense weight and natural irregularity, precision is mandatory in every step. This guide provides the expertise needed – from slab preparation and specialized drilling to the final structural mounting – to show you exactly how to build live edge floating shelves that are not just beautiful, but engineered for lifelong stability.
The effort required to learn how to build live edge floating shelves is rewarded with unique benefits that store-bought shelves just can't offer:
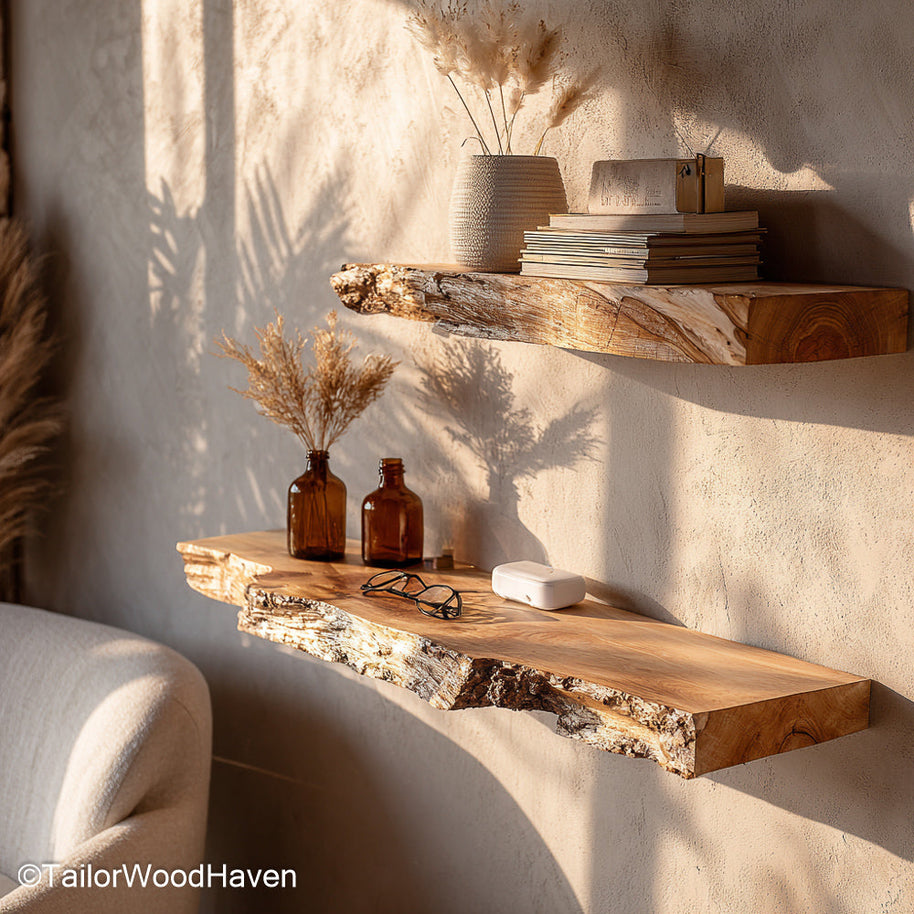
One-of-a-Kind Beauty: Each piece of wood has a unique grain and organic edge, making your shelf a natural, unmatched statement piece. No two shelves are ever the same.
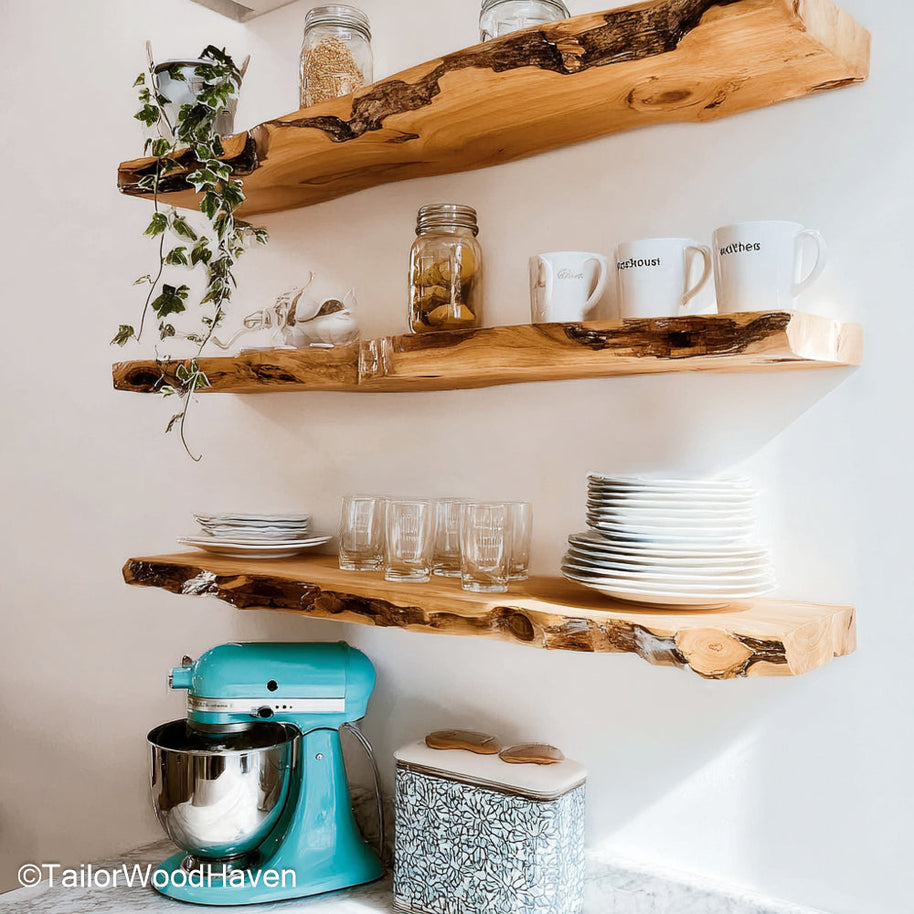
Space-Saving Design: The floating installation keeps walls open and reduces visual clutter. This modern method adds storage without sacrificing the airy feel of your room.
Perfectly Custom: Building it yourself gives you total control over the exact size, wood type, and finish, ensuring it perfectly matches your home's style.
Eco-Friendly: Many builders use reclaimed or salvaged wood, which minimizes waste and makes your project a sustainable, eco-conscious choice.
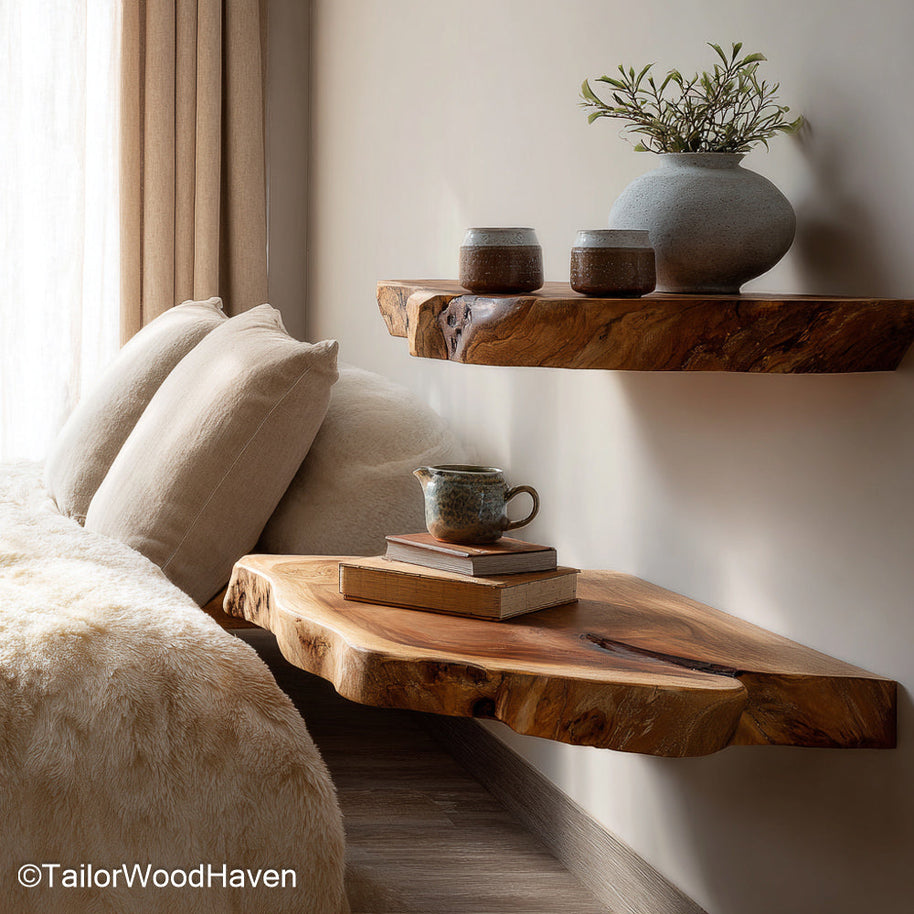
Don't have the time for a complex build? These live edge floating shelves deliver that custom & one-of-a-kind beauty you crave – already ready to install.
Failure to plan for the extreme weight is the quickest way shelves fail. Mastering how to build live edge floating shelves starts with knowing these three things:
Load Capacity: You must identify the heaviest items the shelf will hold. This crucial weight determines the required thickness of the wood and the necessary strength rating of your hardware.
Wall Structure: Figure out your wall type – drywall, brick, or concrete. For safety, you must anchor your brackets directly into solid wall studs or masonry. Light drywall anchors are not an option for this heavy wood.
Shelf Layout: If you are building multiple shelves, use a tape measure to plan the vertical distance. The spacing should be based on the height of your display items, typically ranging from 12 to 18 inches.
Choosing the correct raw material is fundamental to the stability and success of how to build live edge floating shelves:
Wood Type: Always choose hardwoods like walnut, oak, or maple. Avoid softwoods, as they lack the density and strength needed for a heavy floating shelf.
Slab Thickness: You need a minimum thickness of 1.5 to 2 inches. This rigidity prevents sagging and allows enough depth to drill the long holes for the hidden rods.
Moisture Content: Use only kiln-dried wood (under 10% moisture). This is critical to stop the shelf from warping, twisting, or cracking after you install it.
Size:
Small Shelves (24–36 inches): Ideal for small decorative displays.
Long Spans (48–72 inches): Great for statement walls, but they require heavier mounting hardware and possibly more rods.
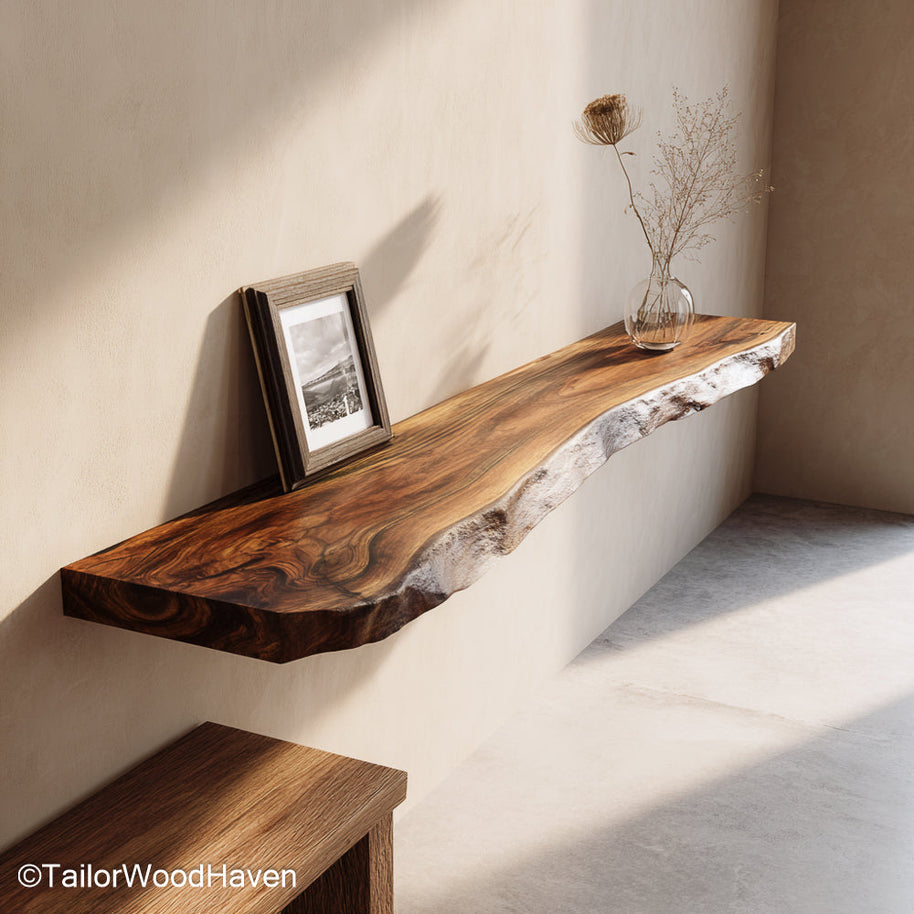
Skip the raw material search and stability checks – this premium walnut floating shelf is crafted from dried & thick hardwood, guaranteeing the density and rigidity you need right out of the box.
Gathering all components ensures efficiency and precision throughout the process of learning how to build live edge floating shelves.
Live edge slab
Hidden floating shelf brackets (rod or plate style, high-tensile steel)
Lag screws
Washers
Epoxy or wood filler (for filling large cracks or voids)
Sandpaper (80–220 grit)
Finish: tung oil, Danish oil, or polyurethane
Circular or table saw
Drill/driver
Router (essential for flattening the slab)
Orbital sander
Drill Press
Clamps
Long level
Stud finder
Measuring tape
Square
Pencil
Before installation, the wood needs careful preparation. First, flatten the slab using a router sled to remove any warp, ensuring the surfaces are perfectly flat. Next, square the mounting edge by cutting the wall side perfectly straight and at a right angle. Finally, sand the surface from coarse to fine grit for a smooth feel. This careful work is foundational to knowing how to build live edge floating shelves with a professional look.
Finishing the slab is the last crucial step before mounting. Start by using tinted epoxy or filler to fix any large knots or cracks. Next, apply your chosen finish, whether it’s oil or polyurethane, to protect the wood from moisture and bring out the beauty of the grain. You must then let the finish fully cure before installing the shelf, as rushing this part can easily cause damage. This meticulous attention to detail completes how to build live edge floating shelves professionally.
Skip the mess of epoxy, sanding, and staining! Our walnut floating shelves arrive perfectly finished and fully cured, ready to install and admire immediately.
This is the most critical stage for securing the shelf and the ultimate test of how to build live edge floating shelves successfully. First, you must precisely measure the exact spacing between the planned rod positions on the wall and transfer those measurements onto the back of your slab. Next, you must use a drill press or a right-angle drill guide to ensure the holes are drilled perfectly straight and square; even a slight tilt will cause the shelf to lean later. Finally, drill the holes slowly to a depth that satisfies the ¾ rule, regularly clearing shavings to prevent burning the wood.
To prepare the wall, first, re-check that you have marked the center of the wall studs along your level line. Next, use an impact driver to firmly secure the mounting plates to those wall studs with lag screws. Driving the screws in tightly is crucial for structural integrity and ensures the wall is completely ready for the heavy wood slab.
The final steps permanently secure the shelf. Start by doing a dry fit onto the rods until the slab sits flush. Next, use a level to check the position and fine-tune the angle using any available set screws. For maximum, long-term security, apply a strong construction adhesive inside the rod holes just before the final mounting push. Applying this permanent seal is the last step in knowing how to build live edge floating shelves that will never shift.
By following these steps, you successfully master how to build live edge floating shelves that are both beautiful and sturdy. For a guide with pictures, further check Wilkerdos’s tutorial.
Even with meticulous planning, issues can arise when learning how to build live edge floating shelves. Here’s a quick guide to diagnosing the most common structural problems:
Shelf Instability (Wobbling)
Diagnosis: This is often caused by misaligned drill holes in the slab that are too large for the rods, or lag screws that are loose or failed to hit the center of the wall stud.
Solution: Tighten all lag screws. If the wobbling persists, the shelf may need to be removed to inject construction adhesive into the drill holes before remounting.
Shelf Sagging
Diagnosis: The holes in the shelf were not drilled at a perfect right angle to the back edge. Even a slight deviation causes the shelf to sag forward or tilt sideways.
Solution: You must remove the shelf and carefully widen the top of the hole (if sagging forward) using a rasp to compensate for the incorrect angle.
Gap Between the Shelf and Wall
Diagnosis: This results from the wall being uneven, or the back edge of the shelf not being perfectly squared during preparation.
Solution: For small gaps, apply a thin bead of paintable caulk along the seam for a seamless professional finish, effectively completing your guide on how to build live edge floating shelves.
After mastering how to build live edge floating shelves, long-term care is simple but necessary. For regular cleaning, just use a soft, dry cloth, or a slightly damp one with mild soap; never use harsh chemical cleaners that will harm the wood finish. If your shelf has an oil finish, re-applying the oil every year or two keeps the wood hydrated and looking fresh.
You should also periodically check the shelf for stability by giving the front edge a gentle push. If you notice any shift or movement, be sure to check and tighten the mounting lag screws immediately to ensure the shelf remains securely anchored.
Stop worrying about tightening hardware! This walnut floating shelf is built with professional-grade stability, meaning you get lasting beauty with only simple cleaning.
You've moved beyond simple installation to true craftsmanship. The reward for learning how to build live edge floating shelves is a permanent, custom fixture that elevates your space. Every unique curve and grain pattern is a testament to your hard work and attention to structural detail. This systematic approach ensures your heavy slab remains secure for a lifetime. Now that you've mastered how to build live edge floating shelves, you've created a piece that will continue to draw admiration for years.


