Your cart (0)
Your cart is empty
Tax included and shipping calculated at checkout
Recommended products


Drawer menu
Tax included and shipping calculated at checkout


Tired of clunky brackets ruining your aesthetic? Learn the secret to achieving that sleek, coveted floating shelves on a wall look using the heavy-duty hidden rod system. This detailed guide eliminates the guesswork, showing you how to transform a solid slab of wood into a robust, weight-bearing design element. We break down the precise measurements and anchoring techniques necessary for structural integrity. Master how to build floating shelves on a wall that appear effortless while confidently holding your heaviest items.
Choosing to learn how to build floating shelves on a wall is a decision rooted in both modern style and practicality. These shelves offer a clean, minimalist aesthetic by completely hiding all supports, giving any room an open, uncluttered feel. This seamless design integrates perfectly with any décor, from rustic homes to contemporary apartments.
Beyond the look, DIY floating shelves provide superior customization. You control the exact wood species, length, and depth needed for your specific space, ensuring a perfect fit every time. This approach is also highly cost-efficient, delivering high-end, bespoke storage without the expense of custom-built carpentry.
Careful planning is the foundation for a successful DIY floating shelves project. Before starting any work, you must assess your needs and choose the right parts for how to build floating shelves on a wall.
Wall & Load Assessment: For anything beyond very light decor, rods must be secured directly into wall studs, concrete, or brick. Never use standard drywall anchors for load-bearing items.
Rod Depth Rule: For structural stability, the metal rods must extend into the shelf by at least 3/4 of the shelf's total depth.
Shelf Material:
Solid Wood: This is the strongest and most durable choice, offering a beautiful, high-end aesthetic. However, it is heavier, more expensive, and requires precise drilling for deep rod holes.
Plywood: This is a lighter and more budget-friendly option, often easier to drill than dense hardwoods. The main drawback is that it may require careful finishing to achieve a clean aesthetic, as it lacks the rich detail of solid wood.
Rod Spacing: Always aim for a minimum of two rods, each anchored into a stud. For maximum strength, your spacing will typically be 16 or 32 inches on center. Following these rules answers how to build floating shelves on a wall securely.
Is the precision required for how to build floating shelves on a wall too difficult? Skip the hassle and buy our walnut floating shelves for guaranteed professional results.
Having the right tools is non-negotiable for precision and strength when learning how to build floating shelves on a wall. Here are tools you’ll need:
Drill Press
Drill Bits
Measuring Tape
Pencil
Stud Finder
Long 4-foot Level
Drill/Driver
Pilot Hole Drill Bit
Safety Gear
Sandpapers
Wood Filler
Stain of Paint
The following steps must be executed with precision to ensure your answer to how to build floating shelves on a wall results in shelves that are level, secure, and beautifully finished.
To properly prepare your shelf slab for installation when learning how to build floating shelves on a wall, you must be accurate. Use precise measurements and ensure both ends are cut perfectly square. Next, slightly round over the edges for a professional look. Always inspect the wood and place any major defects on the side that will face the wall or floor.
Finishing the wood before you drill is key to a professional outcome. For how to build floating shelves on a wall with maximum durability, first sand the shelf with fine grit until it's smooth, then apply your stain or paint. Finally, seal the wood with a protective topcoat, like polyurethane. Remember to let the finish fully cure (dry completely) before mounting the shelf to the wall.
Want the deep color and professional protection without the messy staining and long curing time? These pre-finished floating walnut shelves arrive fully cured and ready to mount.
Securing the rods to the wall structure is the crucial step for how to build floating shelves on a wall. Draw a perfectly level line at the shelf height, then find and mark the center of the studs. Pre-drill pilot holes, and use structural lag screws to firmly install the rod brackets into the studs. Finally, check that the rods are perfectly level and straight out from the wall.
This is the most precise and irreversible step when learning how to build floating shelves on a wall. First, lay the shelf flat and precisely measure the center-to-center distance of the wall rods, transferring those exact points to the back edge of your shelf slab. Next, clamp the shelf securely and use a specialized drill jig or press to ensure the drill bit is held perfectly straight; any deviation will cause the shelf to visibly tilt. Using the correct bit, drill the holes slowly to the required depth (at least ¾ of the shelf's depth), stopping often to test that the rods slide in for a perfect, snug fit.
This final step locks the shelf onto the hidden support, completing how to build floating shelves on a wall. Gently slide the shelf onto the rods until it sits perfectly flush with the wall; if it sticks, widen the hole slightly. Check the shelf with a level and make any necessary small adjustments. For maximum stability, you can add construction adhesive inside the holes before the final mounting push.
Following these five steps ensures the floating shelves are installed with professional precision and structural integrity. For guides on other popular floating shelf techniques, check this guide.
Once you’ve mastered how to build floating shelves on a wall and installed your project, simple maintenance ensures lasting beauty.
Cleaning: Avoid harsh chemical cleaners. Wipe dust and light dirt with a soft, dry cloth or a slightly damp sponge to preserve the finish.
Preventing Damage: Minimize direct exposure to strong sunlight to prevent fading. Immediately wipe up any liquid spills to avoid warping or staining the wood.
Structural Integrity: Regularly check the lag screws (bracket fasteners) for tightness, especially after the first few months of use.
Weight Distribution: For long-term durability, always distribute weight evenly across the shelf's length, avoiding placing the heaviest items near the front edge.
After mastering how to build floating shelves on a wall, the final, rewarding step is styling them! here are some curated ideas for styling them in different rooms
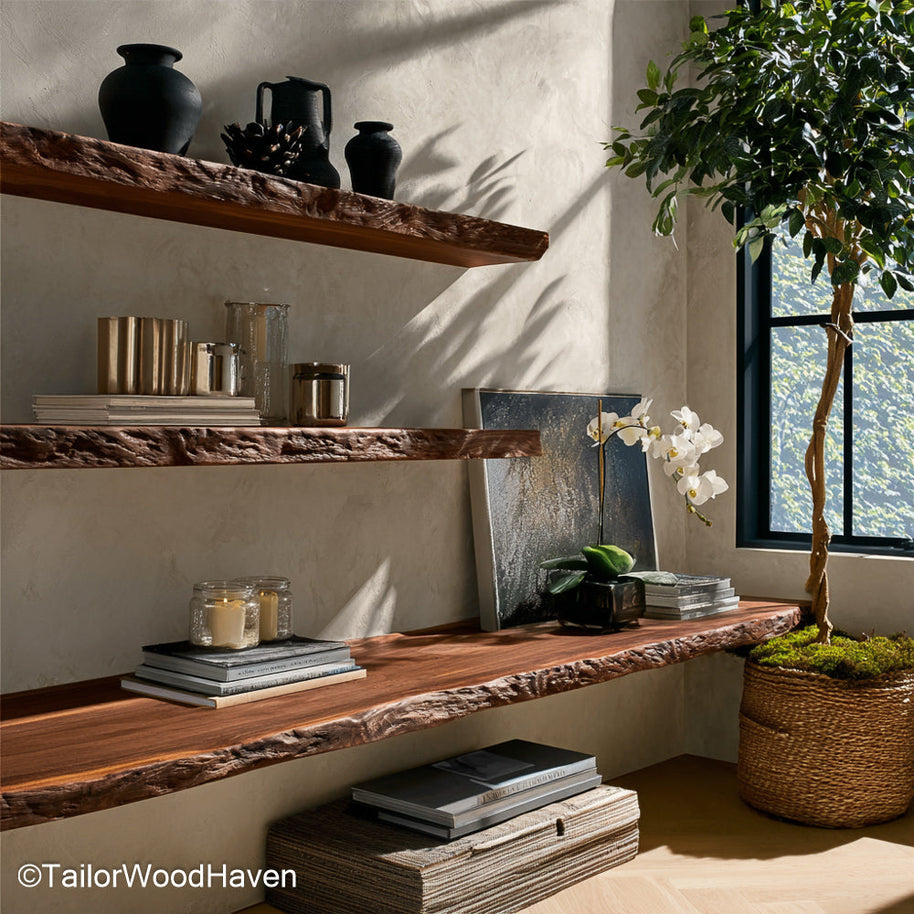
For living room and office shelves, the key is visually balanced styling. You can achieve this by varying the height of objects, often using stacked books or framed art. Grouping your decor items in odd numbers (like threes or fives) naturally increases visual appeal. Always remember to incorporate natural elements, such as potted plants or stone coasters, and crucially, leave plenty of negative space so the shelves feel open and uncluttered.
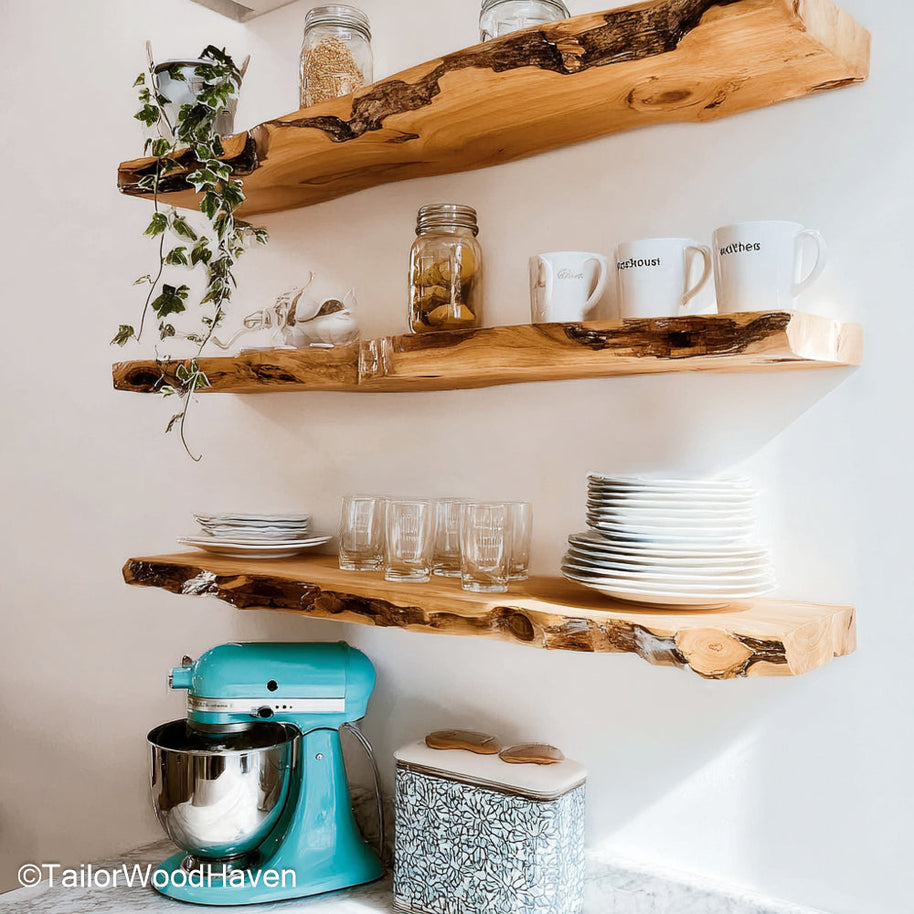
For kitchen shelving, combine both decorative and practical elements. Display everyday items like beautiful ceramic mugs, bowls, or spice jars. You can use smaller cutting boards or colorful cookbooks to serve as tall, vertical anchors for the display. Finally, add warmth and texture by incorporating metal accents, such as copper or brass pieces, or placing woven storage baskets.
For the bedroom, focus on adding a personal and soft touch to your shelves. You can achieve this by layering personal photographs or small mirrors within minimalist frames. To incorporate subtle texture and visual interest, use items like small decorative boxes, jewelry dishes, or layered art prints.

To elevate your bedroom's personal touch, this walnut floating shelf offers a naturally warm, sophisticated material that beautifully complements your soft textures and cherished art prints.
For general display shelves (like in a living room), they should typically be hung 48 to 54 inches from the floor, placing them at or just above eye level. If placing the shelf above furniture, leave 10 to 20 inches of space between the furniture and the shelf bottom.
A depth of 8 to 12 inches is ideal for most applications, offering enough space for books or décor without dominating the room. If using the hidden rod method, remember that deeper shelves put significantly more stress on the rods, requiring extremely strong anchoring into studs.
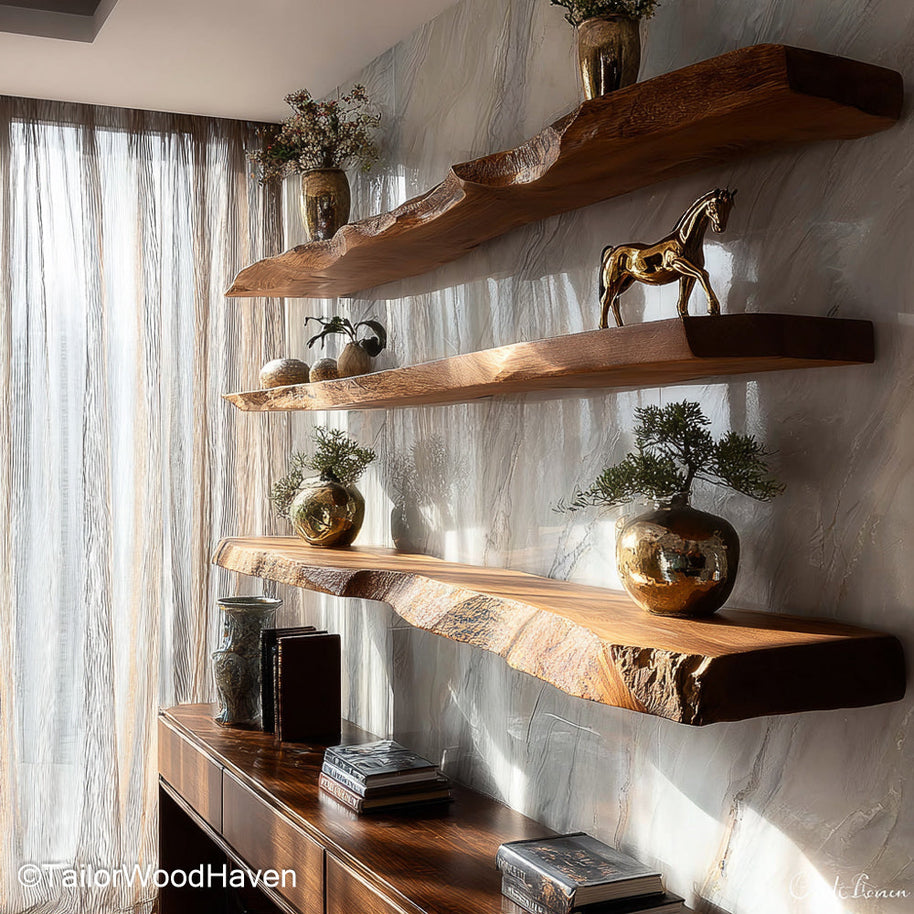
The best layout depends on the room's function, but asymmetry often works best for a modern look. For multiple shelves, maintain equal vertical spacing (typically 12 to 18 inches) between the shelves, and use painter's tape to mock up the arrangement before mounting.
The single most critical step is ensuring the hidden rod brackets are secured into wall studs or concrete using heavy-duty lag screws. Avoid overloading the shelf past the manufacturer's specified weight capacity, and ensure the rods penetrate at least 3/4 of the shelf depth.
You have successfully demystified the process and mastered how to build floating shelves on a wall using the robust Hidden Rod Bracket system. By focusing on the precision drilling of the solid wood slab, meticulous finishing, and secure structural anchoring, you have created custom shelves that are not only beautiful but capable of handling significant weight. This method provides the ultimate in minimalist design, combined with unparalleled strength and customization. Enjoy the elegant, seamless aesthetic and rock-solid stability of your new floating shelves on a wall.


