Floating shelves add a clean, modern touch to any space, but installing them can feel tricky. This guide shows you how to put up floating wall shelves safely and level, no matter your wall type.
Before you learn how to put up floating wall shelves, gathering the right equipment is crucial for a smooth installation.
|
Tool
|
Purpose
|
|
Pencil
|
Marking shelf position and screw holes.
|
|
Level
|
Essential for ensuring the shelf is perfectly straight.
|
|
Drill
|
Drill small pilot holes to guide your screws and anchors into place securely.
|
|
Measuring Tape
|
Plan the ideal height and spacing between shelves based on your wall and the items you'll display.
|
|
Screwdriver/Drill Bits
|
Securing screws (often included with the shelf hardware).
|
While the tools above are simple, they are the backbone of a successful installation; precision in measuring and drilling is key to knowing how to put up floating wall shelves without frustration. Never underestimate the importance of a reliable level to avoid a crooked result.
2. Anchors and Brackets
Your floating shelf kit typically includes a mounting bracket (the invisible support) and the required screws or anchors.
If you're installing shelves without studs or plan to hold heavy items, choose wall anchors designed for your wall type, such as toggle bolts or heavy-duty drywall anchors.
Choosing the correct anchor based on your wall material is the single most important factor in determining the shelf's load capacity, which is essential knowledge for anyone learning how to put up floating wall shelves safely.
-
Stud Finder: Highly recommended for locating the safest and strongest mounting points behind drywall.
-
Utility Knife: Useful for scoring wallpaper or cutting access holes if needed.
-
Safety Glasses: Always used when drilling.
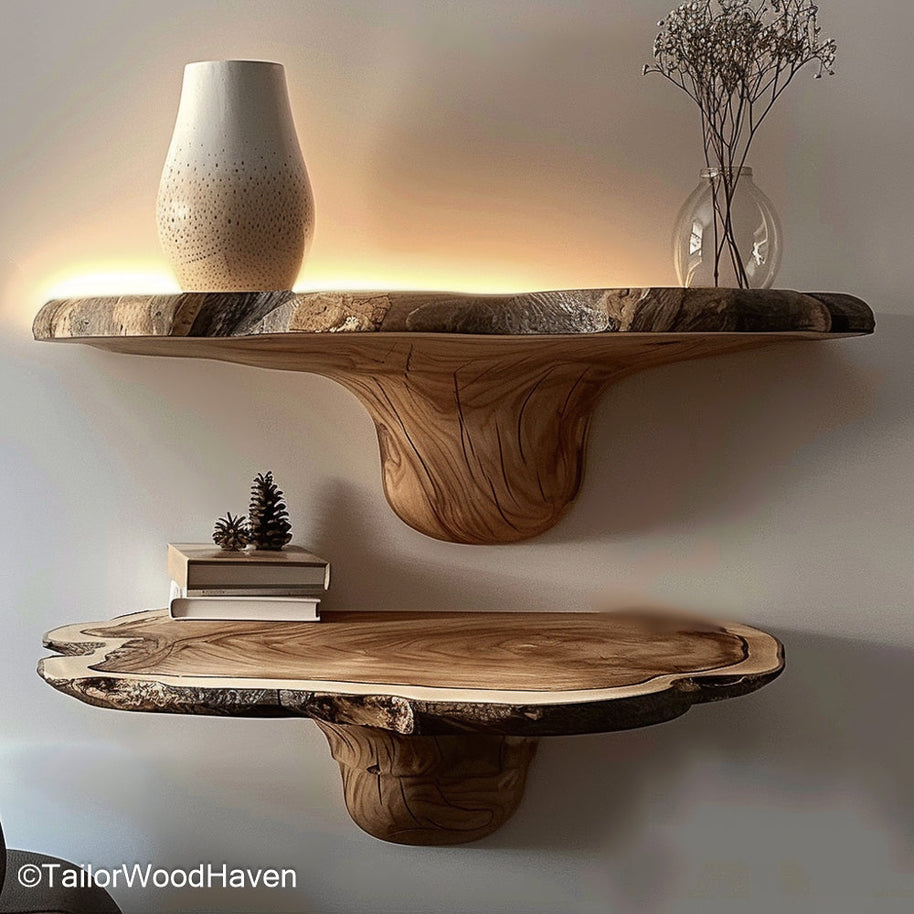
These shelves offer straightforward, functional storage with the assurance of visible brackets for stable, heavy-duty wall mounting suitable for any high-utility space.
Step-by-Step Guide: How to Install Floating Shelves on Drywall
This setup is typically the most common in modern homes. Ideally, you want to attach the brackets directly into the wall studs for maximum strength.
Here is the definitive process for how to put up floating wall shelves on standard drywall.
1. Measuring and Marking Your Wall
Choose the exact spot on your wall where you'd like the shelf to sit. Use your tape measure to determine the height from the floor or another fixed point.
Use a stud finder to locate the center of the vertical wooden studs inside the wall. Mark these lightly with a pencil. Attaching the brackets to at least one stud significantly increases load capacity.
Hold the mounting bracket up against the wall at your desired height. Use your level to ensure it is perfectly horizontal.
This precise measuring and marking is the critical first step in learning how to put up floating wall shelves successfully.
Use a pencil to mark the exact locations of the screw holes through the bracket.
2. Securing the Brackets
Drill small pilot holes into the wall at your marked locations. The size of the drill bit depends on whether you are drilling into a stud or for an anchor:
Into a Stud: Use a bit slightly smaller than your screw diameter.
For Wall Anchors: Use the size specified on the anchor's packaging.
If a hole does not hit a stud, insert the appropriate drywall anchor. Follow the anchor's instructions, some require tapping in, while others twist in.
Line up the bracket with the holes. Drive the provided screws through the bracket and into the pilot holes/anchors.
Tighten until the bracket is flush and completely secure against the wall. This step is key to knowing how to put up floating wall shelves correctly.
3. Mounting the Shelf and Checking for Level
Carefully slide the actual shelf piece onto the installed bracket. The bracket should slide into the pre-drilled holes in the shelf.
Some designs have small set screws on the bottom of the shelf to lock it onto the bracket. If yours does, tighten these now.
Place your level on top of the shelf one last time. If the shelf is level, congratulations! You now know how to put up floating wall shelves.
How to Hang Floating Shelves Without Studs
If you cannot find a stud or the studs don't line up where you want the shelf, you still need to know how to put up floating wall shelves safely. The solution lies in choosing the right heavy-duty anchor.
1. Using Drywall Anchors or Toggle Bolts
Standard plastic anchors are only suitable for light items (a few pounds). For floating shelves, especially those holding books or kitchenware, you need robust anchors:
Excellent for medium loads. They screw directly into the drywall and flare out to grip the back of the panel.
These are the strongest options for drywall. They use a wing that opens behind the wall panel to distribute the weight over a large area. Use these if you plan to put heavy items on the shelf.
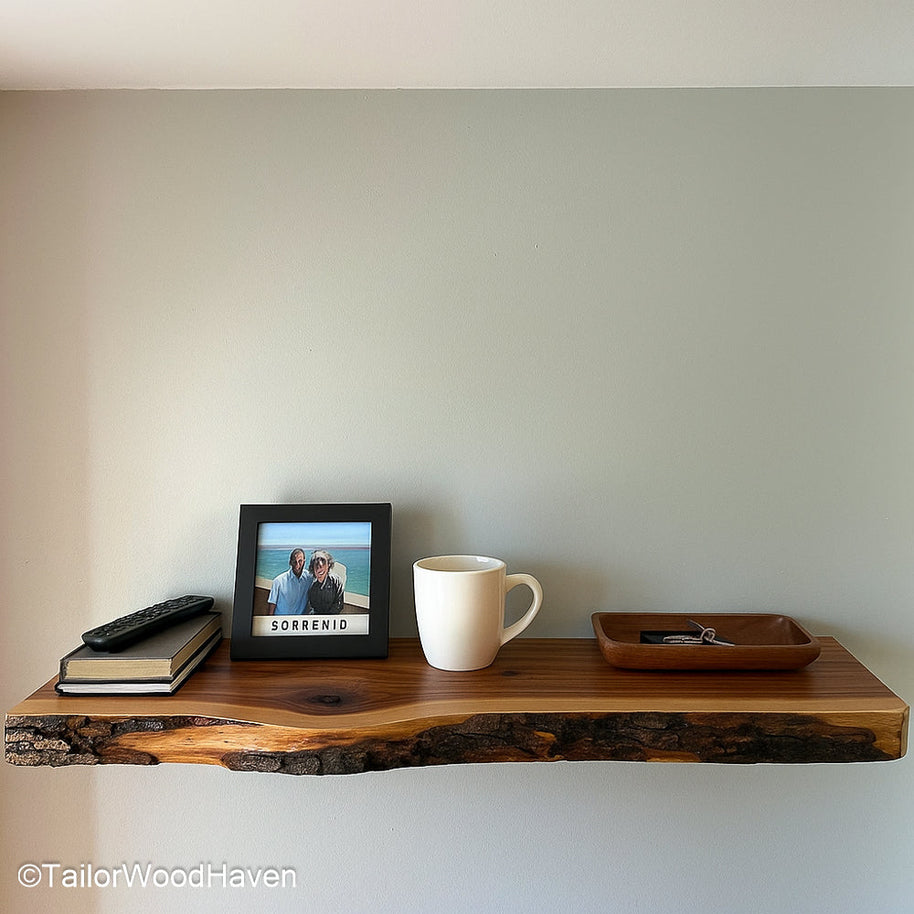
Featuring natural hardwood and clean, minimalist lines, these shelves are perfectly designed for modern, sleek open wall displays in contemporary living spaces.
2. Weight Capacity Considerations
Always check the weight rating of your chosen anchor. To determine the maximum load capacity for the entire shelf, multiply the single anchor’s rating by the number of anchors used.
When learning how to put up floating wall shelves, never exceed the lowest rating between the shelf hardware and the wall anchors.
Can You Put Floating Shelves on Plasterboard Walls?
Yes, you can, but it requires specific consideration. Plasterboard (or plaster and lath walls, common in older homes) is generally more brittle and crumbly than modern drywall.
1. Differences Between Plasterboard and Drywall
-
Drywall: Uniform gypsum material, easy to drill into.
-
Plasterboard: Often composed of a thick layer of plaster over thin wooden strips (lath). Drilling can cause large pieces of plaster to chip away.
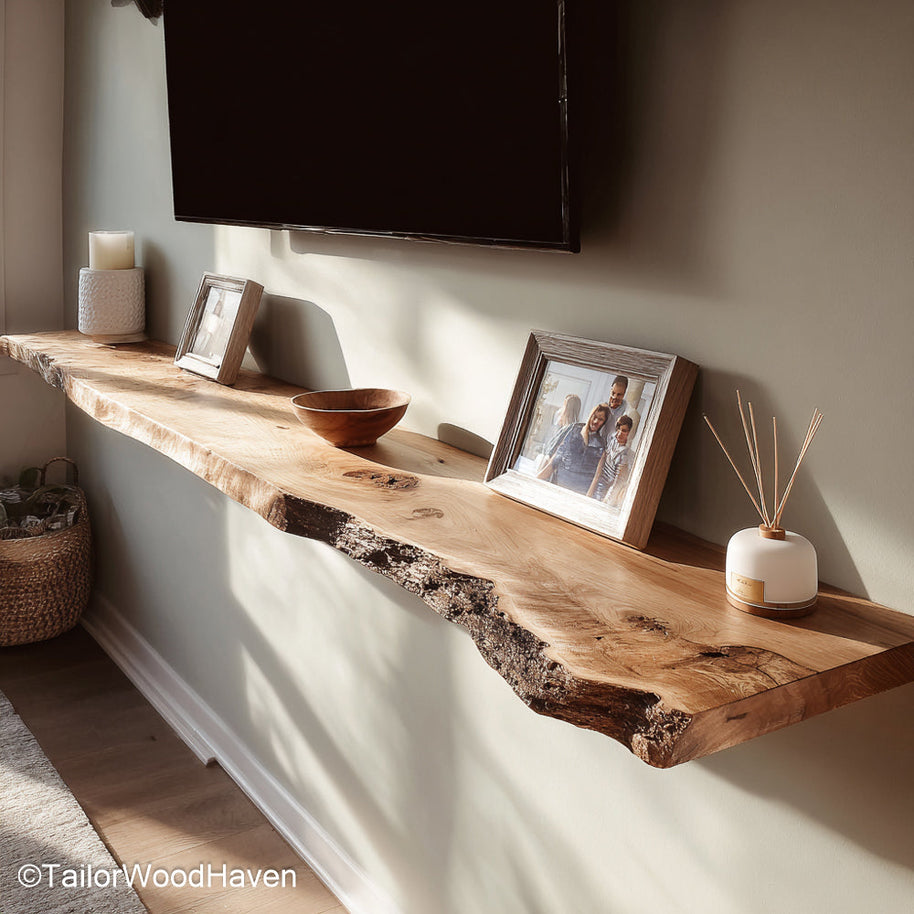
The distressed wood grain and rugged character make these rustic shelves an ideal accent for adding cozy, farmhouse charm to cottage, cabin, or loft interiors.
2. Anchor Selection Tips
When figuring out how to put up floating wall shelves on plaster:
-
Drill Slowly: Use a sharp drill bit and drill at a low speed to minimize cracking the plaster.
-
Toggle Bolts are Best: The wide wing span of a toggle bolt is ideal for plaster walls as it distributes the load across the sturdy lath strips.
-
Avoid Expansion Anchors: Anchors that expand upon insertion (like plastic expansion plugs) can cause the brittle plaster to crack.
How to Hang Floating Shelves Without Drilling
What if you're in a rental or simply don't want to drill holes? Knowing how to put up floating wall shelves without drilling involves non-permanent solutions, but these come with significant limitations.
1. Using Adhesive Strips or Tension Systems
These are only suitable for extremely light-duty shelves, like those holding a small picture frame or a few keys.
You need to use multiple strips and adhere them to the bracket (if possible) or directly to the shelf back.
Some specialty products use a clamping or tension mechanism applied across the corners of the wall, but these are rare and typically used for temporary, small cabinets, not true floating shelves.
If you opt for these non-drilling methods, be fully aware of the serious weight limitations, as they offer only a temporary answer to how to put up floating wall shelves safely.
2. Limitations and Best-Use Cases
Do NOT attempt to use adhesive methods for anything heavy. They are limited to a few pounds at most.
The shelf can fall, causing damage to your items and the wall finish. If you want a secure, long-term mount, drilling is always the superior answer to how to put up floating wall shelves.
Are Floating Shelves Hard to Install?
No, the actual process of how to put up floating wall shelves is straightforward, but it requires precision and the right preparation.
Most difficulties arise from a lack of proper measurement or using the wrong hardware.
1. Common Issues
|
Issue
|
Cause
|
Solution
|
|
Shelf is Crooked
|
Marking or drilling was inaccurate.
|
Always use a level when marking pilot holes. Use a longer level for better accuracy.
|
|
Shelf Sags
|
Incorrect wall anchors used; didn't hit a stud.
|
Use heavy-duty toggle bolts or reposition the shelf to hit a stud.
|
|
Drill Bit Breaks
|
Drilling into a nail plate or metal pipe/conduit.
|
Stop drilling immediately. Consult a professional or move the shelf location.
|
These common issues are often preventable with careful planning and the right tools. Understanding these potential pitfalls is just as important as knowing the step-by-step process for how to put up floating wall shelves without creating unnecessary damage.
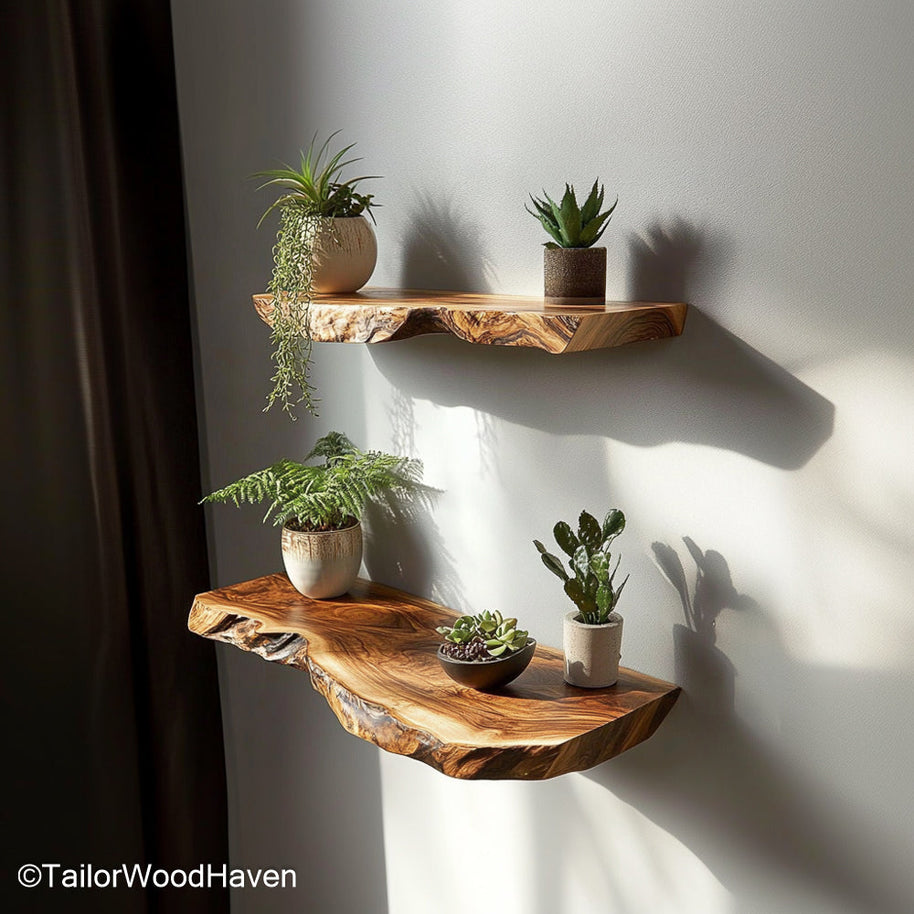
These shelves provide a sophisticated, upscale look with a rich walnut tone and seamless hidden mounting, ideal for high-end, transitional home décor.
2. Tips to Avoid Crooked Shelves
If your shelf didn't come with a paper template, make one. Tape the bracket to a piece of paper and mark the holes, then tape the paper to the wall.
If you're new to this, practice how to put up floating wall shelves with a smaller, lighter shelf first.
You can find detailed common installation mistakes and how to prevent them in this helpful guide on common DIY shelving mistakes.
1. What if the shelf feels loose after install?
If the shelf wobbles, the anchors are likely insecure or the screws aren't fully tightened.
If the bracket moves upon checking, you need to use larger or different heavy-duty wall anchors (like toggle bolts) for a tighter grip.
2. Can floating shelves hold heavy items?
Yes, but only when correctly secured directly into studs or by utilizing the highest-rated heavy-duty toggle bolts.
While a properly mounted shelf can often hold 40 to 60 pounds, always consult the manufacturer's limit to determine the maximum capacity when planning how to put up floating wall shelves for heavy objects.
By focusing on precision, using a level, locating studs, and choosing the appropriate heavy-duty anchors for your specific wall material, you can avoid common pitfalls and ensure a safe, secure installation.
Mastering the process of how to put up floating wall shelves gives you the confidence to add stylish, functional storage anywhere in your home. Go ahead, transform your walls like a pro!
 Skip to content


 Farmhouse Floating Shelves – Perfect handcrafted furniture
 Farmhouse Narrow Console Table with Storage for Entryway or Living Room
 Custom Rustic Console – Natural Wood, Made to Order


