Ever wondered how to make floating shelves DIY without spending hundreds on store-bought versions? You’re not alone. Many homeowners dream of sleek, modern shelving that looks custom-made but costs next to nothing. The truth is-you can build your own floating shelves easily with just basic tools, a little patience, and some creativity.
In this guide, we’ll walk you through each step, from choosing solid wood to mounting your shelves perfectly level. Whether you want them in the kitchen, living room, or even your shower, this DIY project can transform your walls into something both functional and beautiful.
Before we jump into how to make floating shelves DIY, you’ll need the right tools and materials. Having everything ready not only saves time but also ensures a professional finish. Preparing well is half the work when learning how to make floating shelves DIY successfully at home.
Here’s what you’ll need:
-
Solid wood boards or plywood (depending on your style)
-
Wood screws, wall anchors, and hidden brackets
-
Drill and screwdriver
-
Sandpaper (120–220 grit)
-
Level and tape measure
-
Wood glue
-
Paint, stain, or finish
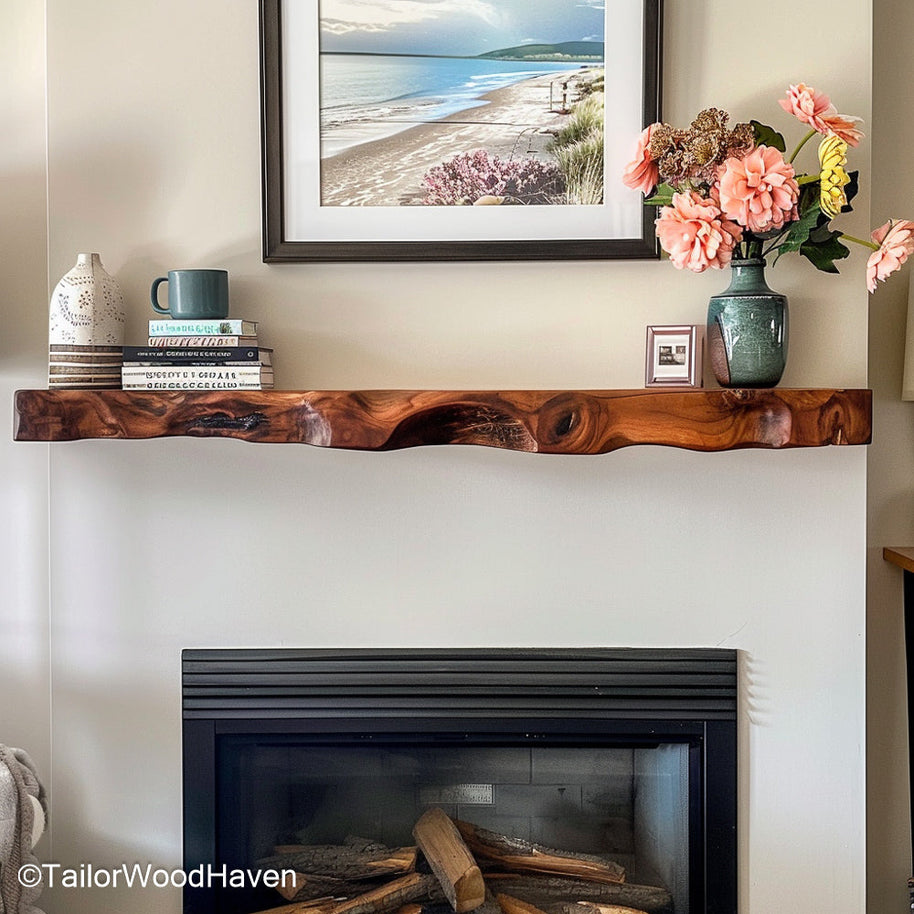
Want ready-made inspiration before you build? Check out Tailor Wood Haven’s floating fireplace mantel shelves for rustic charm and premium craftsmanship.
Now that your tools are ready, let’s move on to building your first solid wood floating shelf.
How to Make a Floating Shelf Out of Solid Wood
If you’re aiming for strength, longevity, and a natural aesthetic, solid wood is your best choice. It not only holds more weight but also ages beautifully. Whether you’re just learning how to make floating shelves DIY for the first time or upgrading your old setup, solid wood gives your project a premium look and feel.
Step 1: Measure and Cut Your Wood Accurately
Start by deciding the length and depth of your shelf. Measure twice and cut once-accuracy is key. If you’re using a circular saw, make clean cuts along the grain. Uneven edges will make installation harder later, so precision is essential when mastering how to make floating shelves DIY successfully.
Step 2: Sand and Smooth the Edges
Once your wood pieces are cut, sand all sides until smooth. This removes splinters and prepares the surface for staining or painting. For a professional finish, start with coarse sandpaper (120 grit) and work your way to fine (220 grit). Smooth edges help your floating shelf look store-bought-even though you learned how to make floating shelves DIY from scratch.
Step 3: Assemble the Frame
Attach your hidden brackets or wooden cleats to the back of the shelf. Apply a thin layer of wood glue before securing with screws. The tighter your frame, the more “floating” it will look once installed.
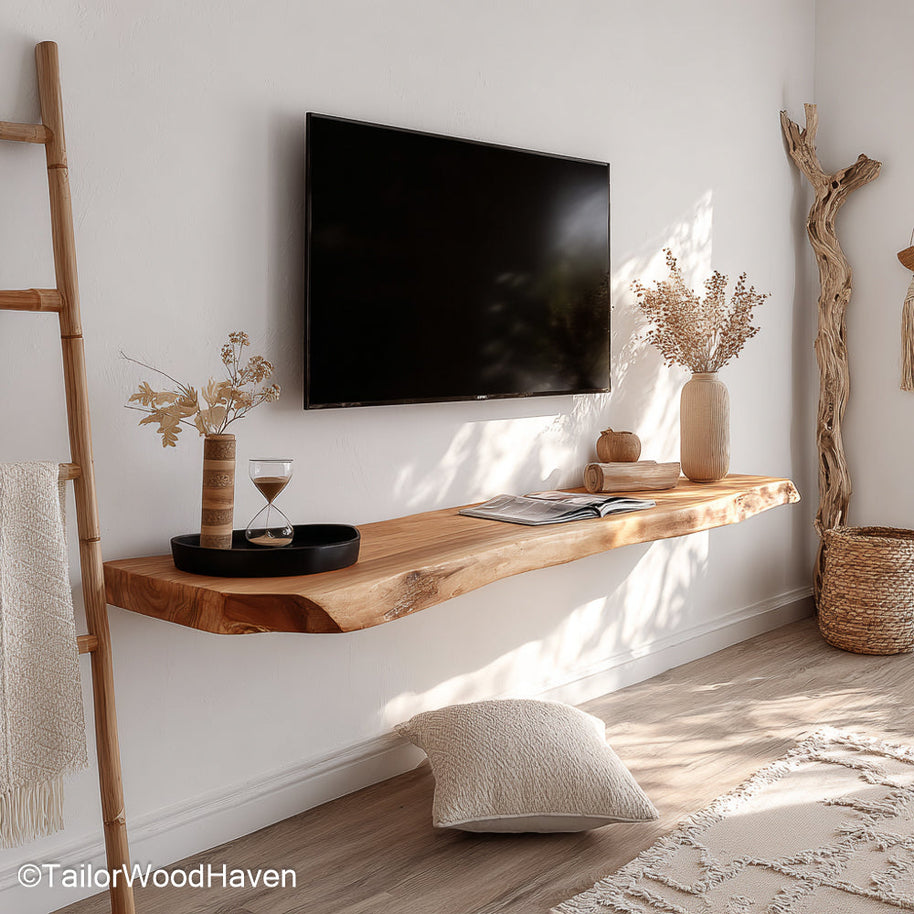
Need a modern design idea? Explore contemporary floating shelves for inspiration that fits sleek, open-concept spaces.
How to Hang a Free Floating Shelf on the Wall So It’s Level
Once you’ve built your shelf, the next challenge in how to make floating shelves DIY is getting it perfectly level on the wall. Even a small tilt can ruin the clean, modern look you’re aiming for. This part of the process requires precision, but with the right tools and patience, anyone can do it.
Step 1: Find Studs and Mark Drill Points
Use a stud finder to locate wall studs - these provide the strongest support. Mark the spots where you’ll drill, ensuring your shelf is centered and visually balanced with surrounding furniture or artwork. This is one of the most important steps in learning how to make floating shelves DIY, as proper alignment prevents future sagging or instability.
Step 2: Drill Straight Holes and Insert Anchors
Drilling straight is key to durability. If your studs aren’t in the ideal position, use heavy-duty wall anchors. For real-world insights and troubleshooting tips, check this helpful thread on Reddit – Best Way to Build Floating Shelves. Many DIYers share their personal experiences perfecting how to make floating shelves DIY without professional help.
Step 3: Mount and Level the Shelf
Slide your shelf frame onto the installed brackets. Use a level to double-check alignment before tightening the screws. Step back and admire your handiwork-your floating shelf should appear seamless, sturdy, and stylish.
How to Build Heavy-Duty Floating Shelves for Strong Support
If you plan to store books, ceramics, or kitchenware, you’ll need shelves that can handle extra weight. Strength and safety are two of the biggest concerns people face when learning how to make floating shelves DIY, especially for heavy-duty purposes. Luckily, with the right materials and structure, you can build shelves that look elegant and stay rock-solid for years.
Tips for stronger support:
-
Use thicker, high-quality solid wood boards.
-
Add concealed steel brackets for added strength.
-
Choose heavy-duty wall anchors that support over 50 lbs.
-
Reinforce corners with small L-brackets hidden underneath.
When in doubt, remember that mastering how to make floating shelves DIY isn’t just about appearance - it’s about functionality. The best designs balance style with stability, giving you peace of mind every time you display your favorite items.
For visual guidance and inspiration, check out Yellow Brick Home’s tutorial. Their approach perfectly blends strength and simplicity for home builders of all levels.
How to Make a Floating Wall Shelf for Small Spaces
If your home feels tight or cluttered, floating shelves are your best friends. They save space, look stylish, and make organizing easier without needing bulky furniture. When learning how to make floating shelves DIY, focus on designs that maximize every inch of your wall while keeping the look light and clean.
For best results:
-
Keep shelf depth between 6–8 inches.
-
Install multiple shelves vertically for a balanced look.
-
Use lighter wood tones to make rooms appear larger.
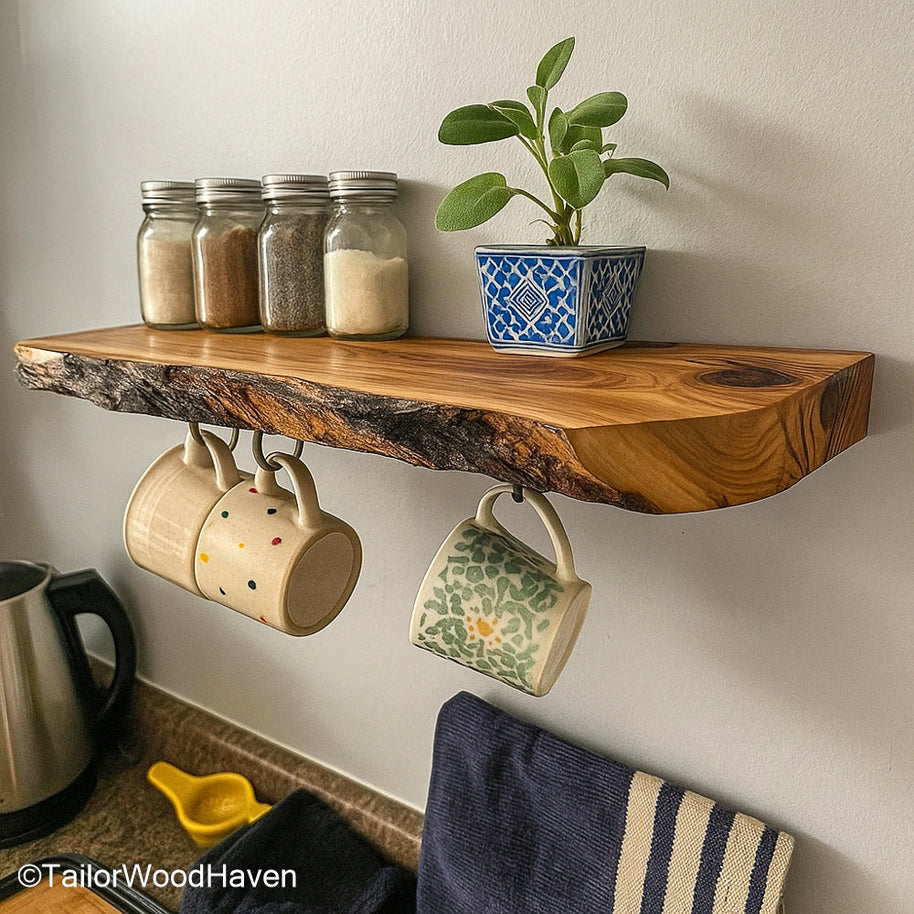
Need functional ideas for small kitchens? Discover Tailor Wood Haven’s floating kitchen shelves - built for everyday convenience and easy access to spices, dishes, and décor.
Installing a Floating Shelf in Your Shower Is Easier Than You Think
Adding a floating shelf in your shower might sound complicated, but it’s actually a simple weekend project. In fact, if you already know how to make floating shelves DIY, this will feel like second nature - just with waterproof materials and a bit more care for moisture control.
Here’s how:
-
Use water-resistant wood or apply a waterproof sealant.
-
Avoid areas with constant water spray.
-
Use stainless steel anchors and screws to prevent rust.
Pro tip: Light-colored shelves add a spa-like feeling to bathrooms while keeping clutter at bay.
How to Drill Straight Holes for Floating Shelves (Even Without a Drill Press)
Getting your holes straight is one of the trickiest parts when learning how to make floating shelves DIY - but don’t worry, you don’t need expensive tools to get it right. Even without a drill press, you can achieve perfectly straight holes with a few simple tricks.
-
Mark your drilling points clearly with a pencil.
-
Use masking tape to steady your drill bit.
-
Create a simple wooden jig as a guide.
These simple tricks will help ensure your brackets slide in perfectly and your shelves stay level for years to come.
How to Build Small Free Standing Shelves for Flexible Use
Not ready to drill into your walls? No problem. Free-standing shelves offer flexibility and mobility while still maintaining that “floating” look.
Here’s how to make them:
-
Build a simple box frame using leftover wood.
-
Use hidden supports underneath for a minimalist design.
-
Paint or stain to match your room’s color palette.
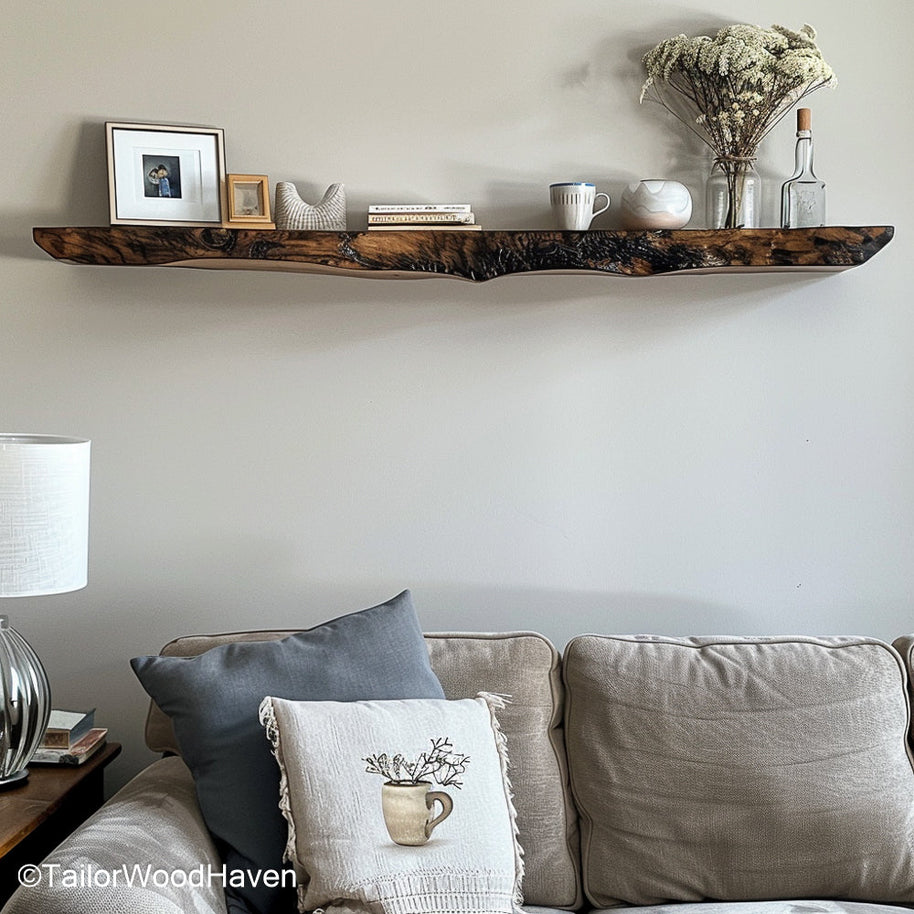
Want to elevate your home bar or dining area? Check out Tailor Wood Haven’s floating bar shelves - perfect for displaying bottles and glassware with rustic elegance.
Final Touches – Finishing, Painting, and Styling Your Floating Shelves
Once your shelves are installed, it’s time for the fun part: decorating!
You can:
-
Stain your shelves for a natural wood finish.
-
Paint them to match your wall color for a seamless look.
-
Add LED lighting for a cozy nighttime glow.
Keep styling balanced: mix decorative items (plants, candles, or books) with practical storage (jars, baskets, or dishes).
Tip: Don’t overcrowd. Negative space makes your shelves look cleaner and more intentional.
Even if you’re confident in how to make floating shelves DIY, small errors can affect stability and appearance. Watch out for these pitfalls:
-
Skipping the stud finder step.
-
Using thin boards for heavy items.
-
Forgetting to sand before staining.
-
Not checking for level after mounting.
These mistakes are easy to fix-but easier to avoid if you plan ahead.
Building your own floating shelves doesn’t need to break the bank.
|
Item
|
Approximate Cost
|
|
Wood board
|
$10–$25 per shelf
|
|
Brackets/anchors
|
$8–$15
|
|
Screws, glue, tools
|
$10
|
|
Paint or stain
|
$5–$10
|
Total estimated cost: $30–$60 per shelf
Estimated time: 2–3 hours (including drying time)
That’s a fraction of the cost of buying pre-made floating shelves-plus, you get the satisfaction of building them yourself.
Now you know how to make floating shelves DIY from start to finish-measuring, cutting, sanding, and mounting with precision. This affordable, beginner-friendly project adds instant style and utility to any room, whether you’re displaying books, plants, or décor pieces.
Don’t settle for plain walls - create something unique that reflects your personality. Grab your tools, pick your wood, and start building today!
If you’re short on time or just want design inspiration, browse Tailor Wood Haven’s handcrafted floating shelves to get ideas and ready-to-hang options for every space.
 Skip to content


 Farmhouse Floating Shelves – Perfect handcrafted furniture
 Farmhouse Narrow Console Table with Storage for Entryway or Living Room
 Custom Rustic Console – Natural Wood, Made to Order


