Ever wondered how to DIY floating shelves that actually look professional and hold real weight? You’re not alone. Many homeowners dream of stylish wall storage but worry about drilling, leveling, or making costly mistakes.
The truth is-you don’t need fancy tools or carpentry skills to build beautiful floating shelves yourself. With the right plan, materials, and a few smart tips, you can transform any blank wall into practical and modern storage.
Why DIY Floating Shelves Are the Perfect Home Project
Learning how to DIY floating shelves is one of the easiest ways to upgrade your space without spending a fortune. These shelves don’t just save floor area-they also bring a clean, modern aesthetic that works for any interior style. Whether you live in a cozy apartment or a large family home, floating shelves make walls more functional and visually appealing.
One of the biggest reasons people search for how to DIY floating shelves is cost efficiency. Instead of buying overpriced store versions, you can design your own, choose the right wood, and finish them to perfectly match your décor. Plus, building them yourself gives a personal touch-something store-bought shelves simply can’t replicate.
Check out these Living room floating shelves if you love clean Scandinavian aesthetics and want to recreate that look.
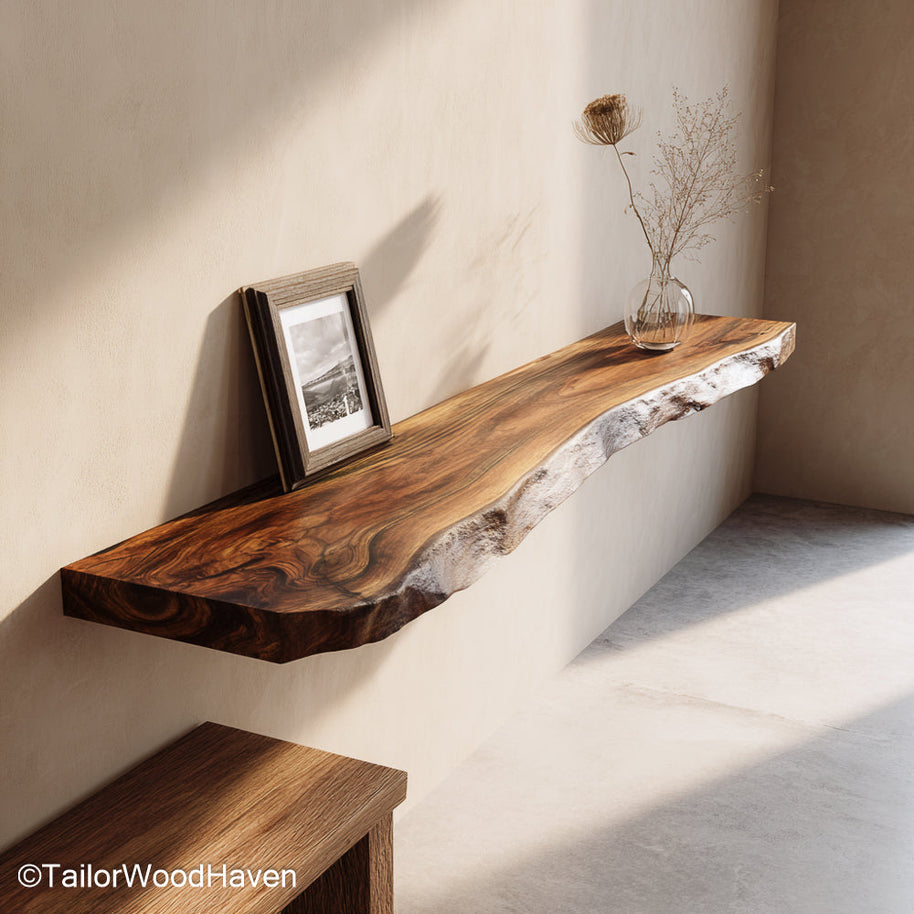
Before you start building, let’s talk about what you’ll need.
Before you dive into learning how to DIY floating shelves, having the right tools and materials is essential for success. Preparation saves you from costly mistakes and makes your project faster and smoother.
-
Measuring tape and pencil
-
Level or spirit level
-
Power drill and bits
-
Wood saw (manual or electric)
-
Sandpaper (120–220 grit)
-
Screws, wall anchors, and brackets
-
Wood glue
If this is your first time figuring out how to DIY floating shelves, you don’t need expensive or professional-grade tools. A simple home toolkit will do the job perfectly fine, especially if you’re working on a small or medium-sized shelf.
Recommended Materials
-
Solid wood board (pine, oak, walnut, or reclaimed wood)
-
Wall mounting bracket or metal rod support
-
Stain or paint finish
-
Clear sealant or polyurethane
Choosing the right wood type makes all the difference in both look and durability. Reclaimed or natural wood gives warmth, while smoother options fit modern designs. If you’re exploring how to DIY floating shelves with a rustic twist, check out these Gold Floating Shelves for inspiration.
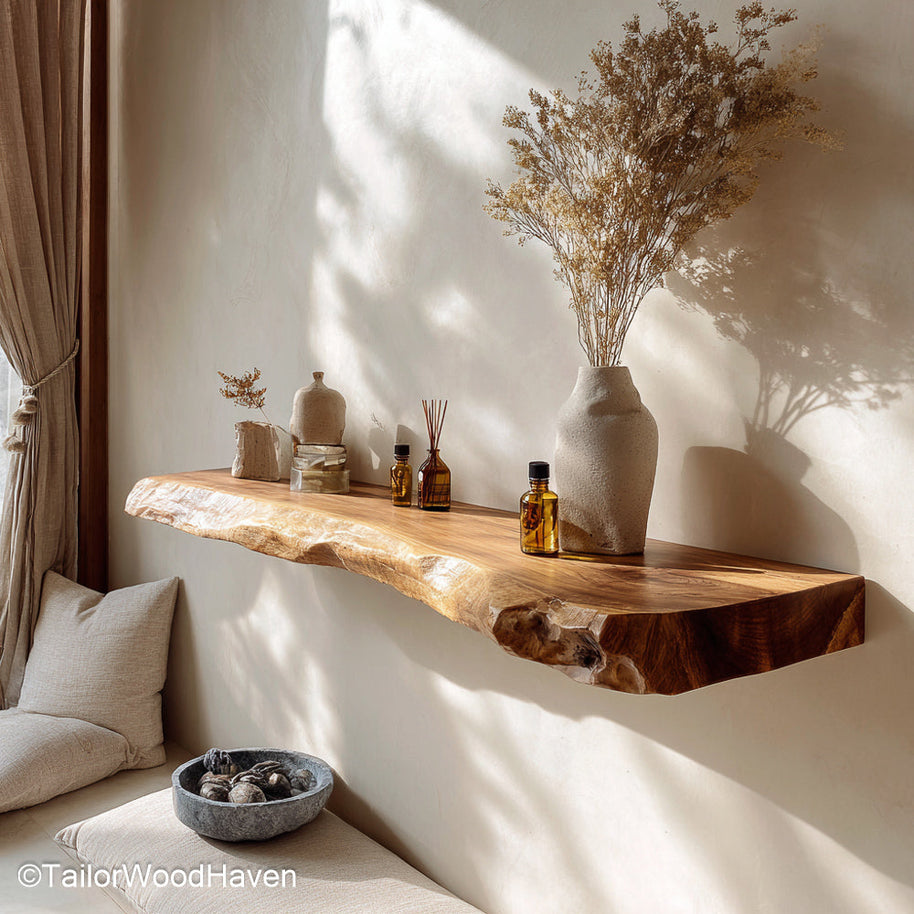
Once you’ve gathered your tools and materials, it’s time to move on to the fun part-building your shelves step by step.
Step-by-Step Guide on How to DIY Floating Shelves
If you’re still wondering how to DIY floating shelves that look clean, sturdy, and professional-this part will make everything clear. The process is simpler than you might think, even for beginners. Follow these five easy steps to build your shelves from scratch and mount them securely on your wall.
Learning how to DIY floating shelves isn’t just about cutting wood or using tools-it’s about understanding how all the pieces fit together to create a stable and stylish result. Let’s break it down.
Step 1 – Measure and Cut the Wood Precisely
Start by measuring your wall and deciding how long and deep you want your shelf to be. Most floating shelves range between 8 and 10 inches deep, but you can customize this.
This is a critical stage in how to DIY floating shelves-if your cuts are uneven, your shelves won’t align properly. Double-check all measurements before cutting and use a level to ensure straight lines.
Step 2 – Assemble the Frame and Shelf Board
Now it’s time to assemble your wooden frame. For hollow shelves, make a rectangular skeleton that can slide over a hidden bracket.
Precision is key in how to DIY floating shelves because the frame must fit tightly to hide the supports while staying perfectly balanced. Use wood glue and screws to secure the structure.
Step 3 – Sand, Stain, and Seal the Wood
A big part of how to DIY floating shelves beautifully lies in the finishing touches. Sand every surface smoothly and apply stain or paint for your desired look.
Rustic fans might choose a natural oil finish, while minimalists may go for matte white or black. Then, seal everything with a protective coat to keep moisture out.
If you want a handcrafted, natural look, take inspiration from these White Wood Floating Shelves.
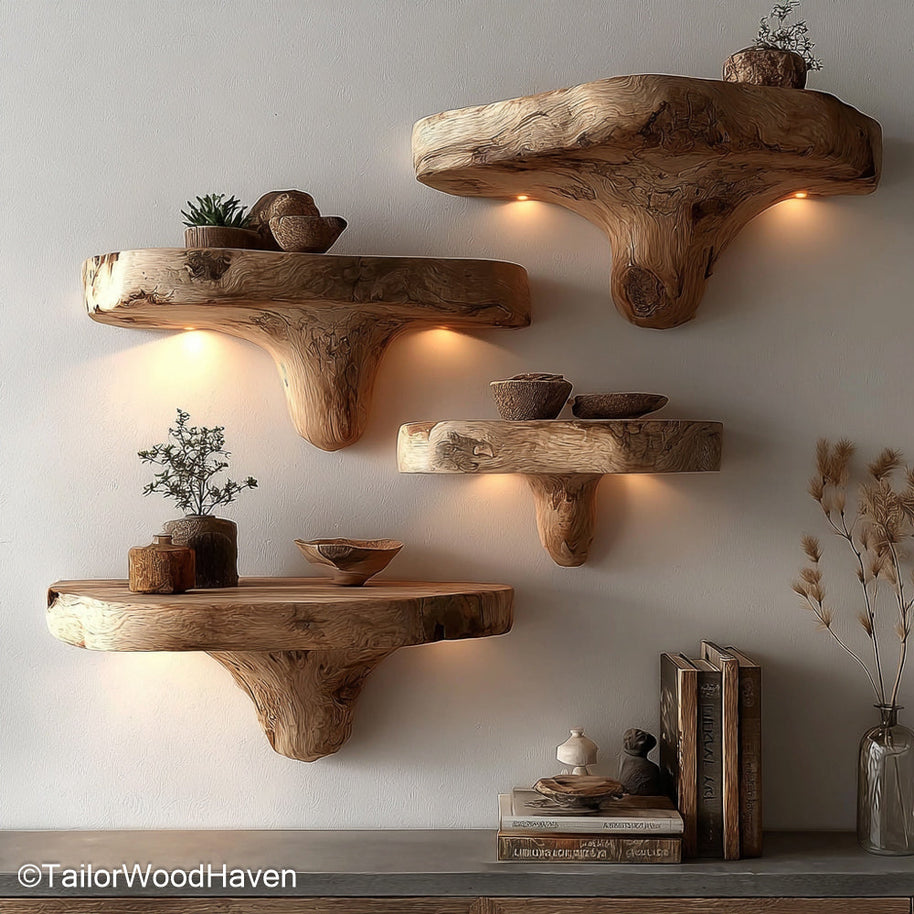
Let the stain dry completely before sealing with a clear protective coat.
Step 4 – Install the Mounting Bracket on the Wall
This step determines how safe and stable your shelf will be. Use a level to mark straight lines and drill into wall studs for strength.
If you’re figuring out how to DIY floating shelves that can hold heavy objects, never skip this step-stud mounting provides the most reliable support. Use anchors if studs aren’t available.
Step 5 – Attach and Level the Shelf Board
Finally, slide your shelf over the bracket, secure it tightly, and check if it’s level. This last step of how to DIY floating shelves ensures everything looks polished and balanced.
Once it’s done, decorate with books, plants, or candles to make your space more inviting.
How to Hang Floating Shelves Without Damaging Walls
When learning how to DIY floating shelves, one of the biggest concerns is avoiding wall damage-especially if you’re renting or don’t want to deal with messy repairs. Here’s a quick guide to help you mount shelves securely and safely.
-
Use Adhesive Mounting Strips or Brackets
Ideal for lightweight décor items like picture frames, small plants, or candles. Clean your wall before applying for maximum grip. This is one of the easiest tricks if you’re trying how to DIY floating shelves without drilling holes.
-
Find Studs for Stronger Support
If drilling is allowed, use a stud finder to locate wall studs. Anchoring into studs ensures your shelves stay firm even when loaded with books or ceramics.
-
Try Removable Mounting Systems
Modern no-drill shelf brackets allow easy installation and removal-perfect for renters. These are great if you plan to redecorate often.
-
Distribute Weight Evenly
Spread your items evenly to prevent sagging. Uneven weight is one of the main causes of shelf damage over time.
-
Explore Easy No-Drill DIY Ideas
Want a super simple, renter-friendly guide? Check out this 2-minute tutorial on Easy Wall Shelves DIY - it’s a great quick read before you start your own project.
By following these tips, you can install floating shelves securely while keeping your walls in perfect condition-no holes, no cracks, no stress.
How to Build Heavy-Duty Floating Shelves for Stronger Support
If you’re planning how to DIY floating shelves that can handle heavier loads - such as books, ceramics, or plants - you’ll need a sturdy frame and reliable wall anchors. Heavy-duty shelves not only look sleek but also ensure your wall décor stays safe and stable over time.
Choose thick, durable wood-at least 1.5 inches-and use steel brackets or a concealed rod system. Reinforce the back of the shelf with a hidden support bar.
When in doubt, it’s better to overbuild than underbuild. Strong floating shelves not only look better but also last longer.
Need deep, functional storage? Try these Floating Shelves hardware for larger items like plants, cookbooks, or baskets.
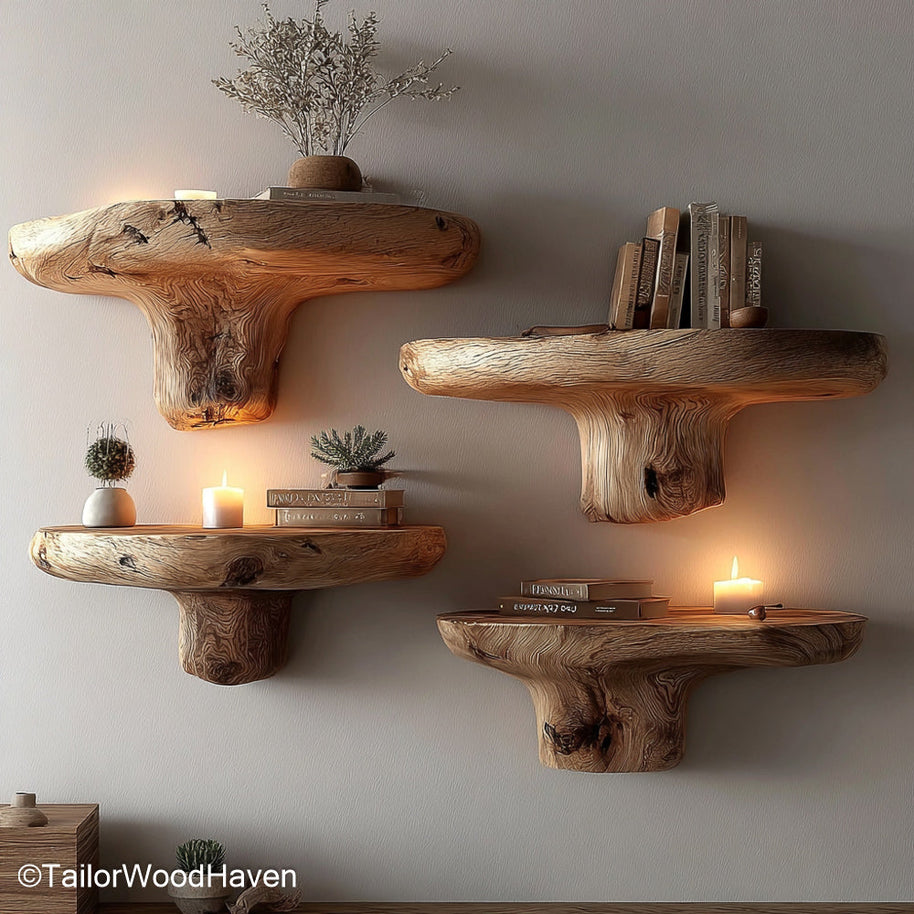
Creative DIY Floating Shelf Ideas to Try at Home
Now that you know the basics, get creative!
-
Use reclaimed barn wood for a vintage touch.
-
Try white-painted shelves for minimalist interiors.
-
Install small corner shelves for tight spaces.
-
Mix floating shelves of different lengths for visual interest.
Floating shelves aren’t just storage-they’re part of your décor. Customize yours with brackets, plants, or LED lighting for a stylish finish.
Maintenance Tips to Keep Your Floating Shelves Durable and Stylish
Dust your shelves weekly with a soft cloth. Avoid placing extremely heavy objects near the edges, and re-tighten screws every few months if needed.
If your shelf is painted or stained, reapply sealant once a year to keep it looking fresh. This simple care helps your DIY floating shelves last for years.
Common Mistakes to Avoid When Building Floating Shelves
Even the best DIY projects can go wrong if you rush. Avoid these mistakes:
-
Not checking wall studs before drilling.
-
Using soft or thin wood that can sag.
-
Forgetting to test shelf strength before loading items.
-
Skipping sanding or sealing, which leads to rough finishes.
Learning from these small errors saves you frustration and money later.
1. What kind of wood is best for DIY floating shelves?
Hardwoods like oak, walnut, or maple are ideal for strength and durability. Pine or reclaimed wood also work if properly sealed.
2. How much weight can floating shelves hold?
It depends on your bracket type and wall studs, but heavy-duty shelves can support up to 50–70 pounds if installed correctly.
3. Do I need wall studs to install floating shelves safely?
Yes, always anchor into studs for the best stability-especially if you plan to hold books or heavier décor.
Once you learn how to DIY floating shelves, you’ll see it’s not just about saving money-it’s about creating something functional and beautiful with your own hands.
Floating shelves bring warmth and personality to your home while maximizing wall space.
So grab your tools, pick your favorite wood style, and start building today. You’ll be proud every time you look at your handcrafted shelves - because you made them yourself.
 Skip to content


 Farmhouse Floating Shelves – Perfect handcrafted furniture
 Farmhouse Narrow Console Table with Storage for Entryway or Living Room
 Custom Rustic Console – Natural Wood, Made to Order


