Want floating shelves that don’t sag or fall apart after a few months? In this guide, we’ll show you how to build sturdy floating shelves that can hold serious weight. Whether you’re outfitting your living room, kitchen, or garage, you’ll learn the right materials, tools, and installation tricks to make your shelves both strong and beautiful.
Why You Need Sturdy Floating Shelves
Have you ever mounted a floating shelf only to watch it sag, tilt, or crash down a few months later? You’re not alone. Many DIYers underestimate how much strength and structure go into a truly sturdy floating shelf.
Weak materials or poor installation can make even the prettiest shelves unsafe - which is exactly why learning how to build sturdy floating shelves the right way matters.
The problem with weak or sagging shelves
Flimsy shelves aren’t just annoying - they can also be dangerous. Imagine placing books, kitchenware, or decorations on a wall shelf, only to hear the screws give out one day. That’s the result of improper wall anchors, weak brackets, or cheap wood. Once you understand how to build sturdy floating shelves, you’ll avoid these common mistakes and ensure your shelves stay strong for years.
Benefits of sturdy floating shelves for different rooms
Strong, well-built floating shelves make any space more functional and stylish. In the living room, they hold books or décor without wobbling. In the kitchen, they safely store dishes or spice jars. And in the garage, they can even carry power tools and heavy boxes when reinforced properly.
Understanding why sturdiness matters helps you plan better before diving into construction.
Before learning how to build sturdy floating shelves, you need the right foundation. A good shelf starts with strong wood, reliable brackets, and the right tools.
Best wood types for strength and durability
Choose hardwoods like oak, maple, or walnut. These are dense and can handle more weight compared to pine or plywood. Solid hardwood also resists warping over time, keeping your shelf level and safe.
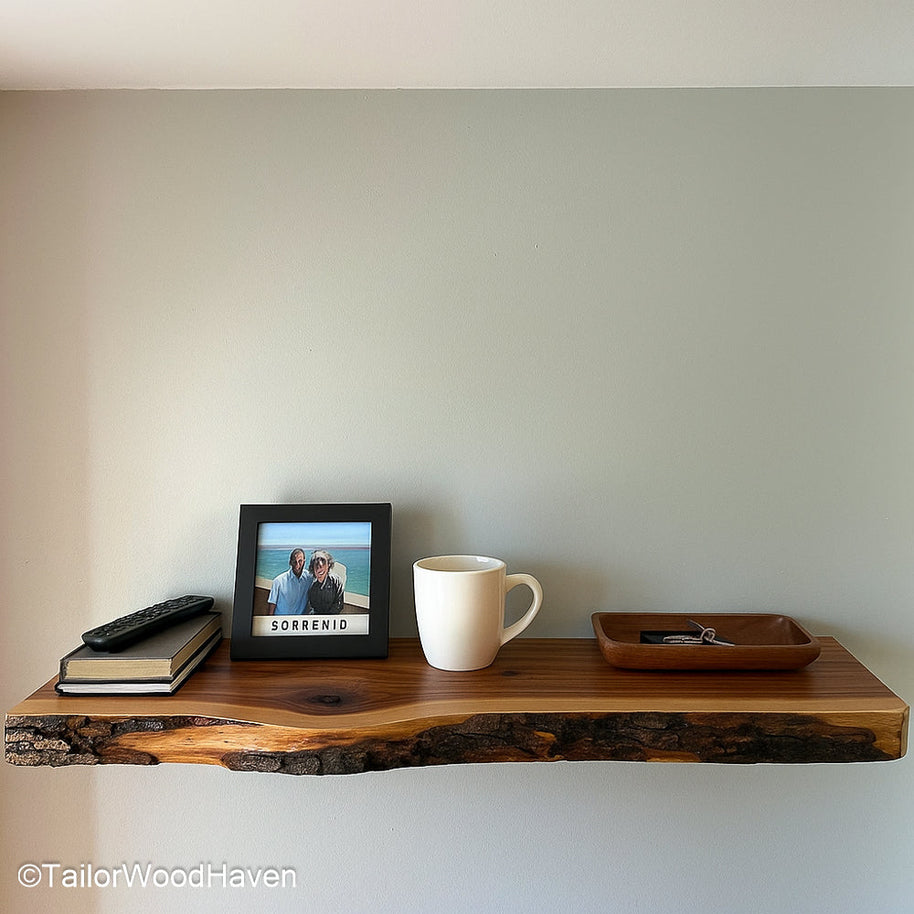
If you want a beautiful, ready-made option, check out the Floating Shelves for Living Room from Tailor Wood Haven - perfect for those who want to skip the building process while still understanding how to build sturdy floating shelves that look and feel professional.
Recommended brackets and wall anchors for sturdy installation
Invisible brackets with reinforced steel are ideal. They stay hidden inside the shelf but provide maximum load-bearing capacity. Always use heavy-duty wall anchors if you’re not drilling directly into studs. The stronger your bracket system, the easier it becomes to master how to build sturdy floating shelves that can hold real weight safely.
You’ll need:
-
A drill and bits
-
Level and measuring tape
-
Stud finder
-
Saw (circular or miter)
-
Sandpaper and wood glue
-
Screws and brackets
With these materials and tools in hand, you’re ready to start building your project confidently and apply what you’ve learned about how to build sturdy floating shelves to create long-lasting, dependable wall storage.
Step-by-Step Guide on How to Build Sturdy Floating Shelves
Now let’s go through the full process of how to build sturdy floating shelves that can truly hold weight without bending or cracking.
Step 1 – Plan your shelf size and wall placement
Measure your wall and decide on the length, depth, and thickness of your shelves. Think about what you’ll store - books, plants, or kitchenware - since the weight determines how strong your shelf structure needs to be. Good planning is the first step toward mastering how to build sturdy floating shelves safely.
Step 2 – Cut the boards and brackets accurately
Precision matters here. Use a circular saw or table saw to cut the wood to your planned dimensions. Sand the edges smooth to avoid splinters and uneven joints.
Step 3 – Assemble the frame for maximum load support
If you’re building a hollow shelf (a box-style floating shelf), create a wooden frame inside for reinforcement. Attach support cleats on the back that will slide over your wall brackets later.
Step 4 – Mount the shelf securely to wall studs
Use a stud finder to locate the studs, then drill your bracket mounts directly into them. This is where most DIYers go wrong - screwing into drywall alone won’t support heavy weight.
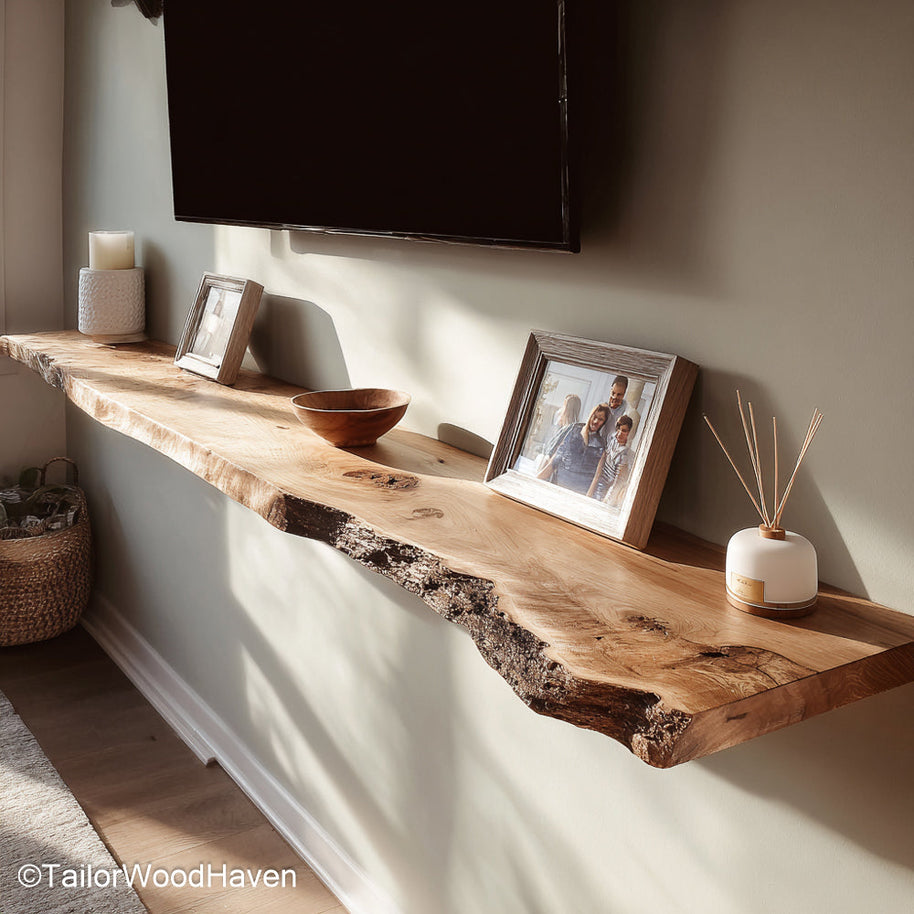
For rustic lovers, the Rustic Floating Shelves with Distressed Wood Grain from Tailor Wood Haven are a great ready-made option for those who appreciate craftsmanship but still want to learn how to build sturdy floating shelves on their own.
Step 5 – Test stability and finish with paint or sealant
Before decorating, press down on your shelves to check stability. If they move or squeak, tighten the screws or add extra anchors. Finally, finish with paint, stain, or sealant to protect the wood from moisture.
For extra visual guidance and creative design ideas, explore Anika’s DIY Floating Shelves Plans. Her detailed tutorials pair beautifully with everything you’ve learned here about how to build sturdy floating shelves and make your next DIY project both strong and stylish.
Once you’ve built your shelves, proper installation ensures they stay strong and level.
How to Install Floating Shelves for Maximum Support
Even after you’ve mastered how to build sturdy floating shelves, the final step - installation - determines how strong and long-lasting your setup will be. Many DIYers skip key details here, which can lead to loose mounts or tilted shelves over time. Follow these steps carefully to make sure your shelves stay rock-solid.
Finding wall studs and marking precise drill points
Always use a stud finder to locate solid points behind the drywall. Mark the locations clearly with a pencil. This ensures your screws anchor into wood, not just plaster.
Using reinforced steel brackets for hidden strength
Hidden steel brackets provide invisible support while keeping your design clean and minimal. For a reliable option, try the Floating Shelves Brackets from Tailor Wood Haven. These brackets offer superior strength, ideal for anyone learning how to build sturdy floating shelves that need to hold heavy items without visible metalwork.

Leveling techniques to prevent tilting
Use a bubble level before final tightening. A small tilt might look harmless but can increase pressure on one side of the shelf, leading to cracks or pulling out of the wall over time.
Once your installation is complete, give your shelves a gentle push or weight test to confirm stability. Proper mounting ensures that all your effort learning how to build sturdy floating shelves pays off with shelves that remain firm, balanced, and beautiful for years to come.
Design Inspirations for Heavy-Duty Floating Shelves
Floating shelves aren’t just about storage - they’re about style, too. Once you know how to build sturdy floating shelves, it’s fun to explore how they can enhance your space.
Minimalist shelves for modern homes
Thin wooden planks with concealed brackets fit perfectly in clean, modern interiors. Keep them unpainted to highlight natural wood textures.
Farmhouse-style floating shelves with rustic charm
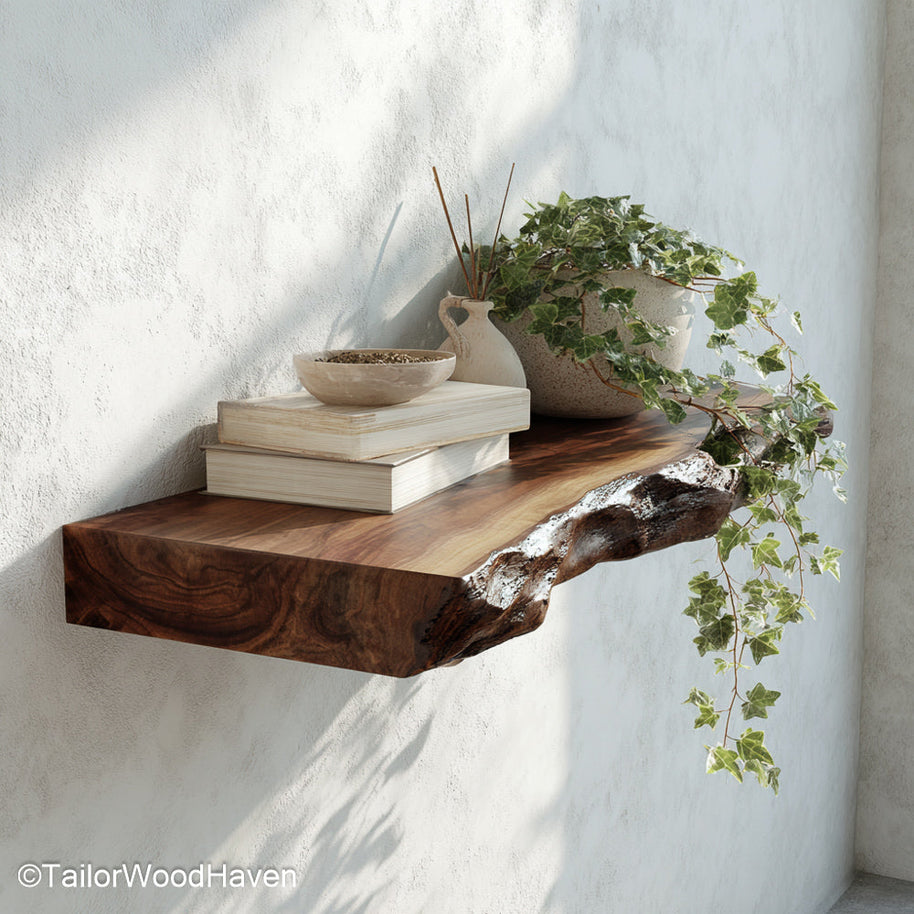
Love a cozy, rustic vibe? Go for reclaimed wood or aged finishes. The Nursery Floating Shelves from Tailor Wood Haven offer a soft, homey look ideal for nurseries or cottages - all while being sturdy enough to last for years.
Functional designs for kitchens, garages, and offices
In kitchens, sturdy floating shelves are perfect for dishes and jars. In garages, use thicker planks and steel brackets for tool storage. In offices, sleek black or walnut shelves create a professional yet warm atmosphere.
Now that you know how to build and style them, let’s talk about keeping them strong for years to come.
Maintenance Tips to Keep Floating Shelves Strong Over Time
Even the best shelves need care. Proper maintenance ensures your shelves remain sturdy, safe, and beautiful.
Regular inspection and weight distribution
Every few months, check for any tilting, cracks, or loose screws. Avoid placing all the weight on one side - distribute it evenly.
Cleaning methods that protect wood and finish
Dust weekly with a soft cloth. Avoid using harsh chemicals that strip the finish or weaken glue joints. For natural wood, use a bit of mineral oil or beeswax polish once a year.
When to re-tighten brackets or replace anchors
Over time, vibrations and humidity can loosen hardware. Tighten screws periodically, and replace anchors if you notice wobbling or sagging. These small steps can extend the lifespan of your shelves by years.
By maintaining them properly, you ensure your sturdy floating shelves remain safe and stylish for years.
1. What is the best way to make floating shelves strong?
The key to building sturdy floating shelves is using solid hardwood, reinforced steel brackets, and wall studs for mounting. Always anchor into studs instead of drywall, and double-check your shelf’s level before tightening the screws. This ensures maximum weight support and long-term durability.
2. How much weight can sturdy floating shelves hold?
A well-built floating shelf attached to studs can typically support 50 to 100 pounds per shelf, depending on its size and material. Using thicker boards, heavy-duty brackets, and solid wall anchors will significantly increase the shelf’s strength and stability.
3. Can I build sturdy floating shelves without visible brackets?
Yes, absolutely. You can use hidden steel mounting brackets inserted inside the wood for a clean, floating look. For example, the Floating Shelves Brackets from Tailor Wood Haven provide invisible yet powerful support that makes your shelves appear to “float” effortlessly.
Building sturdy floating shelves isn’t just about aesthetics - it’s about safety, longevity, and smart design. With the right wood, solid brackets, and precise installation, you can create shelves that hold heavy loads while elevating your home’s look.
Whether you go fully DIY or choose pre-made designs from Tailor Wood Haven, you’ll get the satisfaction of knowing your shelves aren’t just beautiful - they’re built to last.
 Skip to content


 Farmhouse Floating Shelves – Perfect handcrafted furniture
 Farmhouse Narrow Console Table with Storage for Entryway or Living Room
 Custom Rustic Console – Natural Wood, Made to Order


