 Skip to content
Your cart (0)
Your cart is empty
Tax included and shipping calculated at checkout
Recommended products


Drawer menu
Tax included and shipping calculated at checkout
Your wishlist is empty.
Continue shopping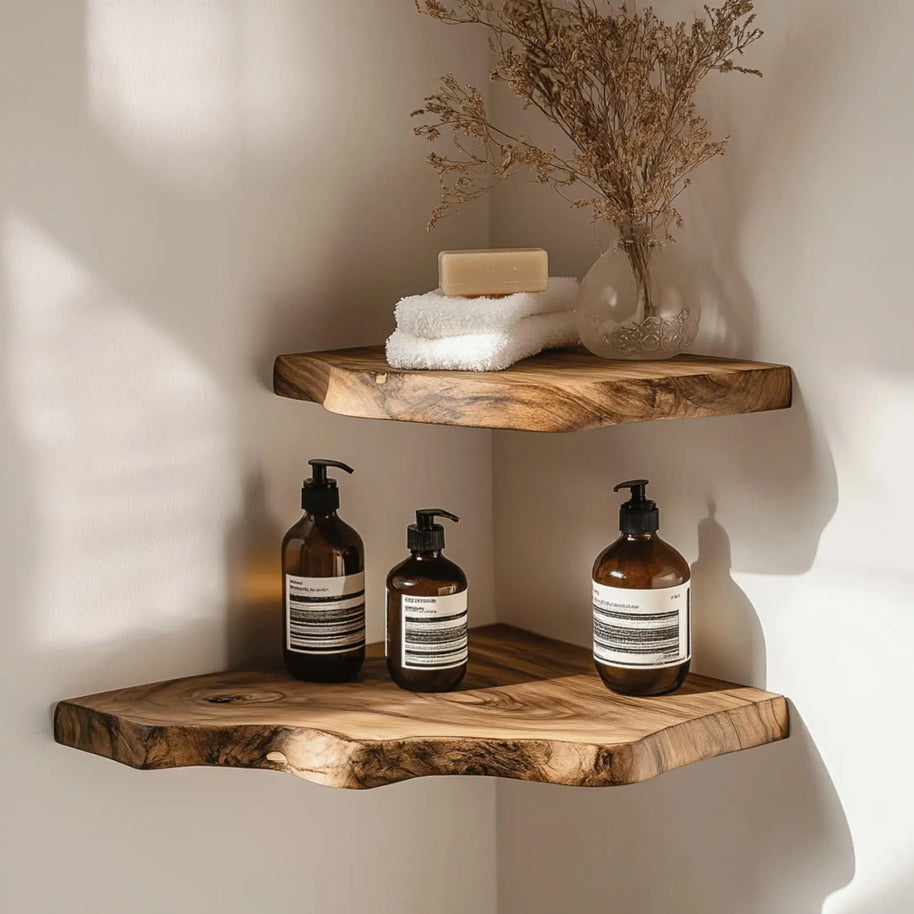


At TailorWoodHaven, we're dedicated to delivering handcrafted furniture that brings warmth and character to your space. Here's what you need to know:
We proudly offer free worldwide shipping to most regions, including the U.S., Canada, and the EU. Orders are delivered via trusted carriers like UPS, FedEx, and DHL.
Because our furniture is handmade to order, returns are only accepted if we made an error.
In the package: disassembled floating shelf board(s), T-shaped metal brackets, and screws
Via email: a step-by-step assembly guide video
Drill, Screwdriver, Level, Hammer, Pencil, Measuring tape
Measure the Holes on the Shelf
Begin by measuring the distance between the two pre-drilled holes located at the back of your floating shelf. This measurement is crucial to ensure that the wall brackets are positioned correctly and aligned for a secure fit.
Mount the Brackets to the Wall
Mark the spots on your wall using the measurement you just took. Use a level to confirm the brackets will sit perfectly straight. Drill holes at the marked positions and insert the screws to firmly fix the T-shaped brackets into place. Make sure the brackets are stable and anchored properly, as they will carry the weight of the shelf and any items you display.
Attach the Shelf to the Brackets
Slide the floating shelf onto the installed brackets by carefully inserting the brackets into the pre-drilled holes. Push the shelf all the way until it sits flush against the wall. Check again with a level to ensure the shelf is perfectly straight.
Final Check
Gently press down on the shelf to test its stability. If there is any movement, tighten the screws or adjust the placement until the shelf feels firm and secure. Clean the surface and your floating shelf is ready to be styled.
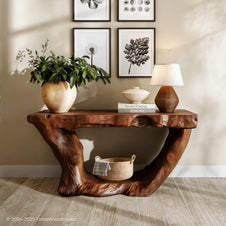
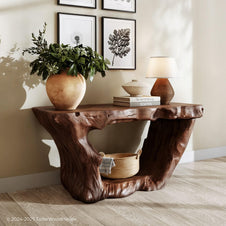
For large or non-solid pieces like tree bookshelves, console tables..., the final product will be crafted in modular sections with seamless wooden joints to ensure both easy assembly and visual continuity. This may not apply to floating shelves or solid-slab tables
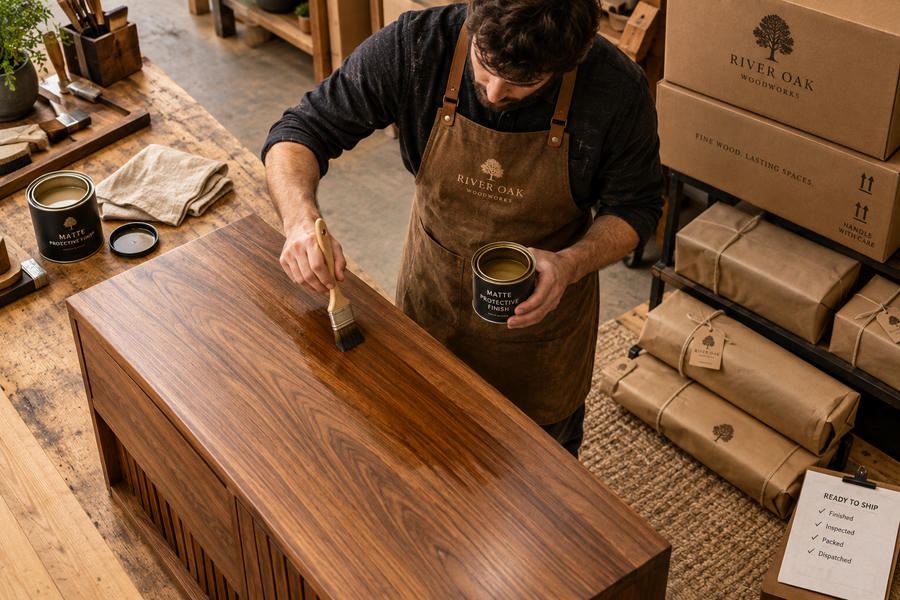
Each item is made individually by hand, and natural wood variations ensure that no two pieces are exactly alike. We will send you progress updates with images during the crafting process and only ship with your approval
Prices listed for floating shelves refer to individual units only — not sets, unless otherwise specified
The price is for 1 item only
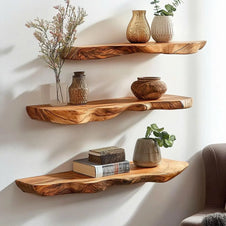
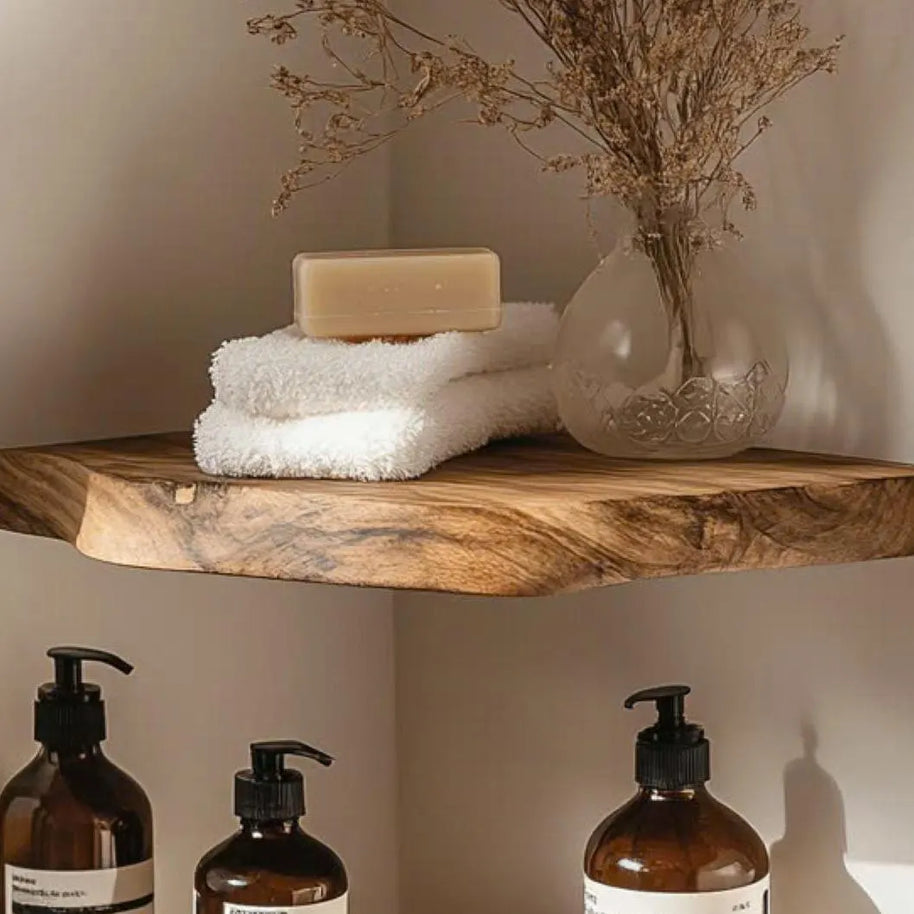
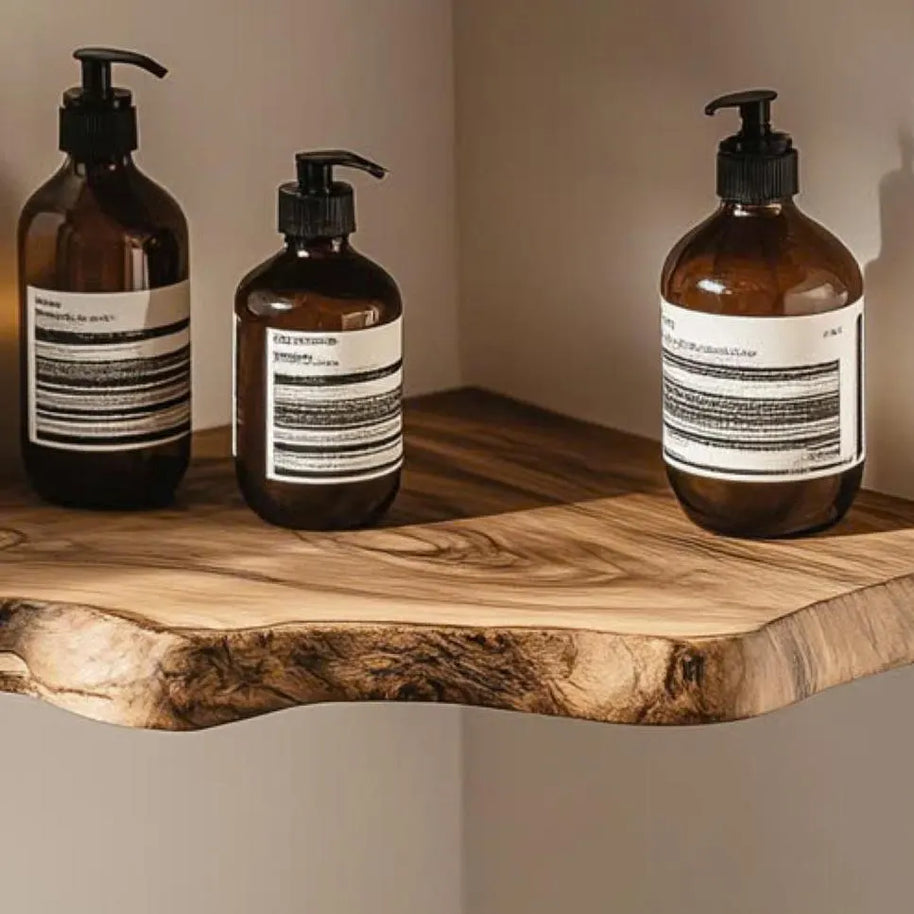
Enhance your home with these beautifully crafted floating shelves, designed for both style and practicality. Whether you need floating wall shelves for décor, a floating shelf with a drawer for hidden storage, or a corner floating shelf to maximize space, these shelves offer endless versatility.
Made from high-quality wood, our floating wood shelves and live edge floating shelves add a rustic yet modern touch to any room. Perfect as hanging shelves or DIY floating shelves, these wooden wall shelves are the ideal wall-mounted shelf solution for stylish and functional organization.


What customers said about their made-to-order pieces.
188 reviews
Reviews of this piece
More from our customers
Due to the natural variations in wood grain, color, and texture, and craftmanship, finished product will look approximately 90% like the design. Don’t worry, we’ll keep you up to date in every production stage, from shaping to painting to ensure that you’re satisfied with the product before receiving it
Absolutely! Most of our furniture is screw-free. For items like floating shelves or tree bookshelf, you’ll only need to wall-mount the bracket — a simple process we guide you through with step-by-step instructions included in our email
We primarily use South American Walnut — a richly grained hardwood with natural durability and rustic charm. Each piece showcases unique patterns that make your furniture truly one-of-a-kind
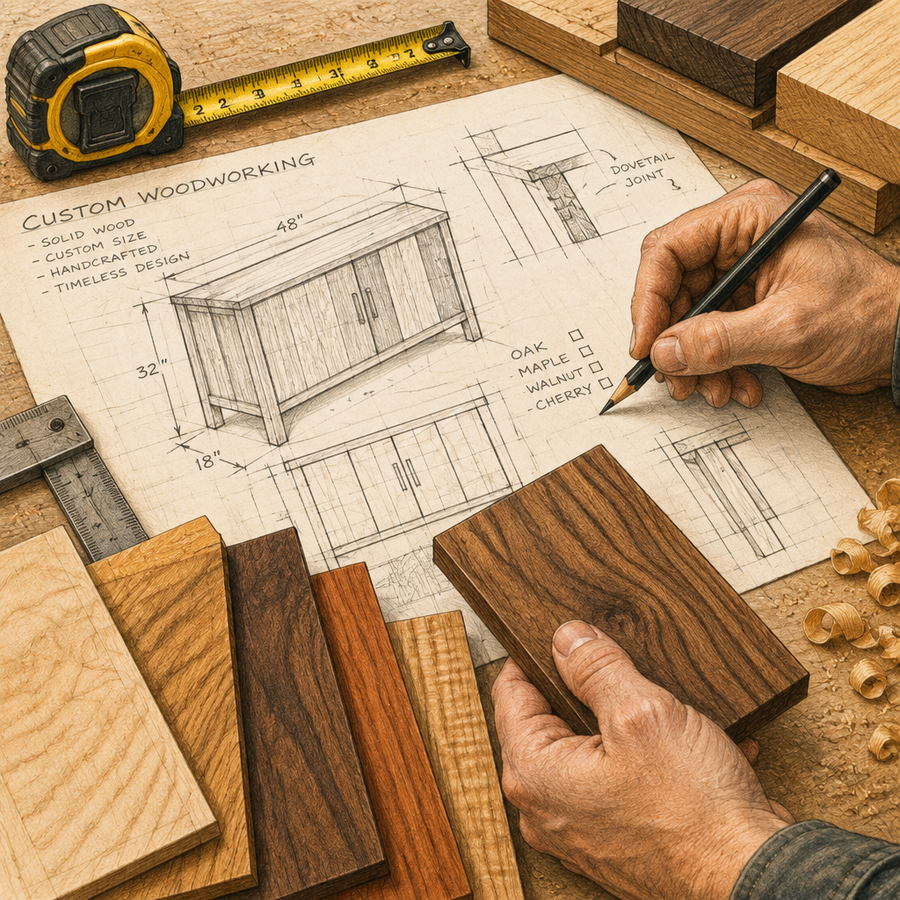
Absolutely! Custom work is one of our specialties. Just send us your vision, dimensions, or reference photos — and we’ll work closely with you to bring your idea to life, tailored perfectly to your space and preferences
Yes, we do have a return and refund policy. Please refer to the full details here.
Yes, we ship internationally by collaborating with leading couriers (UPS, FedEx, and DHL) to ensure fast and secure delivery. The arrival time will depends on your location and the nature of your order, but please see the estimated time here


