Your cart (0)
Your cart is empty
Tax included and shipping calculated at checkout
Recommended products


Drawer menu
Tax included and shipping calculated at checkout


If you’ve ever rented an apartment, you know the struggle - decorating without damaging the walls can feel impossible. Landlords rarely allow drilling, and no one wants to risk losing their deposit over a few holes. That’s where this guide comes in. We’ll show you exactly how to install floating shelves without drilling, using renter-friendly, damage-free methods that keep your walls intact and your space stylish.
If you’ve ever asked yourself how to install floating shelves without drilling, here are the key reasons why no-drill options are the smarter choice:
Damage-Free Decorating
Traditional drilling leaves holes that require patching and repainting.
With no-drill shelves, you can mount storage units using adhesives or bracket-free systems, leaving your walls intact.
Renter-Friendly Solution
One of the biggest concerns for renters is losing their security deposit.
Choosing shelves that don’t require drilling avoids permanent damage and gives you peace of mind.
Flexible and Easy to Move
Many people look up how to install floating shelves without drilling because they want flexibility.
No-drill shelves can be repositioned or removed in minutes, making redecorating simple.
Simple and Time-Saving
Drilling requires tools, measuring, and cleanup, which can feel overwhelming.
By learning how to install floating shelves without drilling, you cut the process down to just peel, stick, and press - no handyman skills needed.
Stylish Without Restrictions
No-drill shelves come in a wide range of designs, from rustic to modern.
You can personalize your space without worrying about structural limitations.
For anyone searching how to install floating shelves without drilling, the good news is that there are multiple safe and effective options. These methods allow you to decorate and add storage without damaging your walls. Here are the most popular approaches:
Adhesive Mounting Strips
The simplest method for those wondering how to install floating shelves without drilling.
These heavy-duty strips work best on smooth surfaces like painted drywall or tiles.
They’re ideal for lightweight décor such as candles, photo frames, or small plants.
Always check the weight limit - most can hold 5–10 lbs per set.
Heavy-Duty Double-Sided Tape
A go-to solution if you’re looking for sturdier support.
Construction-grade tape provides a strong bond for slim floating shelves.
Bracket-Free Shelf Systems
Some modern shelves are designed with built-in adhesive or hidden supports.
They look sleek while eliminating the need for nails, screws, or drills.
Combination Methods for Extra Strength
If you’re still unsure how to install floating shelves without drilling for heavier items, consider combining adhesives with reinforcement anchors.
This adds stability while keeping your walls hole-free.
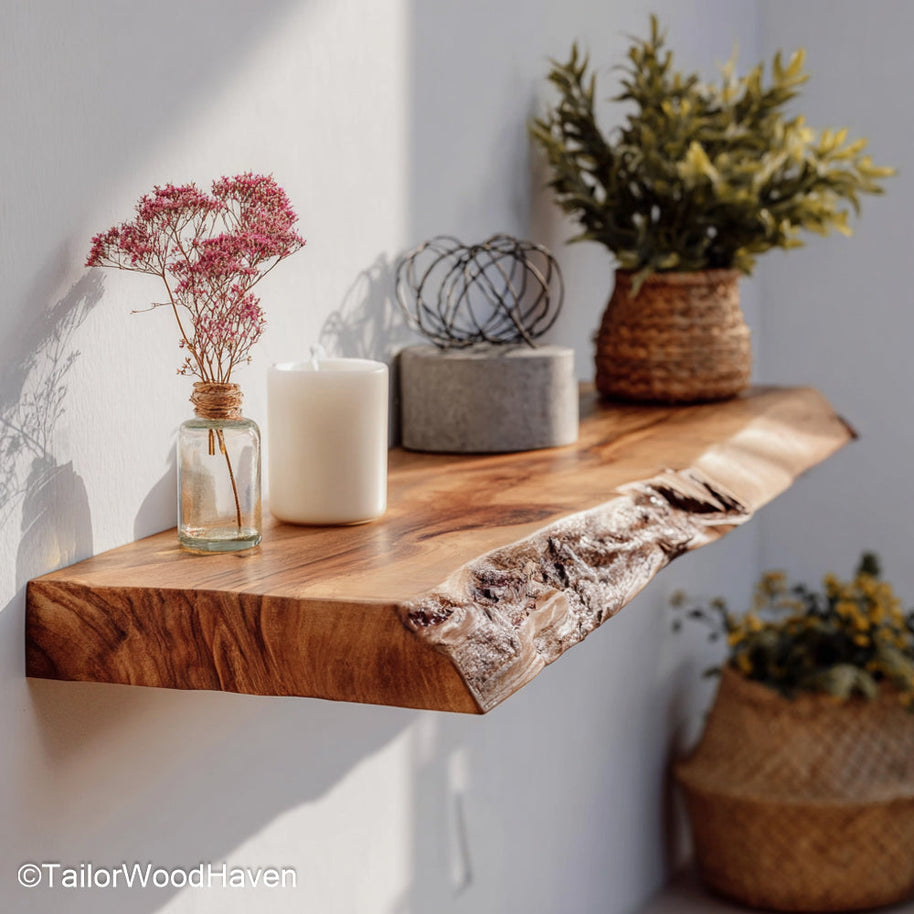
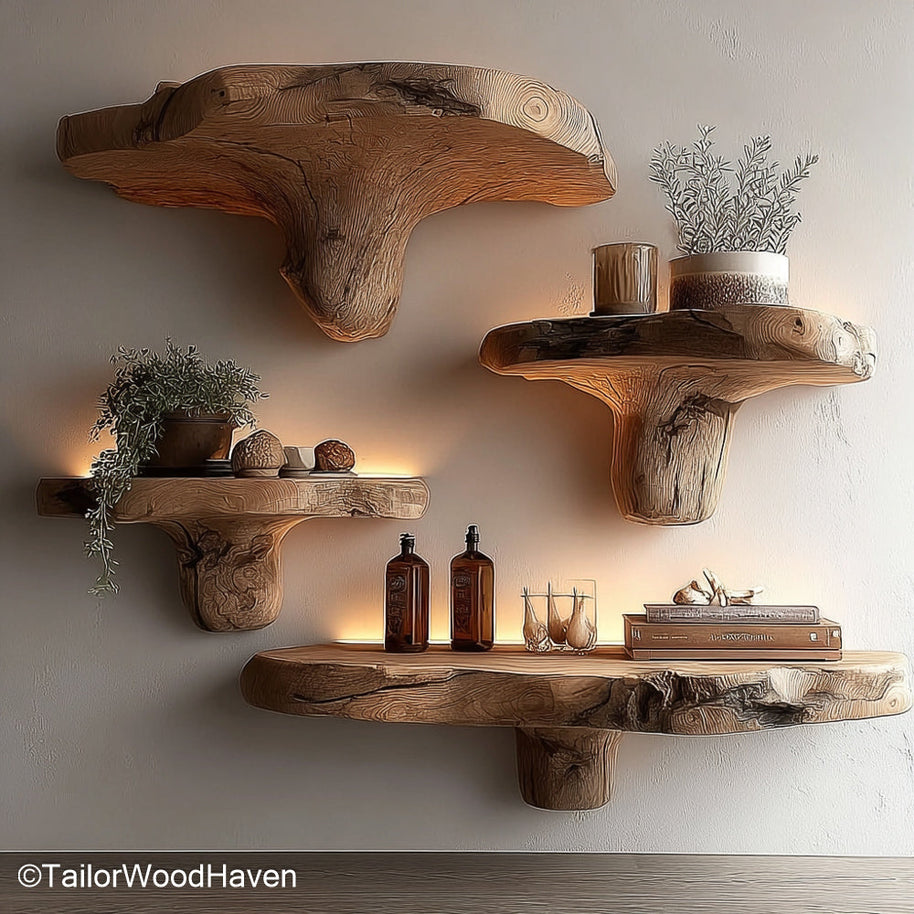
A stylish example is the Rustic wood floating shelves with hidden brackets, which give you strength and design in one no-drill option.
Many renters and homeowners wonder how to install floating shelves without drilling, especially when nails and screws are off-limits. This method is simple, renter-friendly, and leaves your walls damage-free. Here’s exactly how you can do it:
Step 1: Prepare the Wall Surface
Before learning how to install floating shelves without drilling, always start with a clean surface.
Wipe the wall with a damp cloth to remove dust, grease, or residue.
Smooth, dry walls provide the strongest adhesion.
Step 2: Measure and Mark Placement
Use a level and a pencil to lightly mark where the shelf will go.
This ensures straight installation and prevents the shelf from looking crooked later.
Step 3: Apply Adhesive Mounting Strips or Double-Sided Tape
Choose heavy-duty strips or construction-grade tape designed for shelves.
Press firmly for 30–60 seconds to secure the adhesive.
Step 4: Attach the Shelf and Press Firmly
Line up your shelf with the wall markings.
Apply even pressure across the shelf surface to bond it tightly.
Step 5: Let the Adhesive Cure Before Loading
Wait at least 24 hours before placing items on the shelf.
This step is critical to making your no-drill installation last.
Stick to lightweight items such as photo frames, candles, or toiletries.
Always follow the manufacturer’s weight guidelines.
For extra stability, combine adhesives with bracket-free shelves designed for no-drill use.
If you’re looking for inspiration, check out this IKEA Lack Shelf Without Drilling guide for a popular DIY approach.
Or try these Bathroom floating shelves for compact, waterproof storage that installs easily without nails or screws.
Even if you already know how to install floating shelves without drilling, one of the biggest challenges is making sure the shelf looks perfectly level. A crooked shelf not only looks unprofessional but also risks items sliding off. Here’s how to avoid that problem:
Use a Bubble Level or Smartphone Leveling App
Place it against the shelf or wall marking before securing the adhesive.
Double-check from multiple angles to ensure accuracy.
Mark Clear Guide Lines
Lightly draw a pencil line where the shelf will sit.
This line helps you align the adhesive strips or tape straight.
Check Alignment Before Pressing
Once adhesives are applied, it’s difficult to adjust.
Carefully position the shelf before applying firm pressure.
Measure Twice, Stick Once
Take a moment to re-check both height and balance.
This small step prevents the hassle of removing and reattaching.
When learning how to install floating shelves without drilling, getting the leveling right is just as important as choosing the right adhesive method. Proper alignment ensures your shelves look polished and stay safe.
Not all walls are the same, and the method you use will depend heavily on the surface. Whether you’re working with drywall, concrete, or tile, here’s how to make your no-drill installation work best. Knowing how to install floating shelves without drilling gives you flexibility while protecting your walls.
Drywall (Most Common in Apartments)
Use strong adhesive strips or mounting tape rated for heavier weights.
Great for renters who want floating shelves without drilling that still look stylish and sturdy.
Concrete or Brick Walls
Adhesive methods work, but you’ll need heavy-duty options.
Look for extra-strong mounting tapes or brackets with adhesive bases.
Tile Walls (Often in Kitchens or Bathrooms)
Clean the surface thoroughly to remove dust, grease, or moisture.
Perfect solution if you’re figuring out how to install floating shelves without nails or screws in spaces where drilling can damage tiles.
Painted or Wallpapered Surfaces
Be cautious, as adhesives may peel off paint or wallpaper when removed.
Opt for removable mounting solutions designed for delicate surfaces.
Love clean, mid-century designs? Consider these Mid-century modern floating shelves that fit beautifully in kitchens or living rooms.
Many renters and homeowners struggle with installing shelves when there are no studs to support the weight. Luckily, you can still get a secure hold if you use the right approach. Here’s how to do it safely while keeping your walls intact:
Choose Strong Adhesive Mounting Solutions
Heavy-duty adhesive strips or double-sided mounting tape are your best bet.
These provide strong support without the need for screws.
This method is perfect if you’re learning how to install floating shelves without drilling.
Distribute the Weight Evenly
Place heavier objects near the wall and lighter ones toward the edge.
Avoid overloading the shelf since there’s no stud backing.
Reinforce With Multiple Strips or Brackets
Instead of relying on a single adhesive strip, use several for extra stability.
Some no-drill shelves come with bracket-style adhesive bases to spread weight better.
Test Before Full Use
Place light objects first to make sure the shelf is holding properly.
Once you’re confident, you can gradually add heavier décor or storage items.
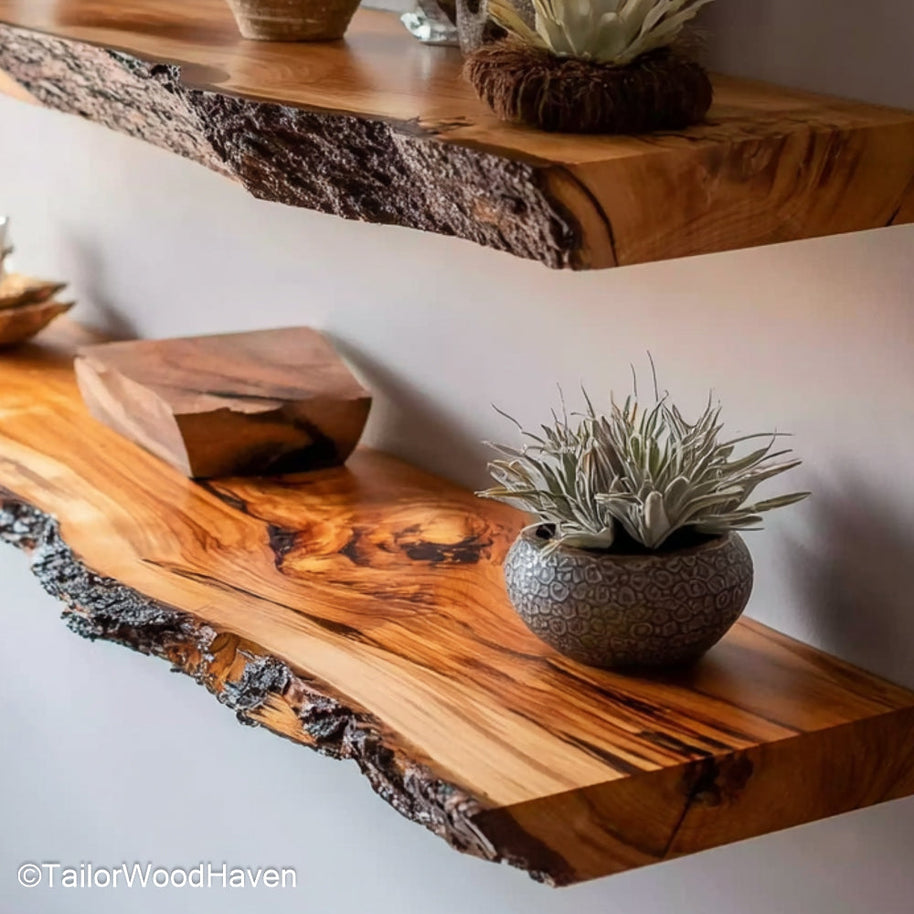
For a strong yet elegant option, explore these Dark walnut floating shelves that bring warmth and contrast to any room.

Even though installation seems simple, there are pitfalls:
Ignoring weight capacity – Overloading shelves leads to sagging or falling.
Wrong adhesive choice – Using light-duty strips on heavy surfaces will fail quickly.
Skipping wall prep – Dusty walls prevent adhesives from bonding.
Crooked placement – Not using a level results in uneven shelves.
Poor planning – Placing shelves too high or too low reduces usability.
Remember: A little prep saves a lot of frustration later.
Looking for inspiration? Here are styles that work especially well in apartments and compact homes:
Minimalist shelves – Slim designs that blend into white walls.
Rustic wood shelves – Add character and warmth to small rooms.
Compact bathroom shelves – Keep toiletries off the counter without drilling.
Statement shelves – Use bold colors or materials for a decorative touch.
Whether you lean toward farmhouse, modern, or minimalist, there’s a floating shelf that fits your vibe.
Yes, but weight capacity depends on the method. Adhesive strips or double-sided tape usually support lightweight décor like picture frames, plants, or toiletries.
The best way is to use high-quality adhesive mounting strips or heavy-duty double-sided tape. They’re quick to apply, renter-friendly, and leave no damage when removed.
With proper installation and weight management, no-drill floating shelves can last for years. Avoid overloading, follow the adhesive curing time, and check the shelves occasionally to ensure they remain secure.
By now, you know exactly how to install floating shelves without drilling - from adhesive strips and tape to bracket-free systems and no-stud solutions. These methods protect your walls, save you money on repairs, and give you design freedom even in rented spaces.


