Your cart (0)
Your cart is empty
Tax included and shipping calculated at checkout
Recommended products


Drawer menu
Tax included and shipping calculated at checkout


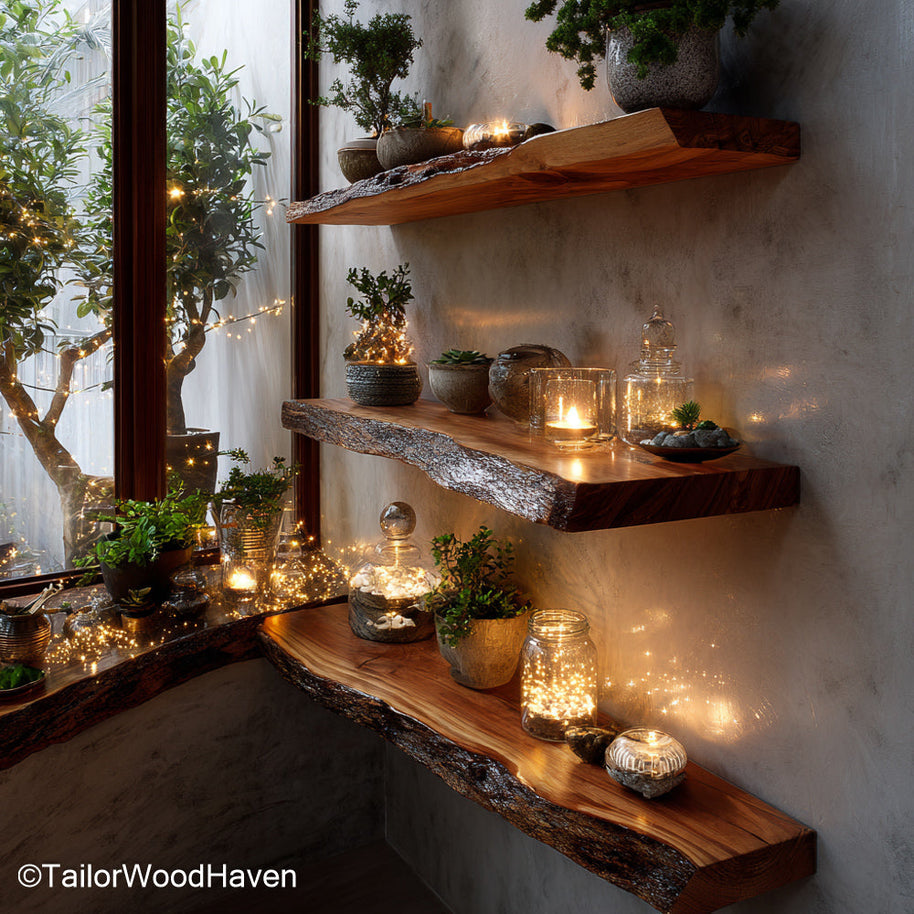
Want the high-end look of custom built-ins without the professional price tag? The answer lies in learning how to build floating shelves DIY using smart construction techniques. This guide unlocks the method for creating robust, deep shelving that features a seamless, minimalist aesthetic. By using inexpensive lumber and focusing on the hidden structural anchor, you eliminate warping and guarantee stability for heavy loads. Finish your home upgrade on a budget while achieving a level of durability and quality that rivals expensive, store-bought units.
Learning how to build floating shelves DIY gives you ultimate creative control and saves money compared to buying pre-made units:
Perfect Dimensions: You can customize the exact length and depth of the shelves, allowing them to perfectly fit unusual spaces like alcoves or wall-to-wall gaps.
Customization: Choose any material, wood species, or finish you want—from raw, reclaimed wood to a specific dark stain – to match your existing home décor perfectly.
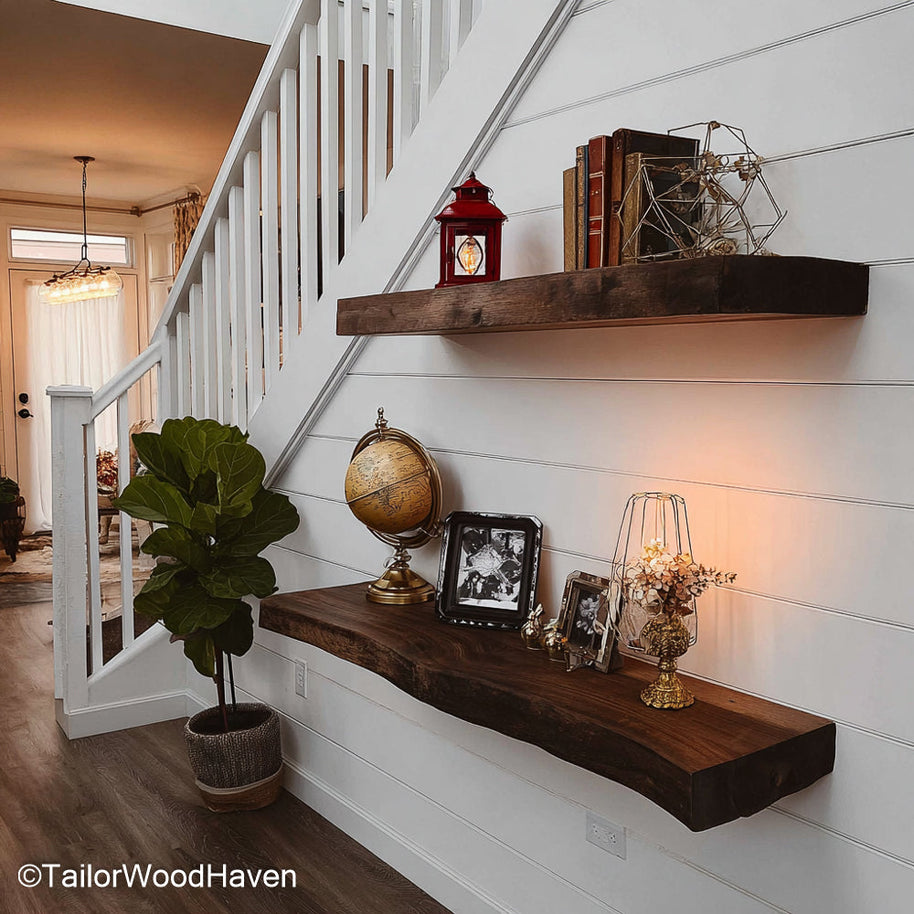
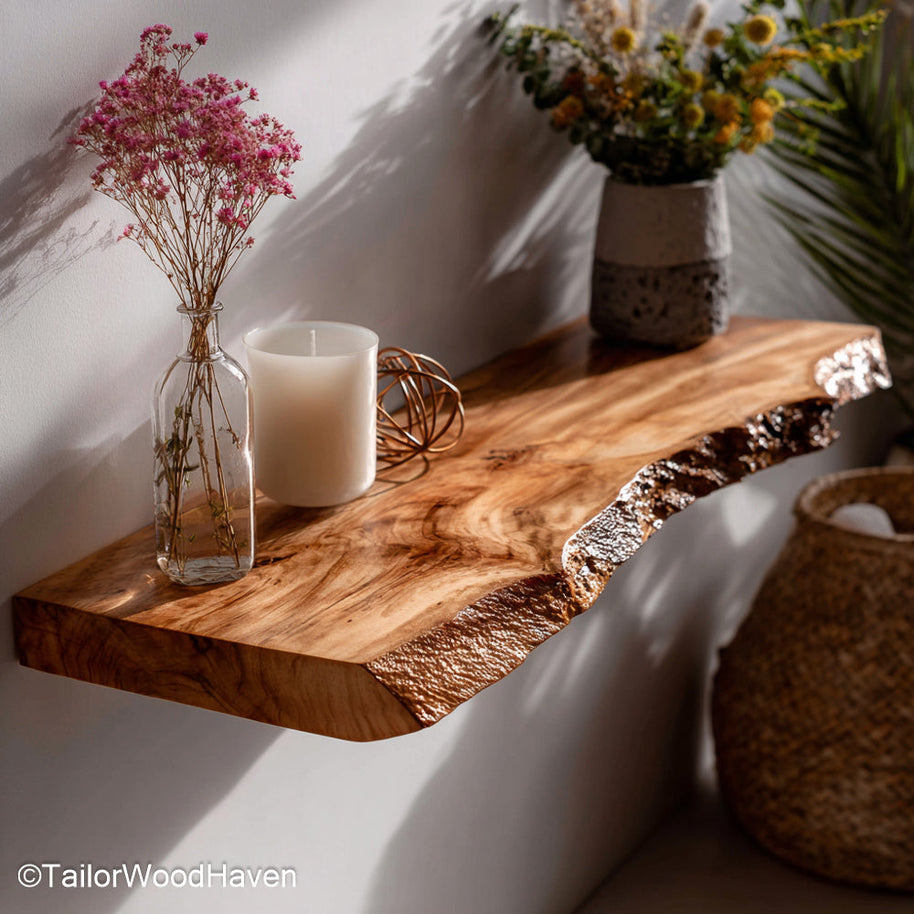
High-End Aesthetic: The finished product delivers a clean, modern, minimalist look with no visible mounting hardware. This ability to achieve a high-end style is the main reason to master how to build floating shelves DIY.
Looking for a premium floating shelf? Check out this walnut shelf – the ultimate premium choice for a truly high-end, finished look.
Before you begin cutting lumber, planning is the foundation of mastering how to build floating shelves DIY. Taking time here ensures your shelves are functional, aesthetically pleasing, and structurally sound.
Determine Function: Decide what the shelf will hold (e.g., lightweight decor, heavy books, dishes). This dictates the required strength and, therefore, the anchoring strategy.
Establish Dimensions: Measure the available wall space. Decide on the length, depth (typically 8 to 12 inches), and thickness (usually 2 to 4 inches) of your shelves. Deeper shelves require stronger anchoring.
Locate Wall Studs First: This is critical. Find and mark the center of all accessible wall studs before deciding on the final shelf length. Your structural bracket must connect directly to these studs.
Plan the Layout: If installing multiple shelves, use painter's tape to mock up the placement on the wall. Check the spacing between shelves and ensure the arrangement looks balanced and level.
Account for Material Thickness: Remember that the total height and depth of your finished shelf sleeve are dictated by the thickness of the lumber you use. Always account for the top and bottom pieces when calculating the height of the inner supports.
Skip the precise measuring and difficult cuts, just buy our walnut wood floating shelf for a guaranteed perfect fit and professional finish.
Having all your materials and specialized tools ready before starting is essential when learning how to build floating shelves DIY.
Plywood boards
Lumber (2×2 or ripped 2×4)
Wood glue
Screws
Miter Saw or Circular Saw
Drill/Driver
Stud Finder
Level
Measuring Tape
Pencil
Safety Gear
Stain or Paint
This detailed process for learning how to build floating shelves DIY separates construction into four clear phases. This ensures you build a secure structural bracket first, then focus on creating the aesthetic shelf sleeve.
The first step in learning how to build floating shelves DIY is creating the internal bracket, which must be extremely rigid. First, cut your lumber to the correct length and depth. Assemble a strong, ladder-like frame by connecting the short supports to the long back piece using wood glue and screws. Crucially, ensure the space between these short supports matches the wall stud spacing (typically 16 or 24 inches) so you can hit studs when mounting.
For maximum weight capacity, anchoring the bracket into the wall's structural studs is the absolute most critical step in answering how to build floating shelves DIY.
Begin by aligning your assembled bracket against the wall, ensuring the top edge meets the perfectly horizontal level line you drew. Pre-drill pilot holes through the bracket and deep into the center of each identified stud, then fasten the bracket securely using long, heavy-duty lag screws. Immediately test the mounted support: it must be entirely rigid and immovable against the wall, confirming proper penetration into the wood frame.
The sleeve construction starts the final phase of learning how to build floating shelves DIY. Cut your top, bottom, and side panels to fit snugly over the mounted bracket. Assemble the outer box using wood glue and small fasteners, making sure to attach the front piece last to fully conceal the entire wooden bracket.
Slide the finished box over the mounted bracket until it sits flush against the wall. To achieve a rock-solid installation and finalize how to build floating shelves DIY, secure the sleeve permanently by driving small screws through the shelf's top and bottom and into the hidden bracket. Countersink these screws to ensure a perfectly seamless surface.
This detailed process confirms you have everything needed to build a beautiful floating shelf. If you need visual help for any of these steps, check the Upright’s guide with picture tutorials.
The final touches ensure your hard work of learning how to build floating shelves DIY results in a professional look and lasting durability:
Seamless Finish: Fill all nail holes, seams, and gaps with wood filler. Once dry, sand the entire shelf surface with high-grit sandpaper until it's perfectly smooth.
Protection: Apply your chosen stain or paint. For long-term protection, especially in kitchens, use a durable polyurethane topcoat and allow it to cure fully before use.
Weight Check: The strength depends on proper stud anchoring. Always place the heaviest items directly over the internal bracket supports. This ensures your final answer to how to build floating shelves DIY is strong and safe.
Learning how to build floating shelves DIY successfully means avoiding a few critical errors that compromise safety and finish:
Relying on Drywall Anchors: Never trust drywall for heavy loads. Always anchor the bracket directly into wall studs with long structural screws.
Skipping Wood Glue: Nails and screws hold the pieces together, but wood glue provides the structural strength of the sleeve and frame. Use it generously on all joints.
Ignoring Depth vs. Weight: Deeper shelves act like longer levers, reducing the amount of weight they can safely hold. Choose the shallowest shelf that meets your needs.
Poor Finish Work: Don't rush sanding or filling seams. Smooth finishes are key to making your how to build floating shelves DIY project look professional.
Once you’ve mastered how to build floating shelves DIY, protect your wood from moisture. Always wipe up spills immediately and use coasters under drinks to prevent the wood or filler from swelling. For regular cleaning, use only a soft, dry cloth; abrasive cleaners will damage the paint or stain finish.
For long-term durability, manage environmental factors and proper weight distribution. If the shelf is in direct sunlight, the finish may fade; rotating decor helps ensure the wood ages consistently. Always distribute the weight across the shelf's full length, keeping the heaviest items closest to the supporting wall.
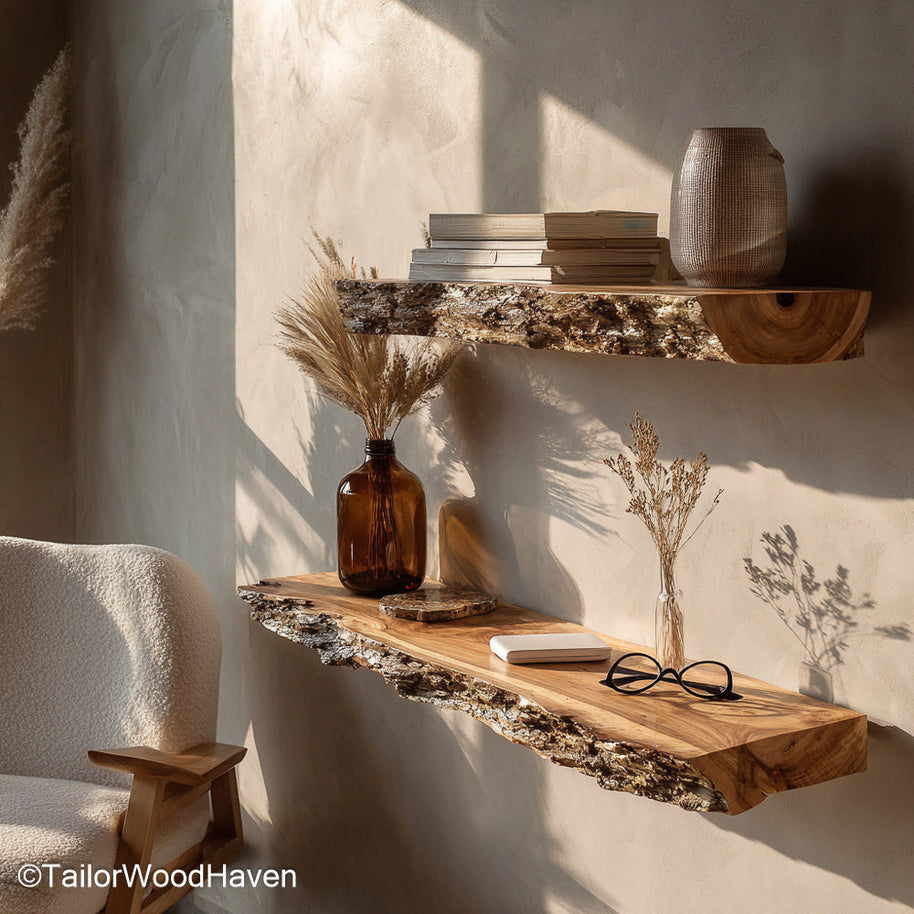
For a shelf that truly looks better with age, invest in these solid wood shelves – the premium material naturally suited for durability and beautiful aging.
Yes, definitively. Building your own shelves results in significant cost savings, often 50% to 75% cheaper than purchasing comparable custom-sized, pre-made units. This is because you leverage budget-friendly lumber for the hidden structural components.
The capacity depends entirely on installation, not just materials. A shelf properly installed into two wall studs using 3-inch lag screws can typically hold between 50 to 100+ pounds. Never trust a load-bearing shelf installed only with drywall anchors.
For a DIY project, plywood is best for the exterior sleeve because it is highly stable, lightweight, and resists warping better than wide solid wood slabs. This ensures your shelf stays perfectly straight over time.
A typical thickness for this method is between 2 to 4 inches. The thickness is determined by the size of the structural 2×2 cleat you use for the inner frame, plus the thickness of the top and bottom sleeve material.
Most residential floating shelves range between 8 to 12 inches deep. Be aware that deeper shelves increase the leverage (torque) on the wall bracket, requiring absolutely impeccable anchoring into the wall studs.
You’ve successfully moved past the uncertainty and achieved the goal of maximum weight capacity. By meticulously focusing on anchoring the structural cleat deep into the wall studs with heavy-duty lag screws, you ensured your shelf can handle significant load without compromise. This structural approach separates your project from flimsy, wobbly alternatives, guaranteeing a robust foundation. You now have the definitive skill to build custom shelving that is truly functional. Enjoy the confidence that comes with mastering how to build floating shelves DIY for even your most demanding storage needs.


