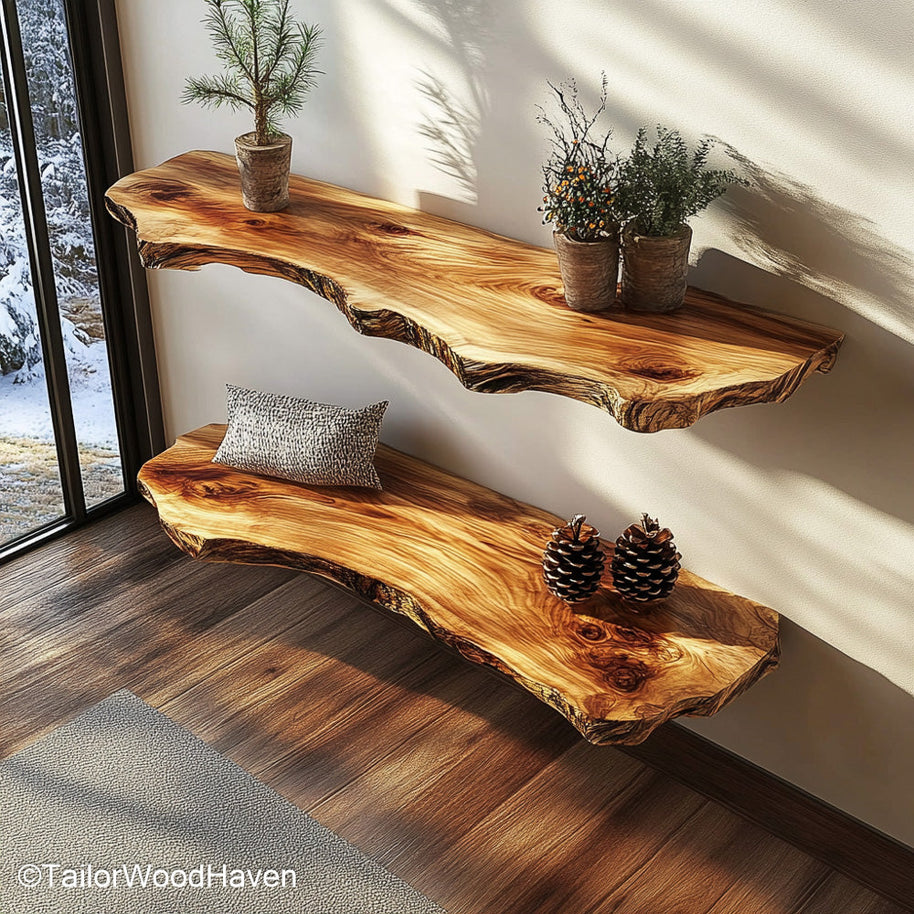
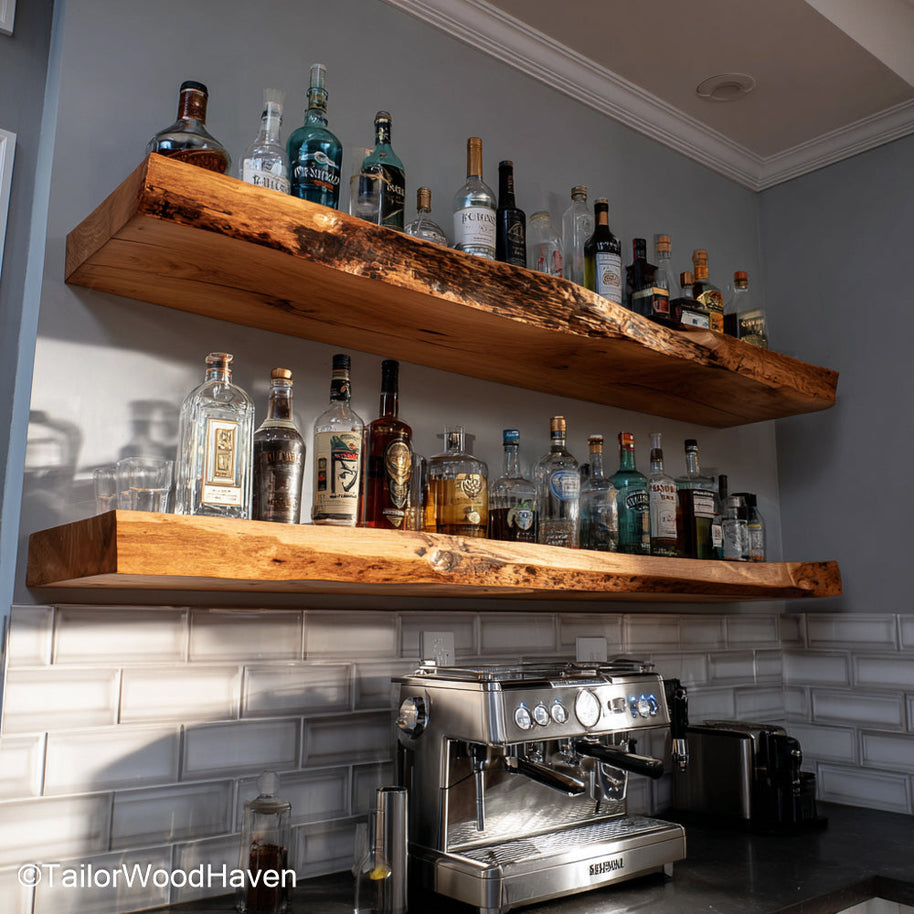
Installing heavy floating shelves requires a solid plan and the right tools. More than just a simple DIY project, it’s a structural task where getting the details right is crucial for both safety and aesthetics. This guide shows you how to install heavy floating shelves the right way, from choosing brackets and finding studs to leveling, fastening, and finishing. Follow along for pro tips that keep your shelves safe, straight, and strong.
Why Proper Installation Matters
The difference between a standard floating shelf and a heavy-duty one isn't just the shelf itself, but the way it's attached to the wall. A proper guide on how to install heavy floating shelves is essential for a few key reasons:
-
Safety: Proper installation prevents the shelf from collapsing, which could damage your items, your wall, or even cause injury.
-
Stability: Correct support keeps the shelf from sagging or wobbling, so it maintains its clean, straight look over time.
-
Longevity: A well-installed shelf will remain beautiful and functional for many years, looking as good as the day you put it up.

To ensure a heavy floating shelf remains safe, stable, and beautiful for years to come, it's essential that you mount them securely using the proper installation methods.
Tools and Materials Checklist
Before you start, gather everything you'll need for a successful installation. Having the right tools is half the battle when learning how to install heavy floating shelves. Don't try to cut corners with the wrong equipment.
Tips on Choosing Heavy-Duty Brackets
A successful installation for heavy floating shelves starts with choosing the right support. The brackets are the most important part of the job.
-
Types of Brackets: The most common types for heavy shelves are hidden rod-style brackets, which slide into the shelf for a clean look, back-plate brackets that offer a lot of support, and full-length steel cleats for maximum strength.
-
Matching Brackets to Your Needs: The rod length of a bracket should be at least two-thirds the depth of your shelf. You also need to use the right number of brackets to align with wall studs.
-
Signs of Quality: For a truly secure shelf, look for brackets made from thick steel with strong, clean welds and well-drilled mounting holes. Knowing what to look for is a step in learning how to install heavy floating shelves correctly.

To ensure your floating shelf is safe and stable, it’s essential to spend time finding the right support. The right bracket helps you to display your items with confidence.
Understanding Wall Types & Fasteners
Before you begin, you need to know what your wall is made of. Using the wrong fastener is a common mistake that can lead to shelf failure. The success of how to install heavy floating shelves depends on matching the hardware to the wall.
-
Drywall: You must install your shelf into a wooden wall stud. Use lag bolts or long wood screws directly into the stud. Never use drywall anchors for heavy items.
-
Brick, Stone, or Concrete: Use a hammer drill with a masonry bit. Secure the shelf with sleeve anchors or lag shields designed for solid walls.
-
Ceramic Tile: Use a tile or diamond-tipped bit to drill through the tile. The fastener must then go into the stud or concrete wall behind the tile.
Planning & Layout
Before you pick up a drill, a little planning will save you a lot of trouble. This is the most important step for a flawless installation and a crucial part of knowing how to install heavy floating shelves correctly.
Start by thinking about the shelf’s height and its alignment with other elements in the room. In a kitchen, for example, you might want to line it up with the bottom of your cabinets or the top of the backsplash for a clean, professional look.
If you are installing more than one shelf, remember to check the vertical space between them to ensure they can hold your items without looking cluttered. Always check that the shelf won't block doors, windows, or interfere with appliances like a faucet.
The last step is to use a stud finder and a level to mark your wall. Find at least two studs and draw a light, level line where the shelf will sit. This is your blueprint for a secure installation and the key to how to install heavy floating shelves for a long-lasting result.

Planning the placement and layout of your floating shelves before you start will ensure they are hung exactly as you want.
Step-by-Step Guide on How to Install Heavy Floating Shelves
Follow these steps precisely to master how to install heavy floating shelves and ensure a safe and stable result.
Step 1: Locate & Confirm Studs
The key to learning how to install heavy floating shelves is finding a solid anchor point. Use a reliable stud finder to locate at least two wooden studs behind your drywall. Confirm their location with a small pilot test hole, then use a level to draw a straight line marking the bottom of your bracket. This is the foundation of a safe install.
Step 2: Pre-Drill for Brackets
Once your studs are marked, you need to pre-drill pilot holes for your lag screws. This prevents the wood from splitting and makes mounting much easier. The pilot hole should be slightly smaller than the threads of your lag screw. Drill carefully, making sure you don't go too deep.
Step 3: Mount Brackets Level & Square
Now you can mount your brackets. Align each one with the pilot holes you drilled and use a socket wrench to drive the lag screws firmly into the studs. Check with your level one last time to ensure they are perfectly straight. Proper bracket mounting is the most crucial part of how to install heavy floating shelves.
Step 4: Prepare the Shelf
With the brackets installed, you can prepare the shelf itself. If you're using hidden rods, bore the channels in the back of the shelf to match the bracket rods. Always dry-fit the shelf to ensure everything lines up perfectly. This preparation is essential for how to install heavy floating shelves without a struggle.
Step 5: Slide Shelf On & Secure
Finally, slide the shelf onto the brackets. It should be a snug fit. Use a rubber mallet to gently tap it into place. If your bracket system includes set screws or adhesive pins, be sure to use them to lock the shelf onto the brackets.

You've now completed the process of how to install heavy floating shelves for a secure, long-lasting result. With this sturdy shelf, you can feel confident placing all your items and decorations on it.
Special Cases & Pro Tips
Once you have the basics down, you can handle more complex projects. Learning these tips is a key part of mastering how to install heavy floating shelves.
-
Wide Shelves: For shelves that are very wide, you should install intermediate brackets in the middle. This provides extra support, prevents the shelf from sagging, and adds to the overall stability.
-
Corner Installations: If you are installing a shelf in a corner, use an L-bracket for reinforcement. This provides a strong, hidden support and ensures the shelf is completely stable on both sides.
-
Over Tile or Backsplash: When drilling through a tiled wall, use a tile or diamond-tipped bit and place masking tape over your drill marks to prevent the bit from slipping. The fastener must still go into the underlying stud or solid wall.
-
Overcoming Irregular Walls: If your wall is uneven, your shelf may not sit flush. To fix this, use thin wood shims behind your mounting plate to fill any gaps and ensure the shelf is perfectly level and stable.
Styling Without Overloading
Now that you've mastered how to install heavy floating shelves, it's important to style them in a way that protects your hard work. If you need more ideas on decorating floating shelves, check The Spurce’s guide.
Even with a strong install, how you place items on the shelf matters. For the best visual balance and to prevent sagging, always place your heaviest items directly over the hidden brackets or studs. Mix these heavy objects with lighter decorative items like plants or small picture frames to create an appealing look without stressing the shelf. To protect the shelf's surface and help distribute the weight of ceramic items, consider using a shelf liner or felt pads underneath them.
Conclusion
Learning how to install heavy floating shelves is a difficult skill, because it requires careful attention to detail and a focus on safety. By following this guide, you now have the knowledge to choose the right tools, locate the strongest anchor points in your wall, and mount your shelf with confidence. You've gone from a design idea to a solid, functional piece of furniture. You can now proudly display your heaviest items, knowing they are securely supported by a beautiful, clean shelf.


