Your cart (0)
Your cart is empty
Tax included and shipping calculated at checkout
Recommended products


Drawer menu
Tax included and shipping calculated at checkout


You love the clean aesthetic of floating shelves, but are you intimidated by the installation? The key to a professional, high-capacity shelf isn't magic – it's a precise system of anchoring. This comprehensive guide breaks down the complex process into 8 simple, easy-to-follow steps. We eliminate the guesswork involved in locating studs and choosing the right fasteners. Stop worrying about wobbling and start building with confidence. Discover exactly how do I install floating shelves so they look beautiful and can reliably bear weight.
Before you start drilling any holes, meticulous preparation is key. Gathering all your materials and tools beforehand ensures a smooth workflow. This step sets the stage for answering how do I install floating shelves efficiently and safely.
Tools Checklist:
Drill/driver
Stud finder
Level
Tape measure
Pencil
Safety Glasses
Hardware Check: Ensure you have the correct fasteners, like lag screws for anchoring into studs. Also, prepare your internal support: either a custom wood cleat for hollow shelves or the specialized metal brackets that come with your pre-made shelf.
Mock-up: To ensure a perfect aesthetic, visualize the result first. Use painter's tape to outline the shelf's exact size on the wall, allowing you to confirm the spacing and placement are ideal before you drill any holes.

Before beginning your meticulous installation and drilling, invest in the only permanent piece of the project: a beautiful and sturdy floating shelf that is worthy of all your prep work.
The foundation for answering "how do i install floating shelves" securely is simple: you must anchor the shelf directly into the wall's structural studs. Never rely on drywall alone, or your shelf will sag. First, use a stud finder to locate the vertical wall studs, marking the center of each one with a precise vertical pencil line – these are your anchor targets. You must hit at least two studs. Finally, run a voltage tester along these center lines to check for hidden wires or pipes before you drill.
A perfectly level line is the key to avoiding a crooked display. If you're wondering, "how do i install floating shelves so they don't look wrong?", start here. Measure your desired height and draw a continuous horizontal line with a long level, ensuring it crosses the center of every stud you marked. This line is the essential reference point for installing your bracket.
To get the internal support ready – a vital part of understanding "how do i install floating shelves" – you must prepare the cleat or bracket. If using a wood cleat, cut it slightly shorter to hide it, then pre-drill and countersink holes so the lag screws sit flush. If you have a metal bracket, just line it up with your marked stud centers and mark the mounting holes to prepare for drilling.
This is the most critical step for answering, "how do i install floating shelves" for heavy use. Align the cleat or bracket exactly with your level line and stud center marks. Using a drill or driver, fasten it securely by driving long lag screws deep into the center of each wall stud. Once screwed in, firmly test the support; it must be completely rigid and rock-solid against the wall.
With the support mounted, you can optionally apply a thin line of glue to the cleat for a permanent fit. Carefully slide the shelf body over the support until it is tight and flush against the wall. Immediately place your level on top to ensure the shelf is still perfectly horizontal before securing it permanently.
This last step is vital for preventing the shelf from sliding, completing the 'floating' look. When you finalize "how do i install floating shelves," the method depends on your hardware. For DIY wood cleats, use trim screws or finishing nails through the top and bottom faces into the hidden wood. For metal brackets, use the provided grub screws (set screws) inserted through the bottom of the shelf to lock it onto the rods.
After all the effort, the last step to finish answering "how do i install floating shelves" is the safety check. First, do the Wiggle Test: firmly push down on the front edge – there must be zero wobble. If it wiggles, immediately re-anchor into the studs with stronger screws. Next, do the Load Test: place about one-quarter of the shelf's maximum intended weight on it for 30 minutes to ensure no sagging occurs before you load it fully.
Following these detailed, step-by-step instructions ensures your floating shelf installation is perfectly level and completely secure. If you are looking for alternative installation techniques, check the Wiki How’s guide.
If you are only displaying extremely lightweight decor (under 10 lbs) and absolutely cannot find studs, you need to know how do I install floating shelves using high-security drywall anchors. This method is never suitable for books, dishes, or any heavy items.
Acceptable Anchors: Use high-strength toggle bolts or snap toggles only. These anchors open up behind the drywall to distribute the load over a larger area, offering superior holding power compared to standard plastic anchors.
Weight Limit: Reiterate the critical need to keep the total weight (shelf + contents) well below the anchor's rated capacity, typically no more than 10-15 pounds.

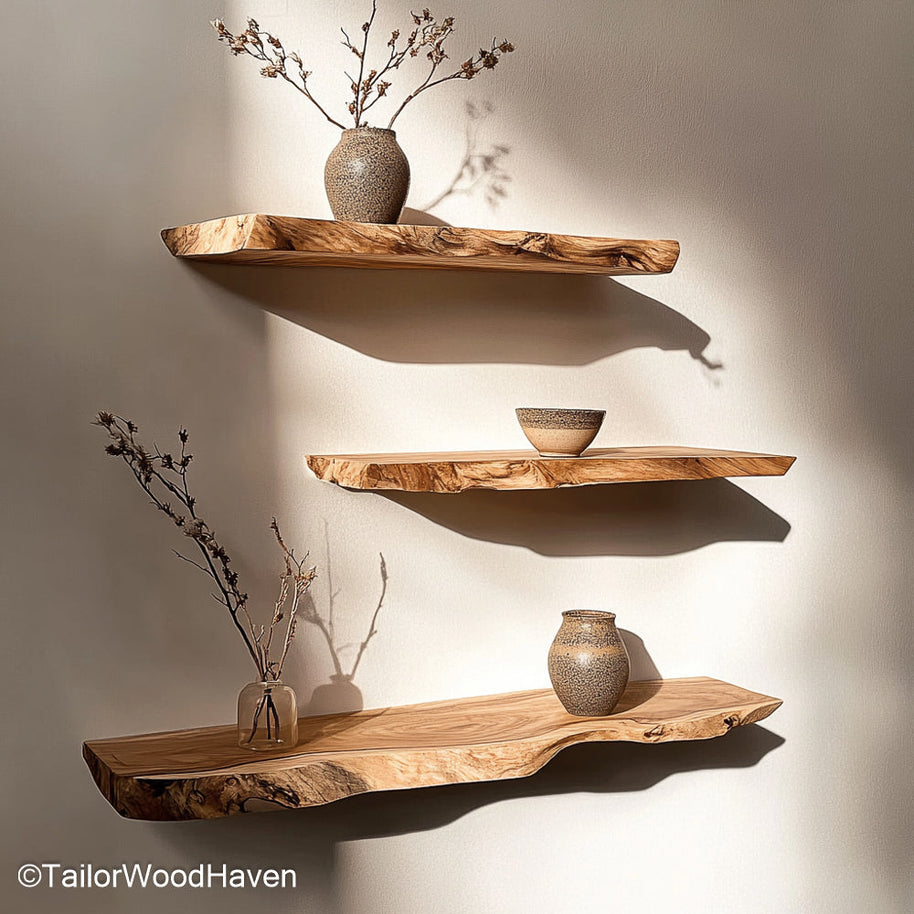
If you need a shelf worthy of your most beautiful decorative items, choose these floating shelves – a premium piece that adds rich, organic texture to your display.
Installing the shelf securely is one thing, but achieving a flawless, professional finish is another. If you want your final answer to "how do i install floating shelves" to be picture-perfect, these pro tips cover the tiny details that elevate your work and guarantee a seamless result.
Fix Uneven Walls: If your wall is uneven, use small wood shims behind the cleat before mounting. This is a critical technique for how do i install floating shelves in older homes, as it pushes the support flush and prevents the shelf from bowing.
The Blue Tape Trick: Place painter's tape over the drill site before drilling to prevent chipping and tearing the drywall edges.
Use a Laser Level: For long or multiple shelves, a laser level eliminates manual errors and makes alignment instantaneous and highly accurate.
Pre-load Your Screws: Pre-load your lag screws into the drill before climbing the ladder to avoid dropping hardware and increase your speed. Achieving this level of detail is what separates a good job from mastering how do i install floating shelves.
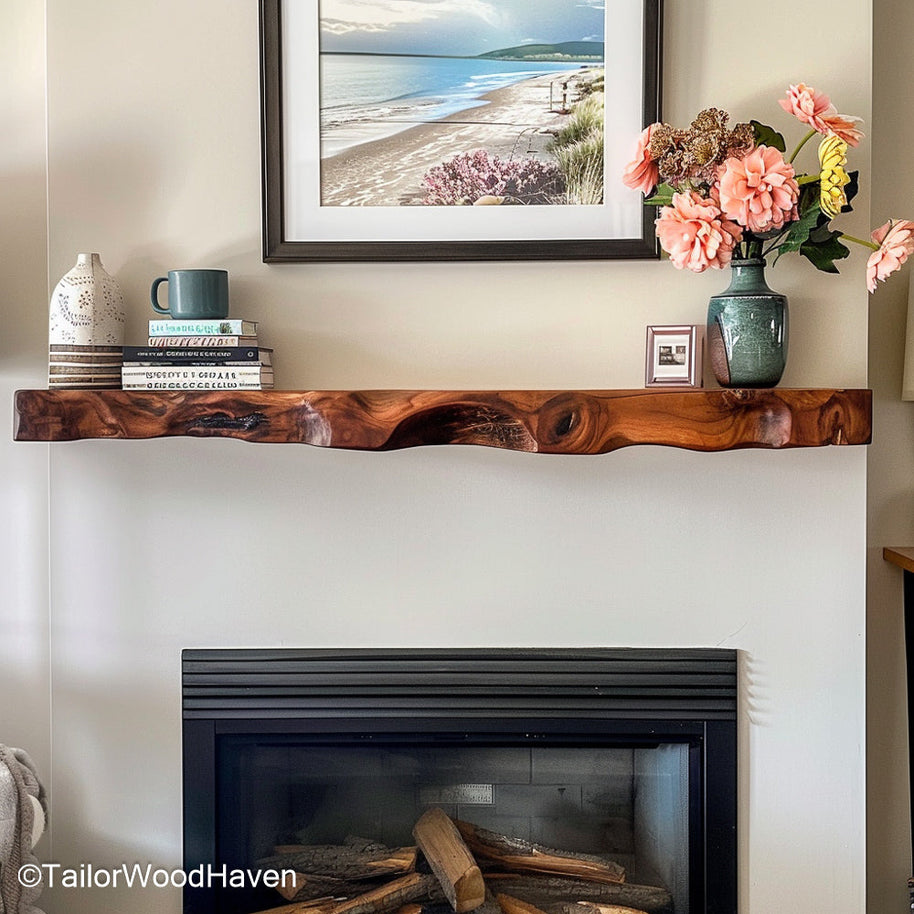
Your flawless installation deserves a shelf that won't compromise the look. Choose this seamless floating shelf for the final beautiful display.
Even with the best instructions, simple errors can quickly compromise your shelf's integrity and ruin the clean aesthetic. When you ask, "how do i install floating shelves," remember that avoiding these three common mistakes is just as important as following the steps:
Ignoring the Wiggle Test: After mounting the support, firmly push down on it. If it wiggles, your screws missed the stud centers or aren't long enough. Re-anchor immediately with sturdier lag screws.
Underestimating Load: For heavy, load-bearing shelves, the question of "how do i install floating shelves" is always answered with studs. Never rely on drywall anchors; you must anchor into a minimum of two vertical studs using structural screws.
Skipping the Mock-Up: Don't drill based on measurements alone. Use painter’s tape to outline the shelf on the wall first. This prevents the irreversible mistake of a visually misplaced shelf, making the entire project easier once you commit to drilling.
Ensure your careful installation efforts pay off with a shelf that lasts, these walnut shelves are built with the quality and integrity to justify your attention to every stud and anchor.
The height depends on the use. For general display, place them about 52 to 56 inches from the floor. If placed above a counter or furniture, leave 12 to 18 inches of clearance.
They should not sag if installed correctly into wall studs using lag screws. Sagging is usually a sign of inadequate wall anchoring or consistent overloading.
Yes, for safety and load capacity. For any shelf intended to hold books, dishes, or other heavy items, anchoring into at least two studs is mandatory.
Yes, but only if you use heavy-duty toggle or snap-toggles, and only for very light, decorative items (typically under 10–15 pounds). Do not use standard plastic anchors.
The effort you invested in learning the precise steps of how to install floating shelves has paid off with a flawless aesthetic. The complex work of securing the cleat and hiding the hardware is now invisible, leaving only clean lines and an elegant display. Your shelves are secure, level, and ready to transform your space. You've answered the question of how do I install floating shelves with a perfect, lasting solution. Step back and admire the custom look and rock-solid stability of your new home upgrade.


