Your cart (0)
Your cart is empty
Tax included and shipping calculated at checkout
Recommended products


Drawer menu
Tax included and shipping calculated at checkout
Your wishlist is empty.
Continue shopping


Floating shelves are a modern design choice, and while you can buy them, making your own gives you more control over the size, color, and finish. Plywood is an excellent material for this project because it's strong, stable, and much more affordable than solid wood. By building a hollow box, you can create a shelf that looks and feels solid but is light enough to be mounted easily and securely. This guide will walk you through every step of how to make floating shelves with plywood, from cutting your material to a professional-looking finish.
Plywood is an excellent material when considering how to make floating shelves because of its benefits:
Cost-Effective: Plywood is much cheaper than solid wood, making it a great option for building large or multiple shelves.
Stability: Unlike solid wood, plywood is highly stable and won't warp or cup with changes in temperature and moisture.
Strength: When built as a hollow box, a plywood shelf is surprisingly strong and can hold a lot of weight when installed correctly.
Versatility: Plywood can be stained, painted, or veneered to look like solid wood. This versatility is key when you want to know how to make floating shelves with plywood that look customized.
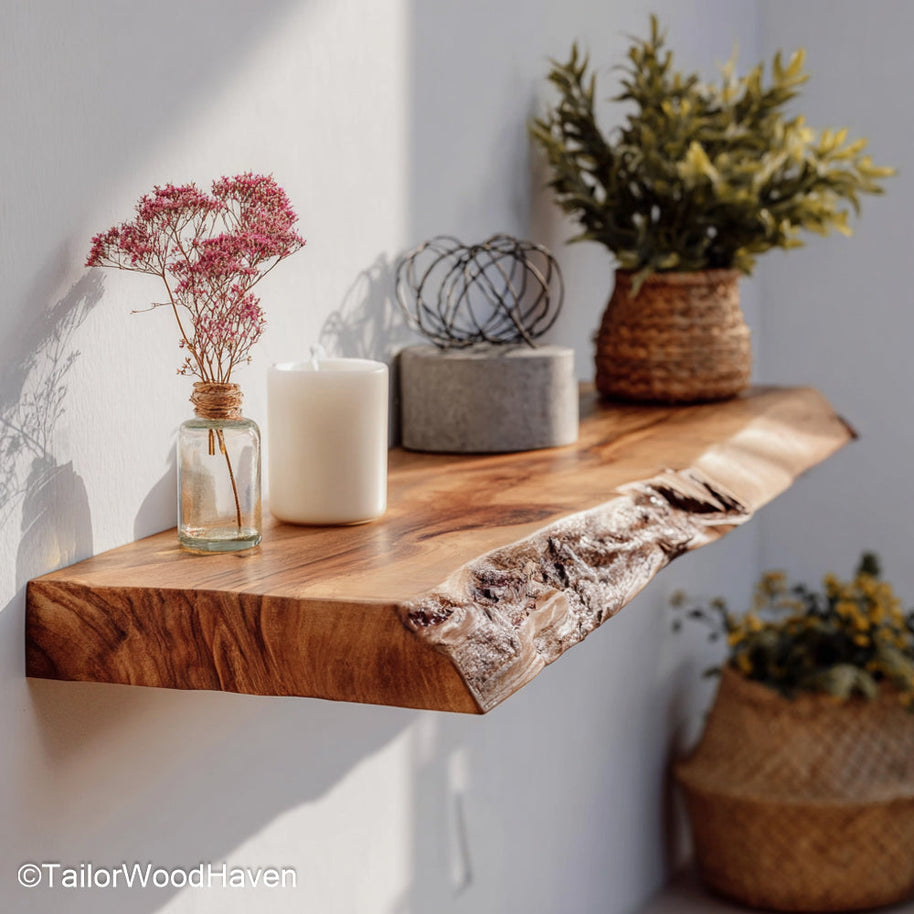
While plywood floating shelves are a great choice, shelves made from natural wood are also incredibly durable and beautiful, such as this one.
Making smart design choices early is key to understanding how to make floating shelves with plywood that perfectly fit your space. These decisions must be made before you cut any wood.
Shelf Thickness: Decide on the finished look. The hollow box design lets you use affordable, thin plywood to create the illusion of a thick, solid shelf, typically finished at a clean 1.5 to 2 inches thick.
Depth & Length Guidelines: Choose dimensions based on the room's function. Aim for 8 to 12 inches deep in a kitchen to hold plates, or 8 to 10 inches deep for decorative living room shelves. Remember that a longer shelf requires more internal support to prevent sag.
Mounting Method Overview: Decide on your hardware. Plywood works well with a simple wood cleat, a strong French cleat, or internal steel rod brackets. Knowing which you’ll use affects your cuts when learning how to make floating shelves with plywood.
Before you begin the hands-on work of how to make floating shelves with plywood, you need to gather all your materials and tools. Here are things that you should prepare:
Plywood (Get a sheet of high-quality plywood (3/4-inch or 1/2-inch thick)
Wood Glue
Nails
Wood Filler
Stain, paint, or a clear polyurethane coat
Saw
Tape measure
Pencil
Drill & drill bits
Clamps
Level
This detailed guide will take you through the construction process. Follow these steps precisely to learn how to make floating shelves with plywood that are strong and beautiful.
The first step in how to make floating shelves with plywood is to cut your pieces with accuracy. You will need two identical pieces for the top and bottom of your shelf and then two smaller pieces for the sides and ends. Be sure to cut the side pieces shorter to allow for the thickness of the end caps, as precision is vital for all the pieces to fit together tightly.
Building the box frame is the most important step in how to make floating shelves with plywood because it's what gives the shelf its strength. Start by applying a thin layer of wood glue to all joining edges. Position the two side pieces onto the bottom piece and use wood clamps to hold them tightly. Drive finish nails or brad nails through the bottom and into the sides for immediate hold while the glue dries. Next, flip the structure and attach the top piece, securing it with both glue and nails. Finally, glue and nail the end caps to close the open ends. Always use a square to check all corners and ensure they are exactly 90 degrees before the glue fully cures.
The final step in turning a simple wood box into a professional-looking shelf is finishing. Start by applying veneer edging to all the exposed edges to make your shelf look like solid wood. Next, use wood filler to cover any nail holes and gaps, then sand the entire shelf until it's perfectly smooth. The last part of how to make floating shelves with plywood is to apply your chosen finish, such as stain or paint, which will give the shelf a polished and beautiful look.
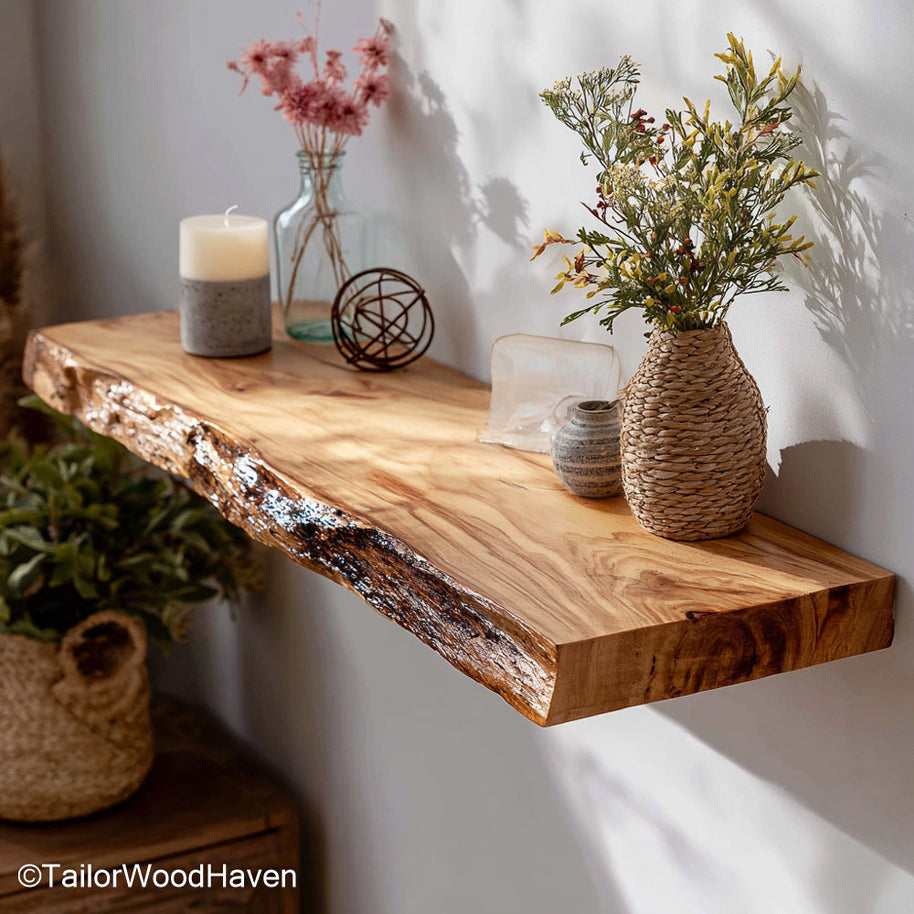
You can skip the extra steps of finishing and get the real thing - our natural wood floating shelves offer authentic beauty and a premium look right out of the box.
Once you know how to make floating shelves with plywood, you'll find the installation is surprisingly easy because the hollow box is so lightweight.
First, use a stud finder to locate and mark at least two wall studs. Cut a wood cleat (like a 2x2) to fit inside your hollow shelf and securely mount it level into the studs with lag bolts. This cleat is the internal support.
Next, apply wood glue to the cleat and slide the finished shelf box completely over it.
Finish by driving a few small finishing nails through the shelf's top and bottom and into the cleat for maximum security. This locks the shelf firmly to the wall.
Successfully mastering how to make floating shelves with plywood means avoiding common errors that can compromise both the look and the safety of your project.
Relying on Drywall Anchors: Never use only drywall anchors. Always secure your internal mounting cleat directly into wall studs with strong lag bolts.
Skipping Edge Banding: Don't skip the veneer edging. Exposed plywood layers will ruin the clean, solid wood look you are trying to achieve.
Choosing the wrong thickness: If the plywood is too thin, the shelf will likely sag under weight. For sturdy, long-lasting shelves, aim for 18mm to 25mm thickness, or layer two sheets together for a strong, extra-thick look.
Misalignment: Double-check that your rod channels or cleat grooves are perfectly straight and square. Misalignment is the main reason a shelf will tilt or sag.
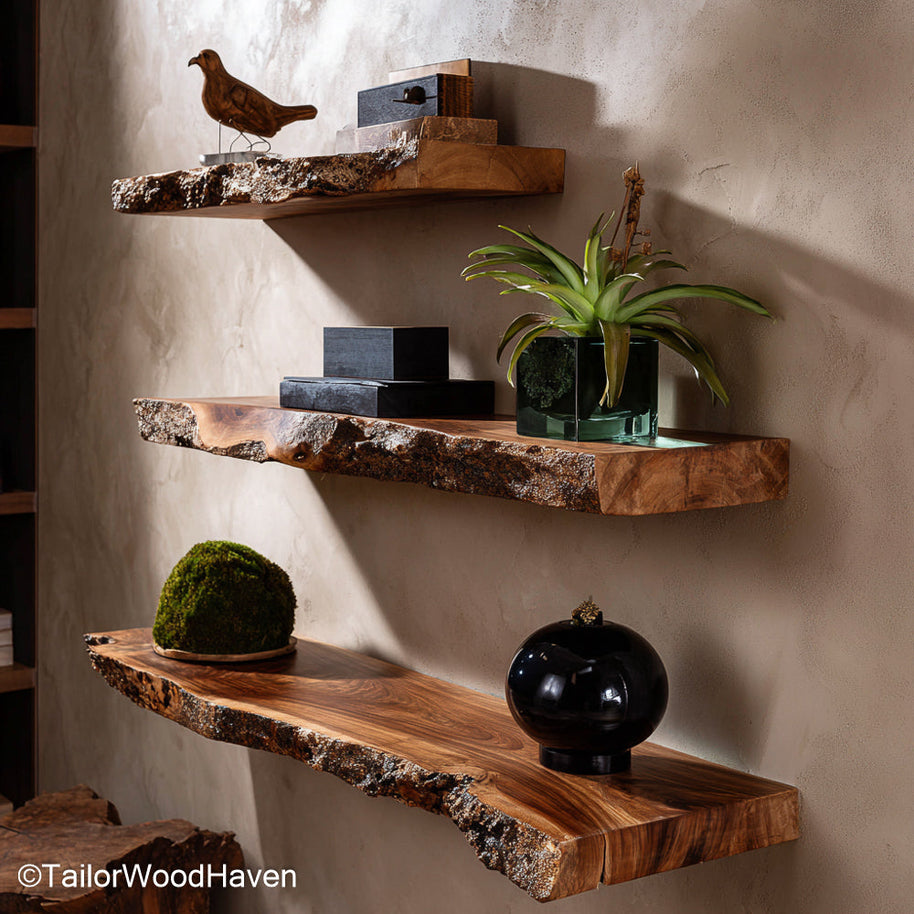
Why worry about perfect edges and the right thickness? Our floating shelves offer a natural, sturdy beauty that requires none of the extra work to achieve a timeless, solid wood look.
Once your custom shelves are mounted, a few tips will help them look great and last for years. When learning how to make floating shelves with plywood, you want the final result to be functional art.
For visual balance, don’t just load the shelf with books. You should mix functional items with decorative pieces like plants, ceramics, and artwork.
To protect your beautiful finish and prevent the shelf from being stressed by a single heavy item, avoid putting too much weight in one spot (point loads). Place ceramics and heavy objects on felt pads to protect the finish.
If you’ve built multiple shelves, ensure consistent spacing and use the same small reveal (the gap between the wall and the shelf) on all of them for a professional, cohesive look throughout your entire project when following our guide on how to make floating shelves with plywood.
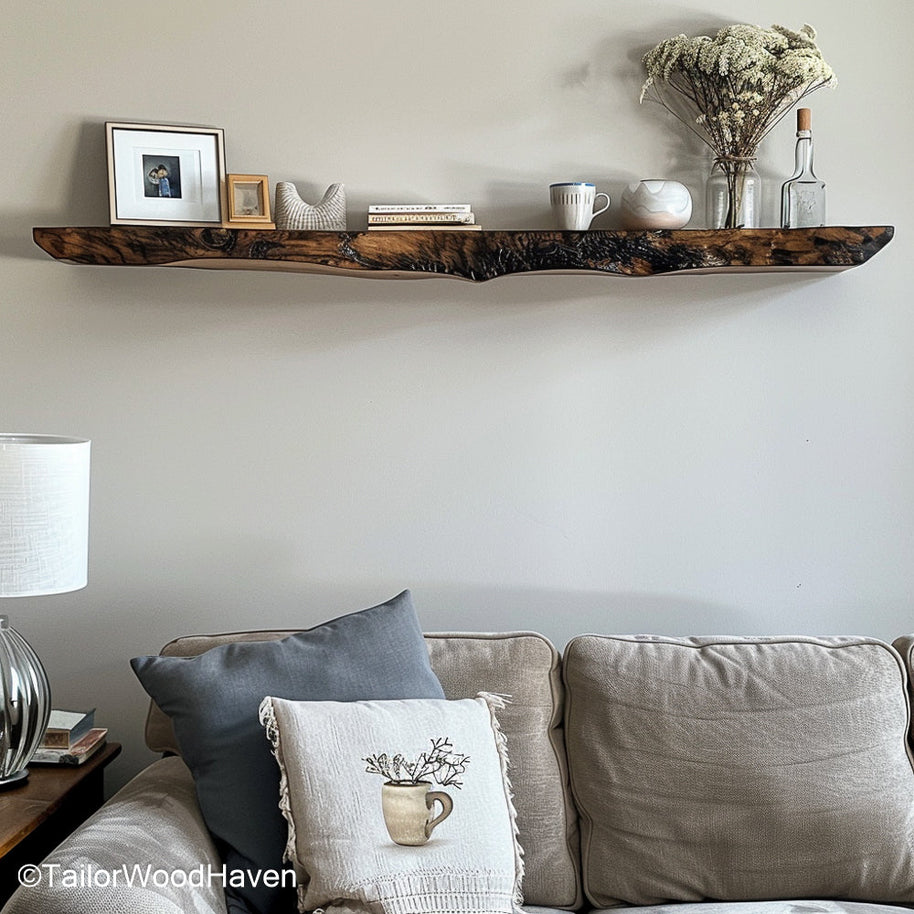
These tips will help you achieve a beautiful and organized display with your plywood floating shelf, just like the one shown here.
Here are answers to some frequently asked questions regarding how to make floating shelves with plywood.
For standard, strong, and sturdy floating shelves, 3/4-inch plywood is highly recommended. You can use 1/2-inch plywood if you are building a very small, lightweight shelf purely for decoration, but it may not be able to hold heavy objects like stacks of books without risking a sag over time.
Yes, when built with a rigid box frame and installed correctly into wall studs, a plywood shelf is very strong and can hold heavy loads like books. The hollow design does not compromise the strength of a well-built box.
To give the shelf a solid look, ensure you use wood veneer edging on all visible layers, and then stain or finish the entire piece evenly. The box structure mimics the look of a solid, thick piece of lumber.
Building your own floating shelves with plywood is a highly rewarding project that gives you a beautiful, custom result. By taking the time to build a strong box frame and finishing it with care, you can create a shelf that looks and feels like solid wood but costs a fraction of the price. The process is simple, the materials are affordable, and the finished product is a clean, modern shelf that will be a perfect, custom addition to any room in your home. Now that you know exactly how to make floating shelves with plywood, you can tackle this project with confidence and pride. If a written guide isn't enough, this video tutorial shows you a more intuitive and visual way to build your plywood floating shelf.


