Your cart (0)
Your cart is empty
Tax included and shipping calculated at checkout
Recommended products


Drawer menu
Tax included and shipping calculated at checkout
Your wishlist is empty.
Continue shopping


A floating shelf is a beautiful way to display your favorite decor, but a live edge floating shelf diy project takes it to the next level.
This type of shelf, with its natural, untrimmed edge, adds a rustic yet modern touch to any room. It’s a statement piece that brings the organic beauty of nature indoors.
The success of your live edge floating shelf diy project begins with the materials. The type of wood you choose is the most important decision you'll make, as it will define the final look and feel of your shelf.
When selecting wood for your live edge floating shelf diy, you’re looking for a slab with character - beautiful grain patterns, a distinct "live edge," and a sturdy feel.
Walnut: Known for its rich, dark color and dramatic grain, walnut creates a luxurious and sophisticated shelf.
Oak: A classic choice, oak is incredibly durable and has a prominent, open grain that gives it a timeless, rustic look.
Maple: With its lighter color and fine, subtle grain, maple is perfect for a clean, modern aesthetic.
Reclaimed Wood: Using wood from an old barn or a fallen tree adds a unique history and character to your live edge floating shelf diy, giving it a weathered, storied look.
For inspiration and to see what quality live edge wood looks like, you can browse a wide selection of pre-made shelves at sites like HardtwoodUS to help you visualize your own floating shelf diy project.
This sleek shelf features a smooth walnut tone for an upscale and contemporary interior.
Before you start your live edge floating shelf diy, gather these essential tools:
Circular Saw or Miter Saw: For cutting the wood to your desired length.
Orbital Sander: With a variety of grit sandpaper (from coarse to fine).
Wood Chisel or Router: To create a channel for the hidden bracket.
Drill: To pre-drill holes for the mounting bracket.
Level and Tape Measure: For precise marking and installation.
Finishing Oil or Varnish: To protect and seal the wood.
Safety Glasses and a Dust Mask: To protect your eyes and lungs from sawdust.
Once you have your materials, it’s time to get your hands dirty. This part of the guide will walk you through the key stages of a successful live edge floating shelf diy.
This is the most crucial step in a live edge floating shelf diy, as it defines the final aesthetic of the shelf.
Cut the Wood to Length:
Use a circular saw or miter saw to cut your live edge slab to the desired length. Make sure your cuts are clean and straight.
Sanding:
Start with a coarse-grit sandpaper (around 80-100 grit) to smooth out any major imperfections and remove the bark from the live edge, if desired.
Work your way up to a fine-grit sandpaper (220 grit or higher) to achieve a silky-smooth finish. Don't over-sand the live edge, as it's the natural texture that gives this shelf its unique character for a live edge floating shelf diy.
Sealing:
Once the wood is sanded and all dust is wiped off, apply a pre-stain wood conditioner. This ensures the wood will absorb the finishing oil evenly, preventing blotches and streaks.
This is where a high-quality hidden bracket system comes in. These brackets are designed to be completely concealed inside the shelf, giving your live edge floating shelf diy the illusion of floating.
Mark the Channel:
On the back of your wooden slab, mark a channel the width and depth of your hidden bracket. This channel needs to be perfectly straight to ensure a secure fit for your live edge floating shelf diy.
Chisel or Route the Channel:
Carefully use a chisel or a router to carve out the channel you marked. Take your time to make sure the channel is uniform and deep enough for the bracket.
Secure the Bracket:
Once the channel is complete, you'll install the bracket into the wall. This is a critical step for a successful live edge floating shelf diy.
Use a level and a stud finder to mark the drill holes for the bracket and secure it into at least one wall stud for maximum strength. If a stud isn't available, use heavy-duty toggle or molly bolts.
Slide the Shelf On:
Once the bracket is firmly in place, simply slide your live edge slab onto the arms of the bracket. The fit should be snug and secure.
The final step is to bring out the natural beauty of the wood and protect it from daily wear and tear.
Oil Finish:
A natural oil, like Danish oil or tung oil, soaks into the wood and enhances the grain, giving it a rich, warm glow. For a live edge floating shelf diy, an oil finish is a great way to maintain the wood’s natural feel.
Matte Varnish:
A matte or semi-gloss varnish creates a protective, durable layer over the wood. This is a good choice for a kitchen or bathroom live edge floating shelf diy where the wood might be exposed to moisture.
Epoxy Fill:
If your wood slab has natural cracks or voids, you can fill them with a clear or colored epoxy resin. This adds a unique artistic element and ensures the wood remains stable for your live edge floating shelf diy.
A diy project isn’t limited to just a single purpose. Its versatility and unique style make it a perfect fit for a variety of spaces in your home.
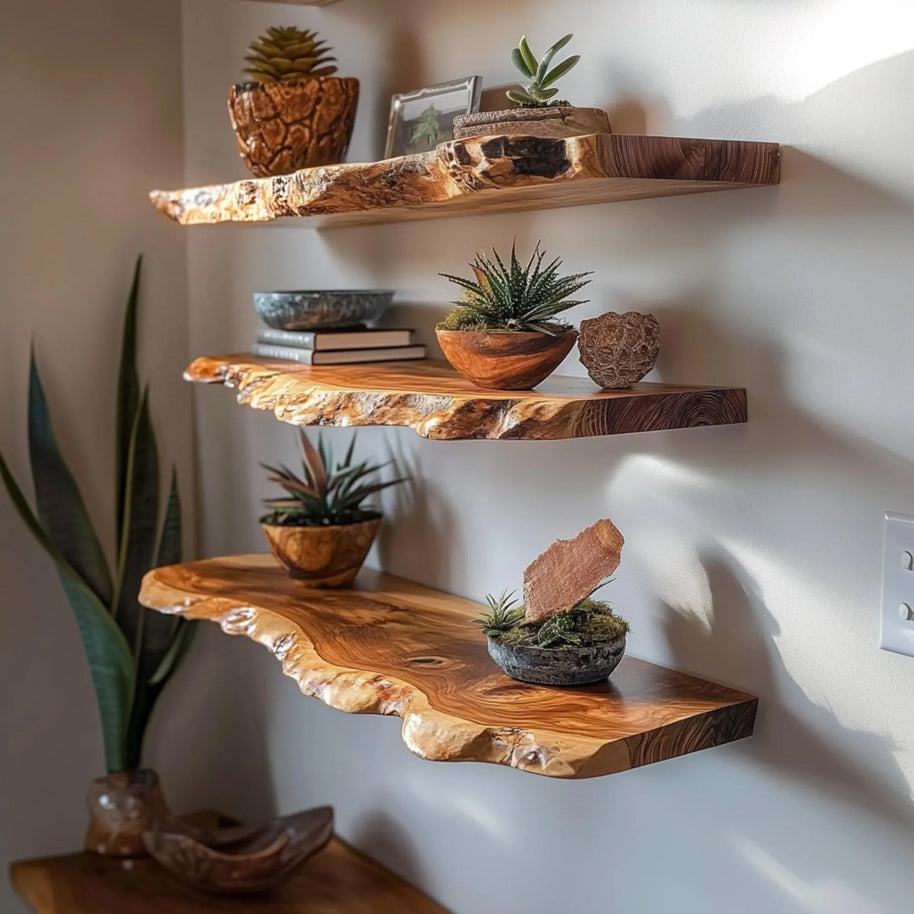
A live edge shelf can be cut into an L-shape to create a striking corner bookshelf. This turns an often-wasted space into a beautiful and functional display area.
You can find inspiration for how to style these unique spaces by looking at products from places like Spry Interior's Corner Shelves. A live edge floating shelf diy in a corner is a fantastic way to maximize a small room's potential.
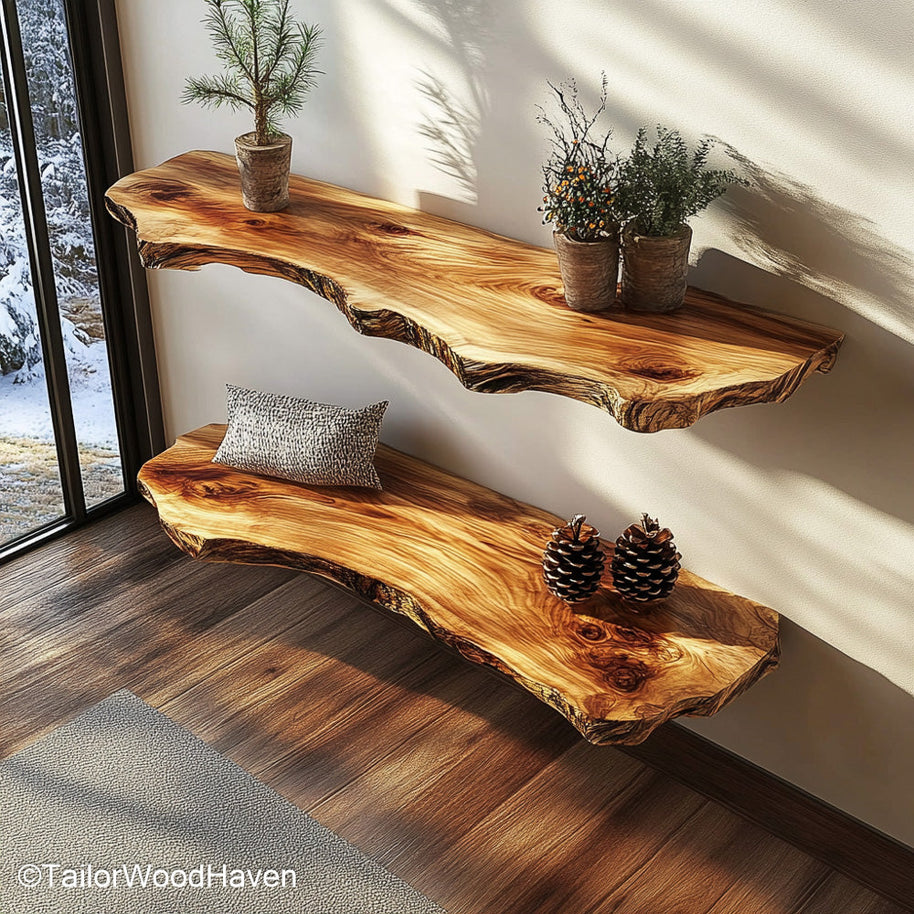
Built from thick timber, this raw edge shelf features a natural, rustic live edge combined with hidden floating brackets for robust storage.
Move beyond traditional cabinets and use a live edge floating shelf to display your most-used kitchen items, from spice jars to ceramics.
The warm, organic feel of the wood can balance out the modern, cold look of stainless steel appliances, creating a welcoming and stylish kitchen.
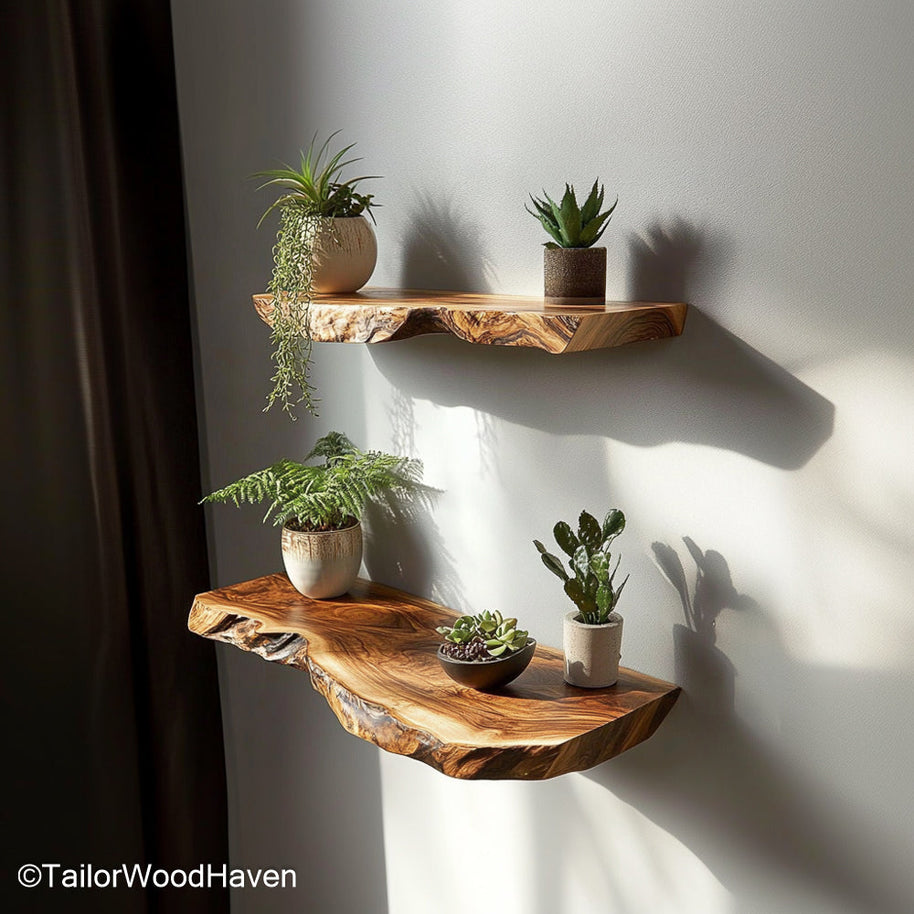
An entryway or living room is the perfect place for a live edge floating shelf. It can hold a small bowl for keys, a single decorative vase, or a beautiful succulent. Its presence alone makes a statement, welcoming guests with a touch of natural artistry.
Your live edge diy is a blank canvas. The way you style it will determine whether it serves as a work of art or a functional piece of storage. The key to maximizing its utility is to strike a balance between aesthetics and practicality.
|
Purpose |
How to Utilize |
|
Display |
Arrange decorative items, art, plants, or a few beautiful books. |
|
Storage |
Use it to hold books, spices, or small kitchen appliances. |
|
Combined |
Combine both by arranging books and decorative items in a curated mix. |
Books: A shelf is perfect for displaying a small, curated collection of your favorite books. Choose a few books with interesting covers or place them in a stack to add some visual interest.
Greenery: Plants like succulents or trailing vines add a vibrant, organic element that complements the natural look of your wood.
Decor: Use a single, carefully chosen piece of decor - a sculptural bowl, a unique vase, or a handcrafted item - as a focal point.
Kitchen Items: In the kitchen, you can use your live edge floating shelf diy to hold small stacks of plates, coffee mugs, or a row of your most-used spices, keeping them easily accessible.
Crafted from solid walnut, these shelves showcase visible, rich grain patterns, adding a warm, organic feel to the living space.
Even with the best instructions, it's easy to make small mistakes that can compromise your final product. Being aware of these pitfalls will help ensure your live edge floating shelf diy project is a success.
Over-sanding the Live Edge: The natural texture and imperfections are what make a live edge shelf beautiful. Over-sanding can remove this character, making the wood look bland and artificial.
Using the Wrong Brackets: Using a flimsy bracket or one that isn't rated for the weight of your shelf and its contents is a recipe for disaster.
Ignoring Moisture: Wood needs to be properly sealed and conditioned to prevent it from warping or cracking. If your live edge floating shelf diy is exposed to humidity or spills, make sure it's properly protected with a durable finish.
1. How hard is it to build a live edge shelf?
It can be a challenging but highly rewarding project. With the right tools and a careful approach, a live edge floating shelf diy is an achievable project for anyone with some experience in woodworking.
2. Can beginners handle a live edge floating shelf diy?
Yes, a motivated beginner can definitely tackle a floating shelf diy. The key is to take your time, follow the instructions carefully, and start with a smaller, more manageable piece of wood.
3. How do you maintain live edge wood?
To keep your shelf diy in great condition, you'll need to re-oil it once a year to keep the wood from drying out. Regularly dust it and avoid using harsh chemical cleaners.
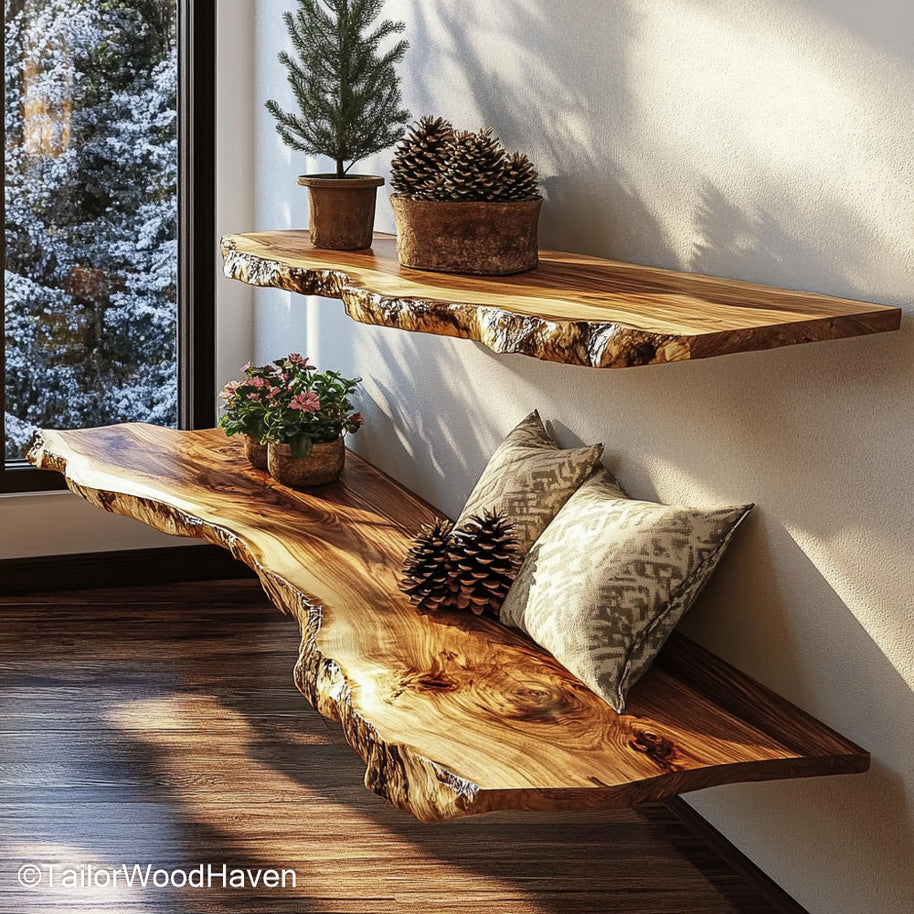
This shelf highlights handcrafted, rustic styling with a prominent live edge design, bringing a natural, earthy texture to the wall.
Creating a live edge floating shelf diy is more than just a home improvement project - it’s a chance to add a piece of custom, functional art to your space. The beauty of a live edge shelf lies in its uniqueness, with no two pieces ever being exactly the same.
By following these steps and avoiding common mistakes, you’ll not only create a beautiful and useful shelf, but you’ll also gain a sense of accomplishment from building it with your own two hands.


