Your cart (0)
Your cart is empty
Tax included and shipping calculated at checkout
Recommended products


Drawer menu
Tax included and shipping calculated at checkout
Your wishlist is empty.
Continue shopping


Stop overpaying for custom home décor! Floating shelves deliver a clean, modern look, and you don't need a designer budget or weeks of effort to achieve them. Forget those expensive store-bought units that compromise on quality and size. We'll show you the smartest, most efficient way to DIY. This high-impact project is the ultimate weekend upgrade for anyone wanting to add custom value quickly. This comprehensive guide will show you exactly how to build floating shelves using the sturdy, cost-effective hollow box method. Get ready to transform your walls and add incredible value to your home with a project you can proudly complete in a weekend.
Detailed planning is the first and most critical step in learning how to build floating shelves successfully and staying on track for your weekend deadline.
Shelf Depth: Select the right depth for the room’s intended function.
6–8" for bathrooms (light storage, toiletries).
8–10" for living rooms (decor, small books).
10–12" for kitchens (dishes, heavy items).
Shelf Length: Keep each shelf under 48 inches (4 feet) long. Shorter shelves are much easier to install and are less likely to sag over time, which saves you work.
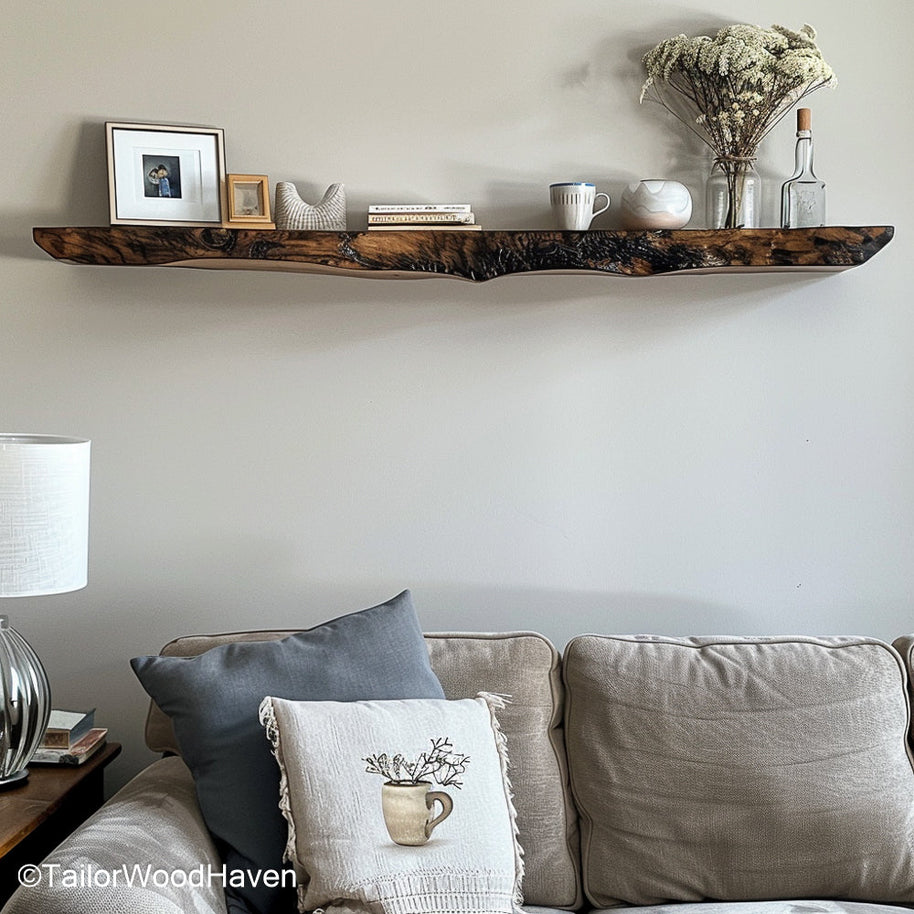
Designed for maximum stability and load capacity, these floating bar shelves are built to the ideal 10–12" depth and no-sag length needed to securely display heavy bottles and glassware.
Choosing the right material is essential for both the structural integrity and the final look of your project. Here are the pros and cons for common wood types when figuring out how to build floating shelves:
Plywood (3/4 inch):
Pros: Plywood is a smart choice because it costs much less than solid wood. It is also very stable, resisting twisting and warping. Plus, plywood is lightweight, making it easy to handle and putting less strain on your walls.
Cons: Plywood requires a few extra steps to achieve a professional result. You must cover the visible layered edges using edge banding to get a clean, high-end look. Additionally, the surface requires thorough sanding before you can successfully apply paint or stain for a smooth finish.
Solid Lumber (e.g., Pine, Oak, Maple)
Pros: Solid lumber is highly valued for its natural beauty, featuring rich grain patterns that give your shelves a high-end look without needing edge banding. Hardwoods like Oak and Maple are extremely durable, offering excellent resistance to dings and dents for a shelf that will last for decades.
Cons: Solid wood’s cost is higher than plywood. Solid wood is also very heavy, making installation challenging and requiring extra-strong mounting hardware. Finally, wide solid boards are prone to warping or cupping over time as the humidity in your home changes.
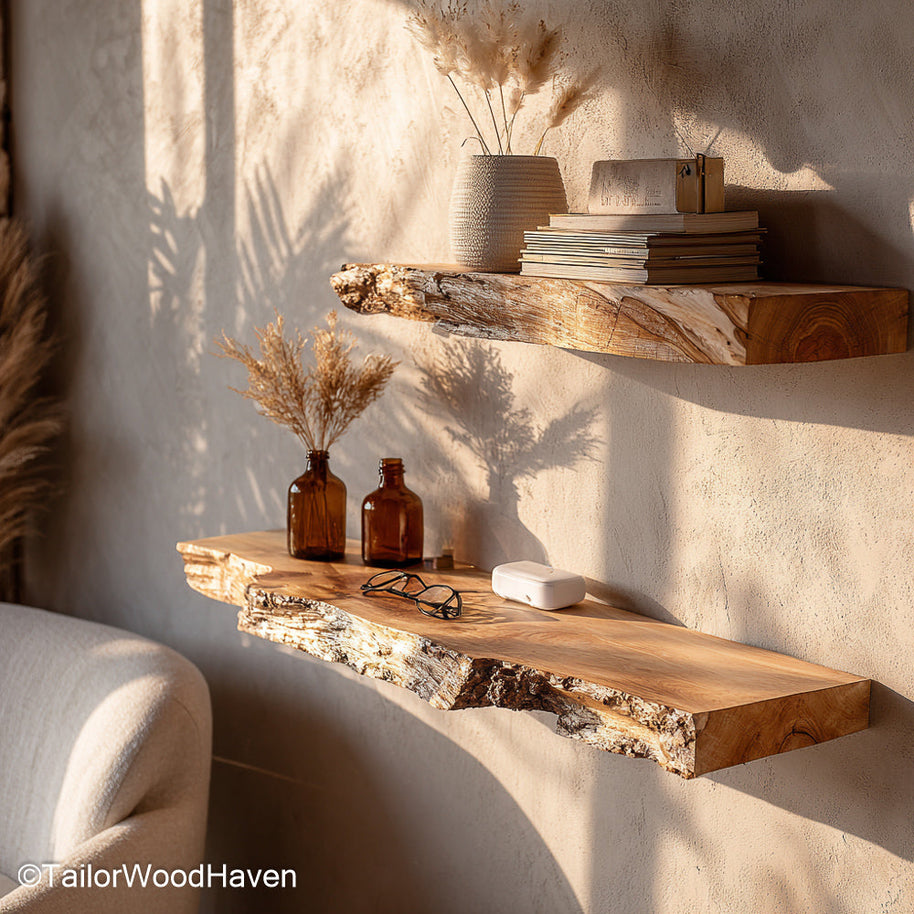
Why risk warping wide boards? Invest in a premium walnut floating shelf professionally crafted for maximum stability, giving you superior beauty and lasting hardwood quality.
Safety is the most important step in learning how to build floating shelves. For a strong shelf that can hold weight, you must always find and screw the mounting hardware directly into the wall studs. If you cannot find a stud and must use heavy-duty drywall anchors, only put lightweight decorations on the shelf. The best and most secure way to hang a floating shelf is always to use the studs.
Gathering these supplies beforehand is the best first step in learning how to build floating shelves smoothly and efficiently:
Wood boards
Wood glue
Wood filler
Paint or Stain
Stud finder
Table saw or Circular saw
Brad nailer or Finish nails
Drill/driver
Sand papers
Clamps
Tape measure
Wall anchors
Screws
Edge banding
This guide will teach you to build a sturdy, lightweight structure, which is key to learning how to build floating shelves with that desirable thick, professional look.
Start by cutting your wood components with precision. The main structural challenge when learning how to build floating shelves is the math: for a 4-inch tall shelf, the side pieces must be cut at 2.5 inches wide (4 inches minus the thickness of the top and bottom pieces). Cut the top, bottom, and two side pieces to the required length, ensuring all cuts are perfectly straight and square to prevent gaps.
Lay the bottom piece flat. Apply wood glue liberally to the joining edges of the two side pieces. Position the side pieces between the top and bottom panels. Use a brad nailer (or finish nails) to secure the structure - the nails hold the parts in place temporarily, but wood glue provides the true structural strength. Allow ample time for the glue to cure.
Now, enclose the box. Measure, cut, and attach the long front piece (the face frame) to cover the entire front opening. Then, glue and nail the two small end caps to close the sides of the box. Use a speed square to ensure the box is perfectly rigid and square throughout this final assembly. This sturdy hollow box is the foundation of how to build floating shelves that look custom and last for years.
The final details turn your plywood box into a high-end upgrade, completing the process of learning how to build floating shelves. First, cover all visible plywood layers on the front and sides using edge banding. This simple step makes the shelf look like solid, expensive wood. Next, fill any nail holes or gaps with wood filler. Sand the entire surface thoroughly (up to 220-grit) for a smooth finish. Finally, apply your chosen stain or paint, and seal it with a protective clear coat.
By mastering the sturdy, lightweight hollow box method, you've learned to build durable floating shelves using accurate cutting and wood glue. The final steps of applying edge banding and a smooth finish complete the project, giving you a custom shelf that looks like expensive solid wood. To explore alternative techniques for constructing floating shelves, you should refer to Yellow Brick Home’s tutorial.
Save installation for the second day. The installation method is crucial for stability and achieving the sleek, unsupported look. This is the final and most important phase of mastering how to build floating shelves securely.
Prepare the Cleat: Cut your internal support lumber (cleat) slightly shorter than your shelf box. Mark and pre-drill pilot holes in the cleat so they line up perfectly with your wall studs.
Mount the Cleat: Use a level to draw a straight line on the wall. Securing the cleat to the wall studs with long lag screws is absolutely necessary for load-bearing stability and is key to how to build floating shelves correctly.
Secure the Shelf: Apply glue to the mounted cleat and slide the shelf box over it until it is flush with the wall. For permanent security, drive finish nails or screws through the top and bottom of the shelf into the internal cleat. This finalizes the sturdy, seamless result of learning how to build floating shelves.
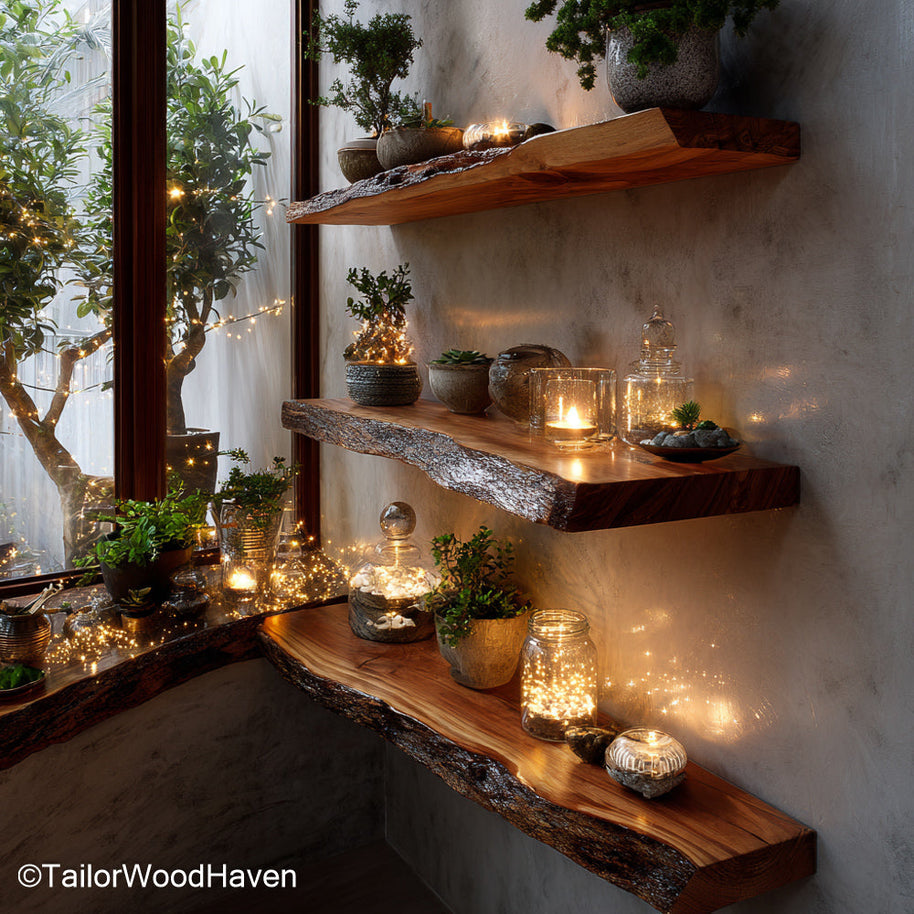
Get the sleek look and guaranteed load-bearing stability without needing to find studs or cut cleats, these floating wall shelves are engineered for easy, reliable mounting.
Even the most meticulous plans can run into trouble during execution. Avoiding these common errors will guarantee success, stability, and longevity for your custom shelving when learning how to build floating shelves.
Ignoring Wall Studs: This is the greatest safety mistake. Never rely solely on drywall anchors for load-bearing shelves. Your internal cleat must be secured into at least two wood studs with lag screws.
Skipping Wood Glue: Glue is the main source of strength in the hollow box method. Relying only on nails or screws results in weak, wobbly joints that will fail over time.
Miscalculating: Miscalculating the width of the side pieces (by failing to subtract the thickness of the top and bottom panels) leads to noticeable gaps and a wobbly assembly.
Failing to Level the Cleat: If the internal mounting cleat is even slightly crooked, your entire shelf will be crooked. Take extra time here to ensure a perfectly straight line when figuring out how to build floating shelves.
Not Sanding Properly: Skipping the sanding will ruin your finish, especially if staining. The final finish will highlight every scratch and tool mark, completely detracting from your high-end look.
The effort you invested in learning how to build floating shelves has resulted in more than just a place to store items - you’ve added significant aesthetic and financial value to your home. That seamless, thick profile is a designer look achieved using cost-effective materials and smart techniques. Building your own shelves is the ultimate way to get the exact size and finish you want, making this weekend project deeply satisfying. Enjoy the sleek elegance and structural confidence of your new custom floating display for years to come.


