Your cart (0)
Your cart is empty
Tax included and shipping calculated at checkout
Recommended products


Drawer menu
Tax included and shipping calculated at checkout


A shelf that isn’t properly secured can be a hazard, so understanding how to install floating wall shelves is essential for both style and security. This guide will walk you through every step, from preparation to placement, ensuring your shelves are both beautiful and stable.
Before you grab your drill, a bit of preparation will save you a lot of hassle. Getting your tools, materials, and placement right from the start is the most critical part of how to install floating wall shelves.
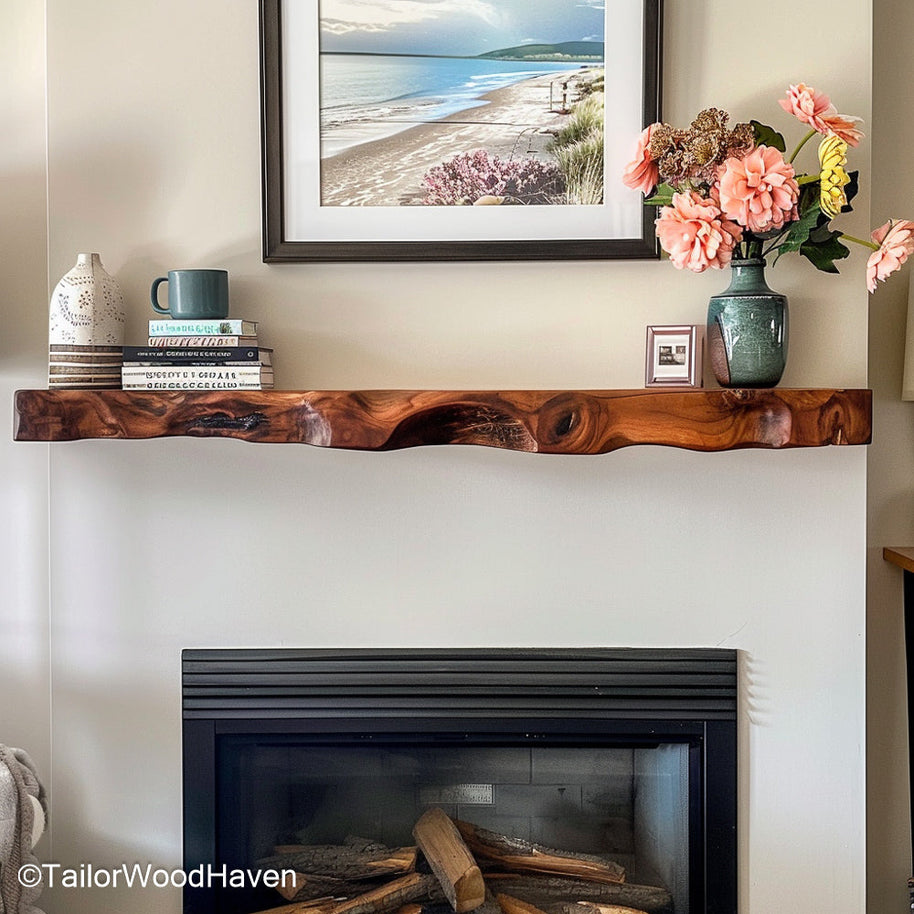
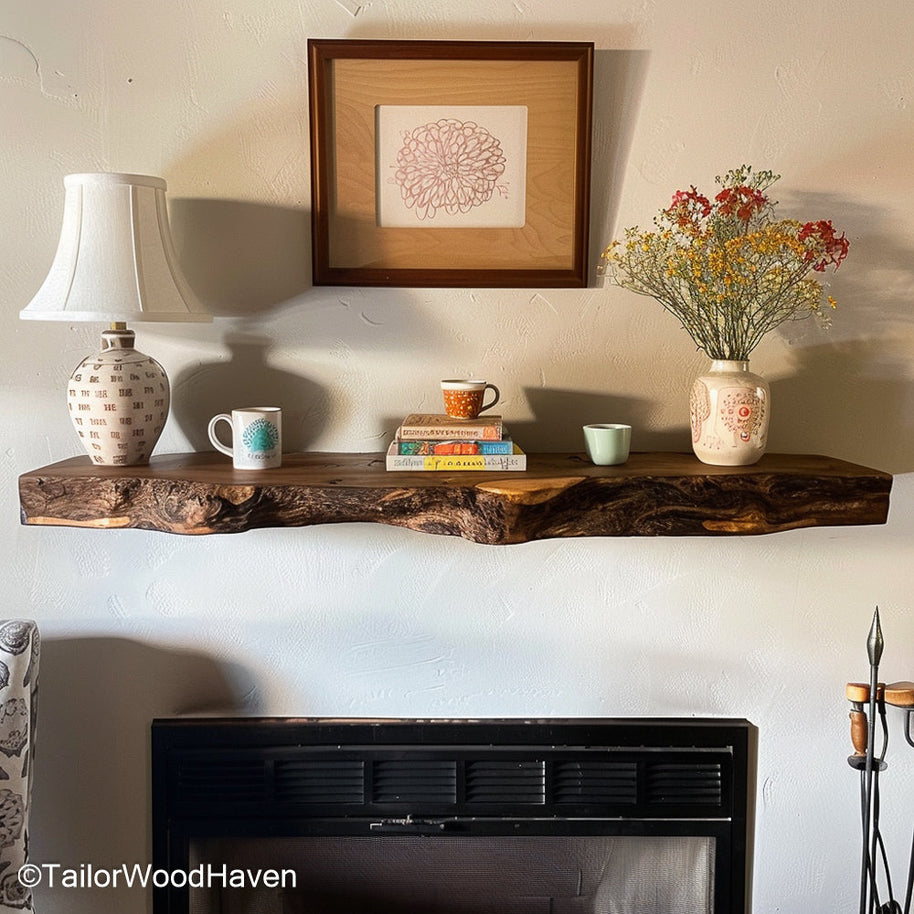
This thick, live-edge fireplace mantel adds a warm, rustic element to any living space.
To ensure a smooth installation, gather all your tools and materials in one place. You’ll need the following:
Drill: A power drill is necessary for creating pilot holes and driving screws.
Level: A bubble level or laser level is crucial to ensure your shelf is perfectly straight.
Stud Finder: This tool will help you locate the wooden studs behind your drywall, which are the strongest mounting points.
Tape Measure: Ensures precise sizing before cutting or drilling.
Pencil: Handy for marking exact spots on the wall.
Mounting Hardware: This typically includes a mounting bracket, screws, and wall anchors (for areas without studs).
Safety Gear: Always wear safety glasses to protect your eyes from dust and debris.
For inspiration on creative placement, especially when considering multiple shelves, you might find this guide helpful: DIY Tree Branch Bookshelf Guide.
While it's about a different kind of shelving, the principles of visual balance are similar to how to install floating wall shelves.
The location of your shelf is as important as the installation method. Think about:
Wall Type:
Your wall type - drywall, plaster, or brick - dictates which fasteners and anchors to use. Drywall requires anchors unless you hit a stud.
Brick or concrete walls need special masonry bits and anchors. Knowing this is the first step in how to install floating wall shelves.
Weight Capacity:
Consider what you plan to put on the shelf. Heavy books require a much stronger installation (into studs) than a few small decorative items. This is a key part of how to install floating wall shelves for durability.
Aesthetics:
Where will the shelf look best? Consider the room’s layout, existing furniture, and the visual flow of the space. The shelf should be at a height that is both functional and aesthetically pleasing.
Accuracy in your measurements is paramount. A small mistake here can result in a crooked shelf and a lot of frustration. This section focuses on the fine details of how to install floating wall shelves.
The smooth finish and rich color of these walnut shelves make them a perfect fit for a sleek, modern kitchen or bathroom.
Drilling straight holes is a common challenge. Here’s a simple method to get it right:
Mark Your Spots: Use the mounting bracket as a template. Place it on the wall and use your level to make sure it's straight. Use a pencil to mark where each screw hole will go.
Use a Drill Guide: If you have one, a drill guide or an attachment can help keep your drill bit perfectly perpendicular to the wall.
Tape Trick: As a simple alternative, wrap a piece of masking tape around your drill bit to mark the required depth.
This prevents you from drilling too far into the wall and is a useful trick when learning how to install floating wall shelves.
A crooked shelf can ruin the look of an entire room. So, how to hang a free floating shelf on the wall so it is level is a skill you must master.
Double-Check Your Marks: After marking your drill points, place your level on top of the marks to verify they are perfectly aligned horizontally.
Use a Long Level: If your shelf is long, use a longer level. A small level might not catch a slight deviation over a long distance.
Adjust as You Go:
Some brackets allow for slight adjustments after installation. If your shelf looks slightly off, check if you can make a minor adjustment to get it perfectly straight. This is an important detail for how to install floating wall shelves without it looking like a DIY project.
The method you choose for installation depends entirely on your wall type and the weight you plan to place on the shelf. This is the heart of how to install floating wall shelves securely.
This is the strongest and most secure method, ideal for heavy-duty shelves or those that will hold a large collection of books.
Find the Studs: Use a stud finder to locate the wooden studs behind your drywall. Mark the edges of the stud with your pencil.
Mount the Bracket: Align the mounting bracket so that the screw holes are in the center of the stud.
Drill & Screw: Drill pilot holes for your screws, then use a power drill to drive the screws firmly into the studs. This provides the ultimate stability when you're learning how to install floating wall shelves.
When deciding how to install floating wall shelves, the type of anchor you use will determine how secure and durable your installation is. A detailed guide on this topic is available here: My Homier Home – How to Hang Floating Shelves.
|
Anchor Type |
How It Works |
Best Use Case |
|
Drywall Anchors |
Simple plastic anchors grip the drywall to hold light objects. |
Best for very light décor, such as photo frames or small plants. |
|
Toggle Bolts (Butterfly Anchors) |
Wings expand behind drywall, distributing weight securely. |
Ideal for medium-to-heavy shelves needing stronger support. |
|
Molly Bolts (Expansion Bolts) |
The metal sleeve expands inside the wall as the screw tightens. |
Great for heavier shelves, books, or kitchenware. |
For renters or those who want a temporary solution, there are ways to install floating shelves without putting holes in the wall.
Adhesive Strips: For extremely lightweight shelves and items, heavy-duty adhesive strips can be used. These are great for how to install floating shelves without nails.
Tension Poles: These can be used in corners or between two walls to create a vertical shelving unit without any drilling.
Innovative Hardware: Some shelves come with special hardware that uses tiny, barely visible nails or strong adhesives, perfect for how to install floating wall shelves in a temporary space.
When learning how to install floating wall shelves, the right techniques and materials help protect your walls while keeping shelves secure.
|
Tip |
Description |
Best Use Case |
|
Use the Right Tools |
Choose proper drywall anchors instead of regular screws to avoid large holes or cracks. |
Medium to heavy shelves in drywall. |
|
Removable Adhesives |
High-quality adhesives allow shelf mounting without drilling; check instructions to avoid residue. |
Lightweight, decorative shelves in rentals or apartments. |
|
Lightweight Shelving |
Shelves made from MDF or composite wood reduce the need for heavy-duty anchors. |
Small shelves for plants, photos, or decor. |
Once your shelves are securely mounted, the fun begins. Here's a look at how to install floating wall shelves and then make them look good.
Layering: Place items of different heights and textures together to create visual interest.
Groupings: Arrange items in odd numbers (3, 5, etc.) for a more dynamic look.
Practicality:
Use the shelves to organize and declutter, not just for decoration. For example, a small shelf in the kitchen can hold spices, while one in the bathroom can hold toiletries. This is a crucial step to master when figuring out how to install floating wall shelves.
Mix It Up: Alternate between books, small plants, framed photos, and unique art pieces to keep the arrangement fresh.
These clean, matte black shelves offer a minimalist and modern look, ideal for a contemporary office or living room.
Even with the best preparation, things can sometimes go wrong. Here’s how to install floating wall shelves without panicking if you run into a problem.
Crooked Shelves:
If you notice your shelf is a bit off, recheck it with your level. You may need to take it down, patch the old holes, and re-drill with greater care. This is a very common issue when learning how to install floating wall shelves.
Sagging Shelves:
A shelf that sags or feels unstable is a sign that your anchors aren’t strong enough for the load. You must take everything off the shelf and use a more secure installation method, like a toggle bolt or by finding a stud.
Holes Too Big:
If you drilled a hole that is too large for your screw or anchor, you can use spackle or a wall repair kit to fill the hole, let it dry completely, and then re-drill.
Mastering how to install floating wall shelves is a simple process that anyone can learn. By following these steps, from preparing your tools and choosing the right location to understanding the different installation methods, you can confidently transform your space.
Floating shelves offer a clean, elegant look that makes any room feel more open and stylish. With a little bit of care and precision, you’ll have a beautifully organized and decorated space in no time.
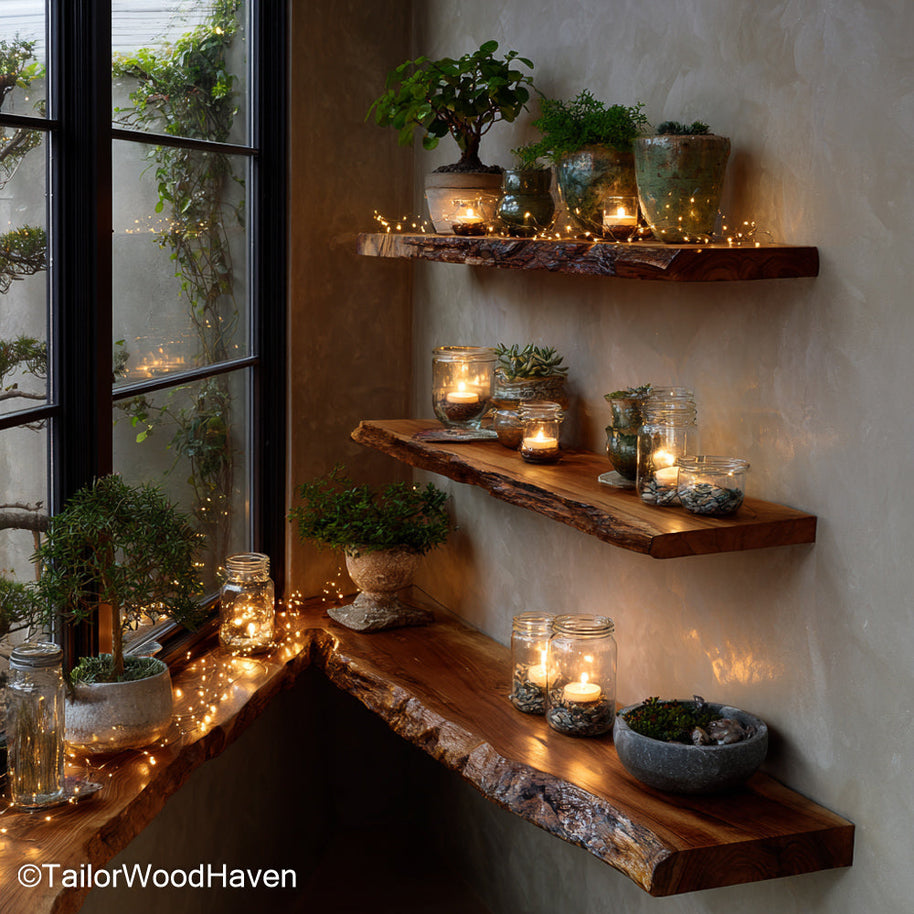
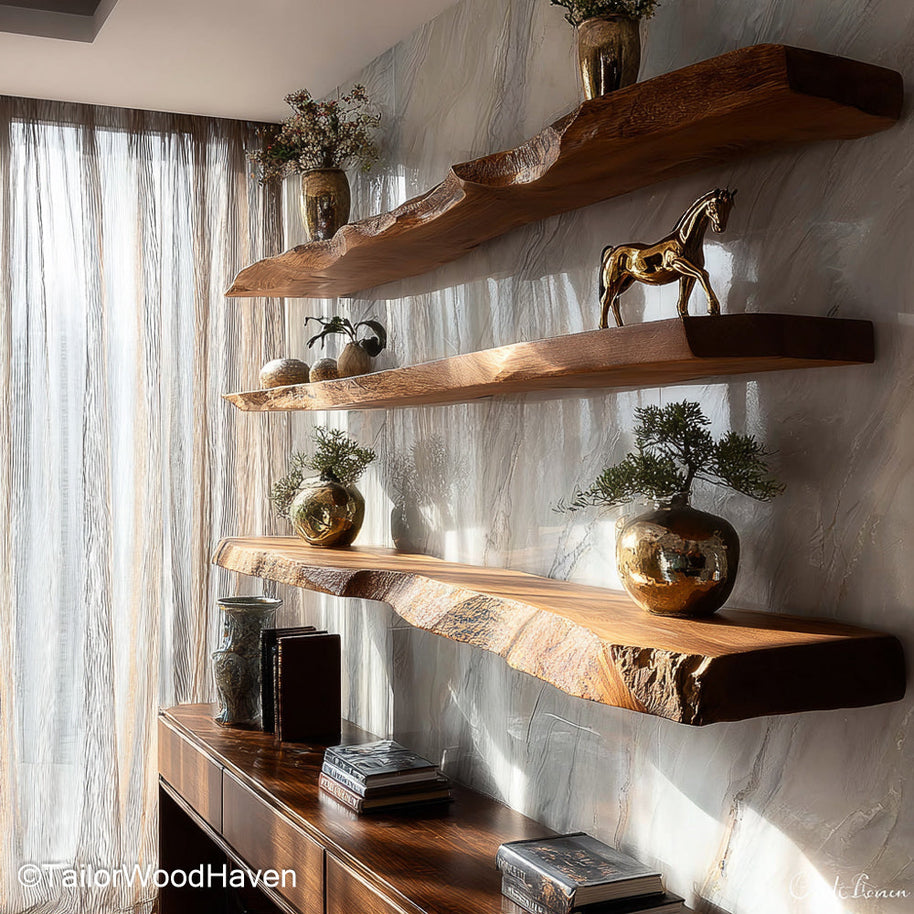
The natural, raw edge on this live-edge shelf brings an organic, earthy feel, perfect for a rustic-themed room.


